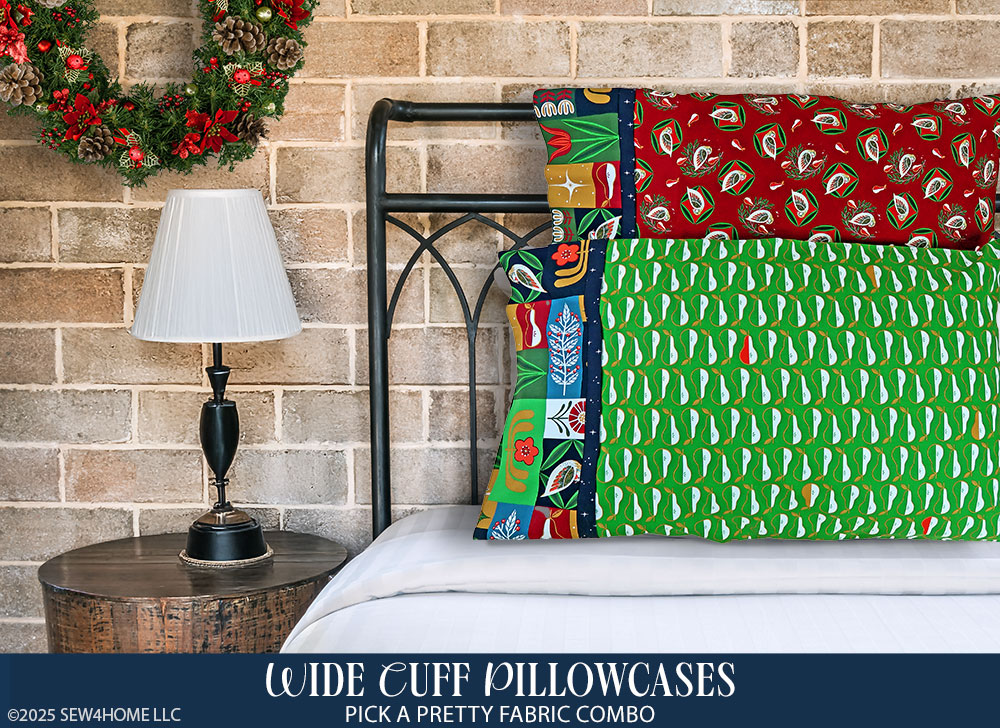
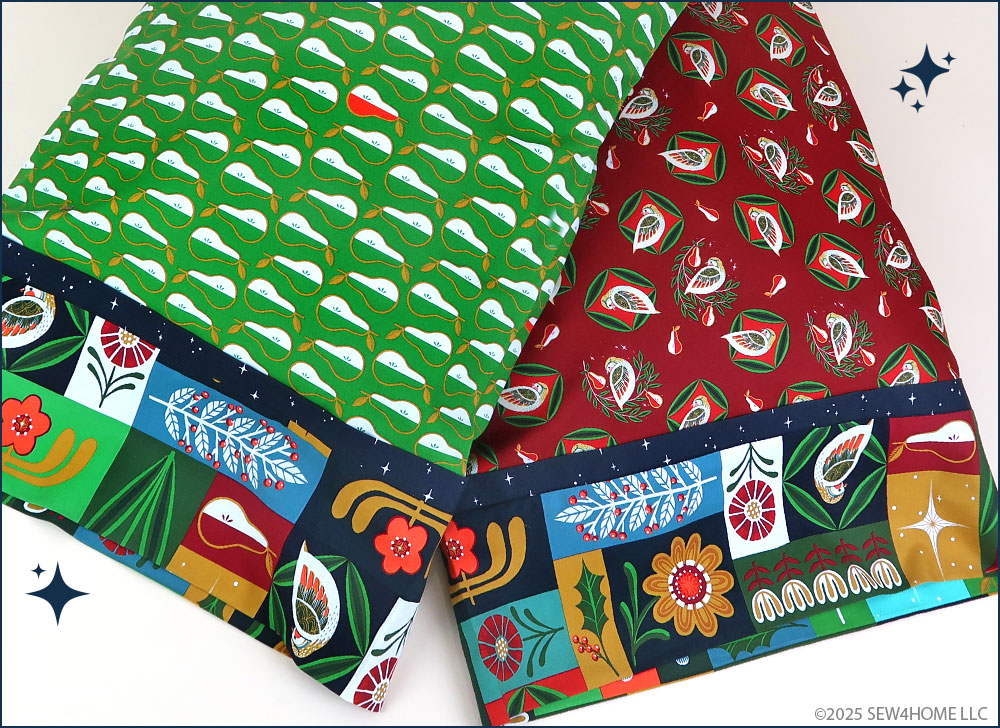
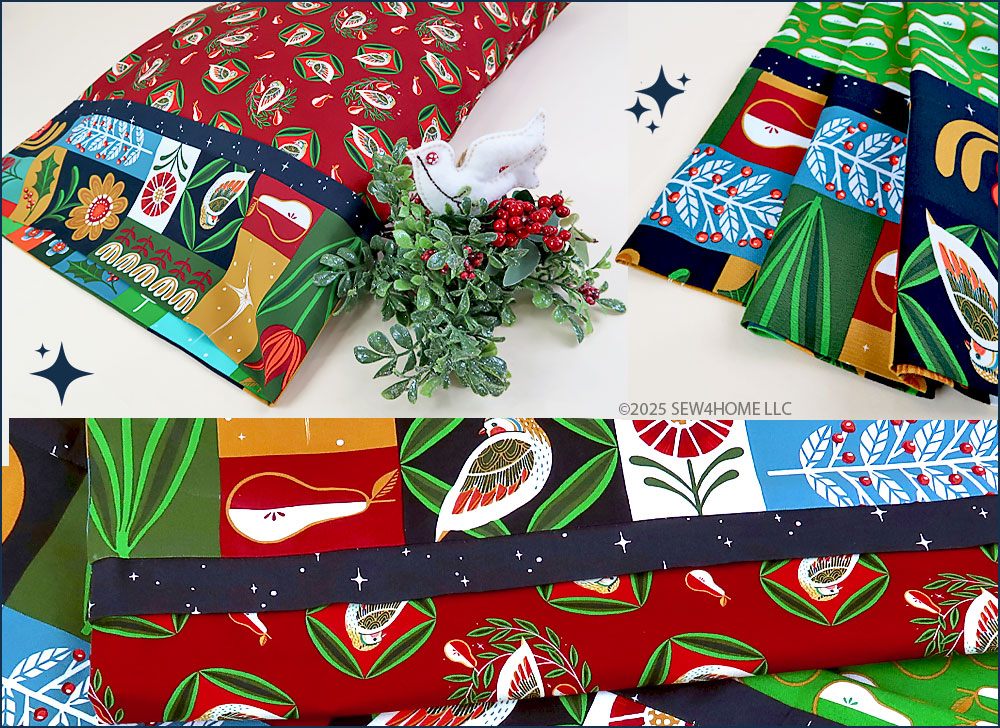
This project features a design that beautifully blends three fabrics. We selected what we feel is a “holiday-ish” theme – it is an official Christmas collection, but the color palette and the motifs have a tone and graphic appeal that can easily last long after Santa’s sleigh bells have faded.
Our thanks to FreeSpirit for providing us with the fabric. Working with quality quilting cotton can make all the difference in a project’s outcome. It’s more substantial, the printing process and color selection are better, and it stands up to washing and wearing – an important feature for things like bed linens that need frequent laundering. Take a look at our Pre-washing/Preshrinking tutorial for our favorite tips about preparing your fabric prior to cutting.
Our design also features a flange, which adds a pretty accent between the pillowcase body and the cuff, and is super easy to do. We cut our own strips, but you could also use a Jelly Roll pre-cut to get a similar albeit slightly narrower look.
The instructions are beginner friendly. In fact, making a pillowcase is one of the first projects we recommend for someone brand new on their sewing journey. As you read through the instructions below, you’ll notice our photos bounce back and forth between shots of both our sample pillowcases. The construction is the same no matter the fabric, but we do provide details on several ways to cut your main panels as well as two different ways to finish the seam allowances.
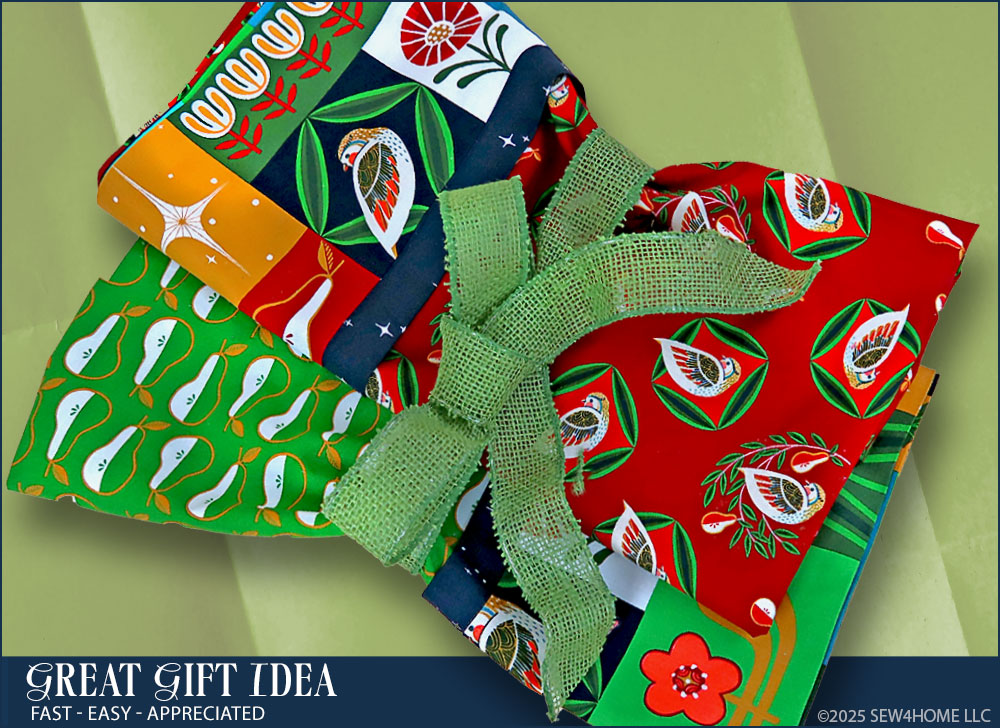
If you like these pillowcases, we have lots of great variations. Pillowcases are so easy; it’s quick and fun to make a unique set for all kinds of special occasions. Browse our Pillowcases + Sheets category for more great ideas.
Sewing Tools You Need

- Sewing machine and standard presser foot
- Quarter Inch Seam foot; optional for the French Seam finish
- Overedge Foot; optional for the Overcast finish
- Blind Hem foot; optional for the topstitching
Fabric and Other Supplies

Fabric amounts shown are for ONE pillowcase and include a bit extra for fussy cutting.
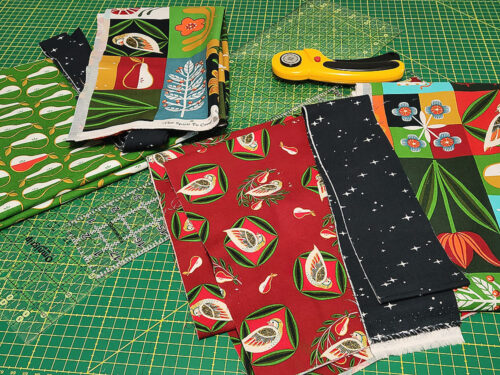
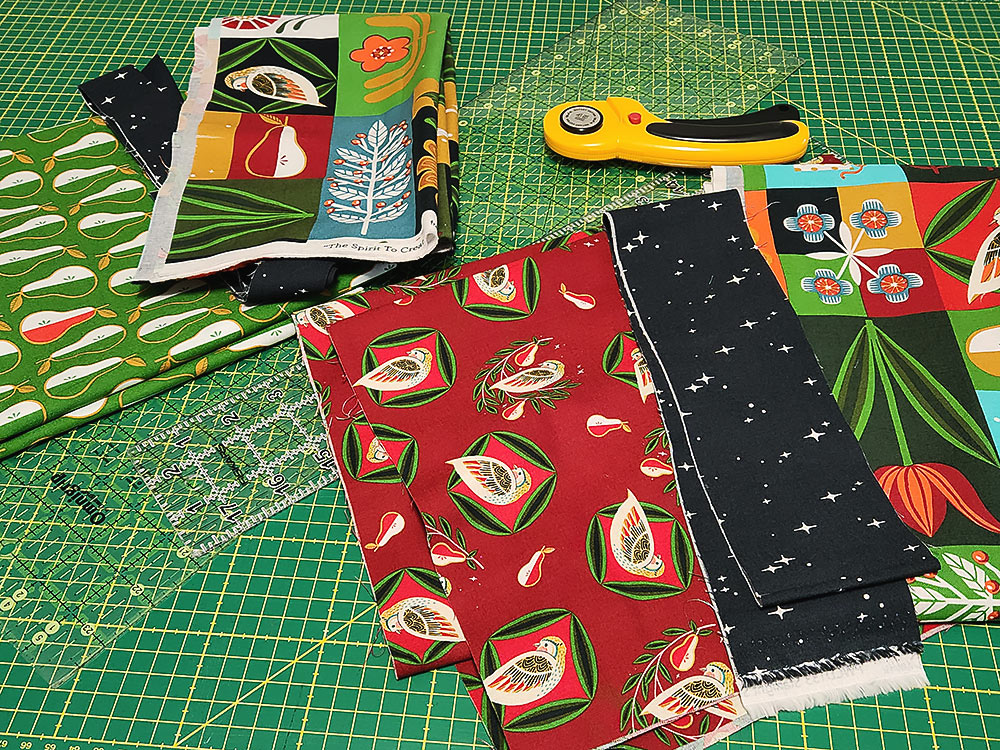
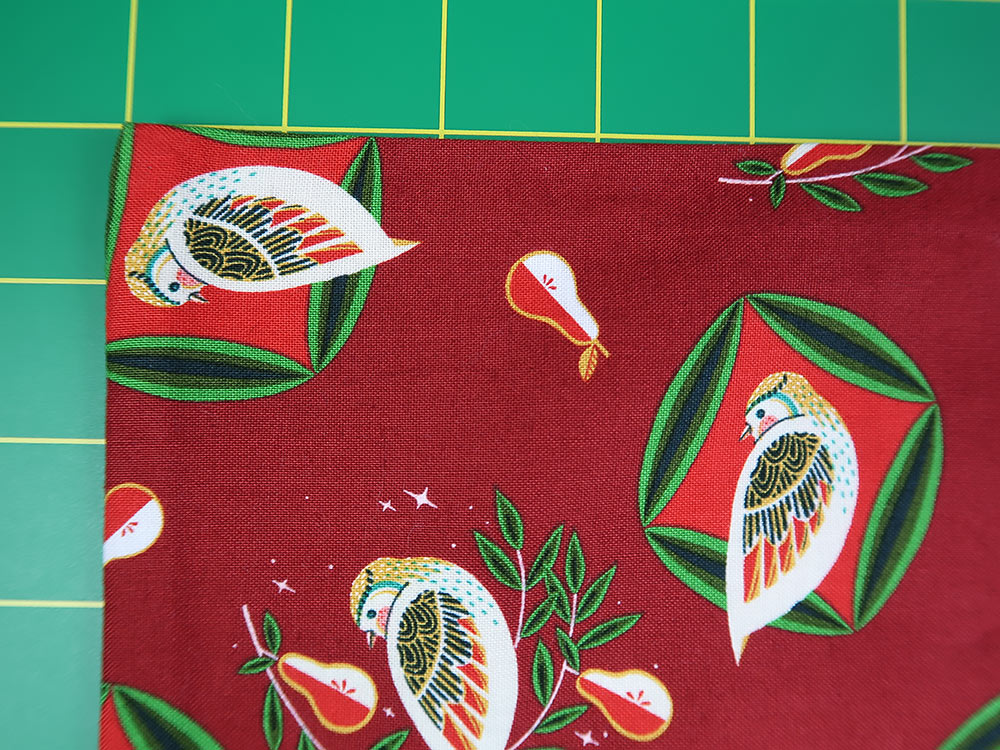
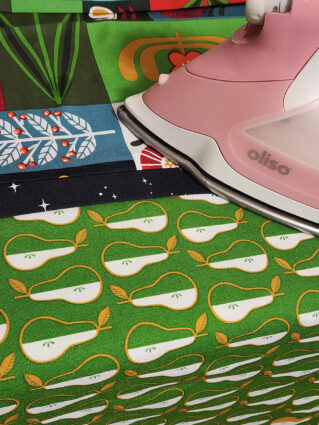
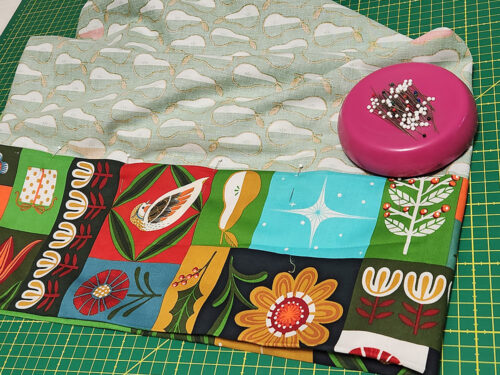
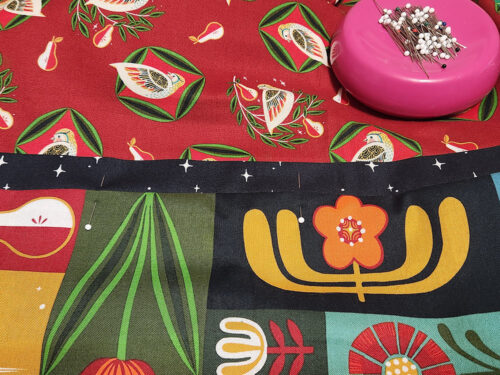
- 1 – 1½ yards of 44″+ wide fabric for the pillowcase body; we used Christmas Pears in Pear and Partridge in Dark Red both from the 12 Days of Christmas collection by Cori Dantini for FreeSpirit Fabrics
NOTE: See the cutting options listed below in the Getting Started section below to best determine yardage. Our fabric selections featured horizontal and random motifs so 1 yard worked well for both samples. - ½ yard of of 44″+ wide coordinating fabric for the pillowcase cuff; we used True Love Gave to Me in Multi from the 12 Days of Christmas collection by Cori Dantini for FreeSpirit Fabrics
- ⅛ yard of 44″+ wide coordinating fabric for the pillowcase flange accent; we used Starlight Star Bright in Navy from the 12 Days of Christmas collection by Cori Dantini for FreeSpirit Fabrics
- All purpose thread to match fabrics
- See-through ruler
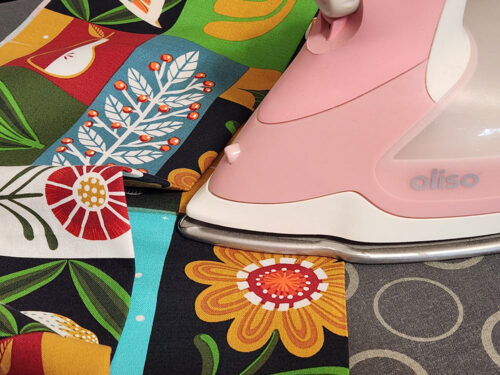
- Iron and ironing board
- Scissors or rotary cutter and mat
- Fabric pen or pencil
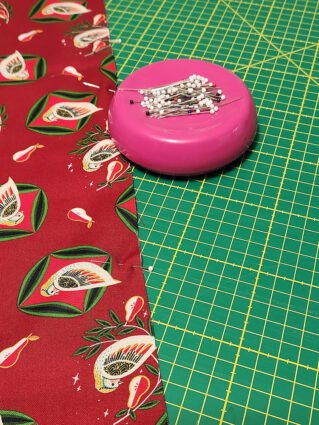
- Straight pins
- Seam gauge
- Seam ripper
- Tape measure
Getting Started
- From the fabric for the body of the pillowcase, you have THREE options for cutting. When placed on a bed, the fabric’s main design will run horizontally along the 25½″ width. To create a finished case in the standard size for a regular pillow (20″ high x 26″ long), choose your favorite method based on the direction of your fabric’s motif and how many cases you are making. We also like to take into account how best to match the design along all sides. (Remember, we are talking about the BODY of the case; the decorative cuff extends beyond the pillow by about 6”).
Option One: fussy cut ONE 41″ x 26½″ rectangle. If your motif is more vertical, you will need 1¼ yards; if horizontal, you can use 1 yard. You would fold the rectangle horizontally and seam one long side and the bottom end.
NOTE: This is the option we chose, but as you do your first read-through of the instructions, you’ll see we started one case at 40½” for the Overcast finish and the other case at 41½” for the French Seam finish. It’s quite a small adjustment and pillowcases are meant to have a somewhat loose fit so it’s easy to get the pillow in and out. Don’t stress too much over fractions of an inch for this project, but at least you know the math we used to get to our 20” finished height.
Option Two: fussy cut TWO 21″ x 26½″ rectangles. With this option, you need 1 yard for a vertical print, but 1¼ yards for a horizontal print, and then you will need to seam both long sides and the bottom end.
Option Three: you can make a matching pair of cases from the same fabric, using 1½ yards and cutting the body pieces side by side at 21″ x 52″ each, folding, and seaming both long sides. This option would not work well for a strong horizontal motif. Also, it is a very tight cut. If you are worried about your accuracy in cutting or if the fabric is likely to shrink when pre-washing, get 1⅝ yards. If you choose this option, you will also need to double the fabric requirements for the cuff and flange. - From the fabric for the pillowcase cuff, fussy cut ONE 13″ high x 41″ wide piece.
NOTE: Remember to check your print direction prior to cutting if necessary. The cuff folds, so you want to be sure the motif looks good when folded to its finished 6” width. - From the fabric for the flange, fussy cut ONE strip 3″ x 41″.
NOTE: As above, remember to check your print direction prior to cutting if necessary.
At Your Sewing Machine & Ironing Board
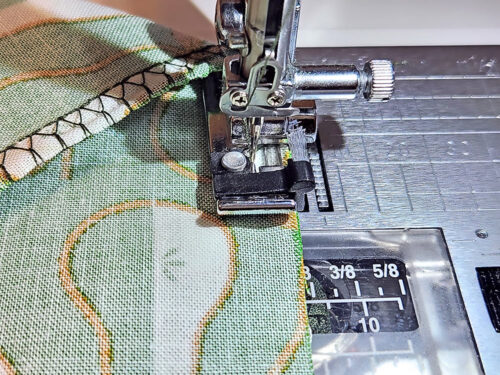
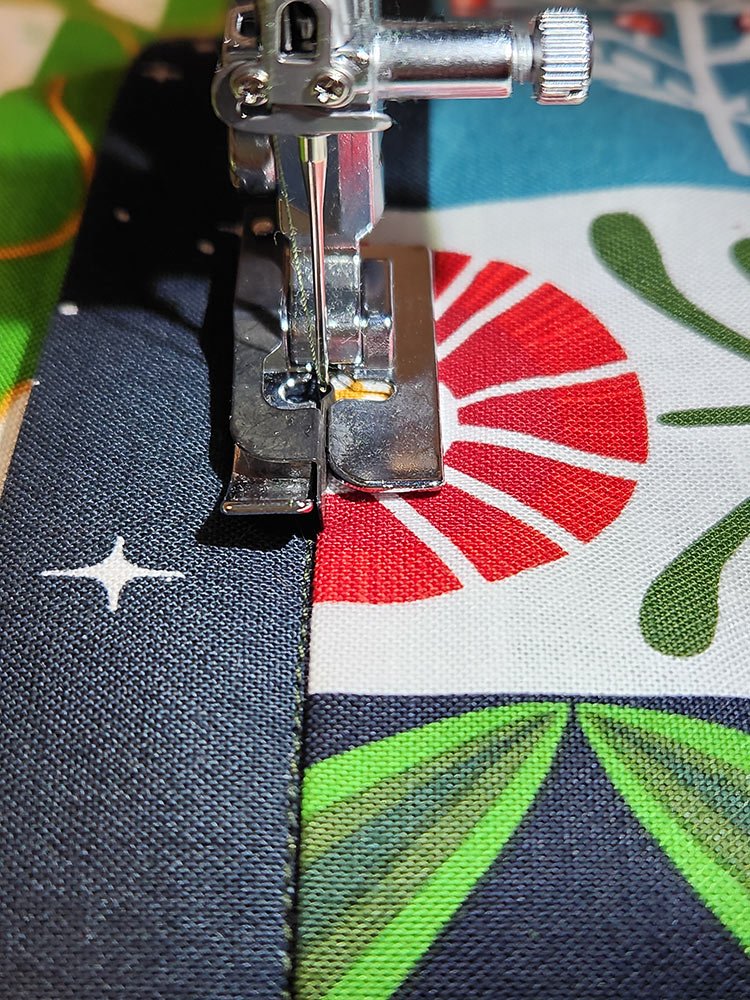
Stitching and finishing the pillowcase body with an Overedge foot
- Fold the pillow body in half, right sides together. The finished shape should be as it will finish when viewed horizontally on a bed.
- Pin the raw-edged side and across the bottom. The top remains open.
- Thread the machine with thread to best match the body fabric in the top and bobbin.
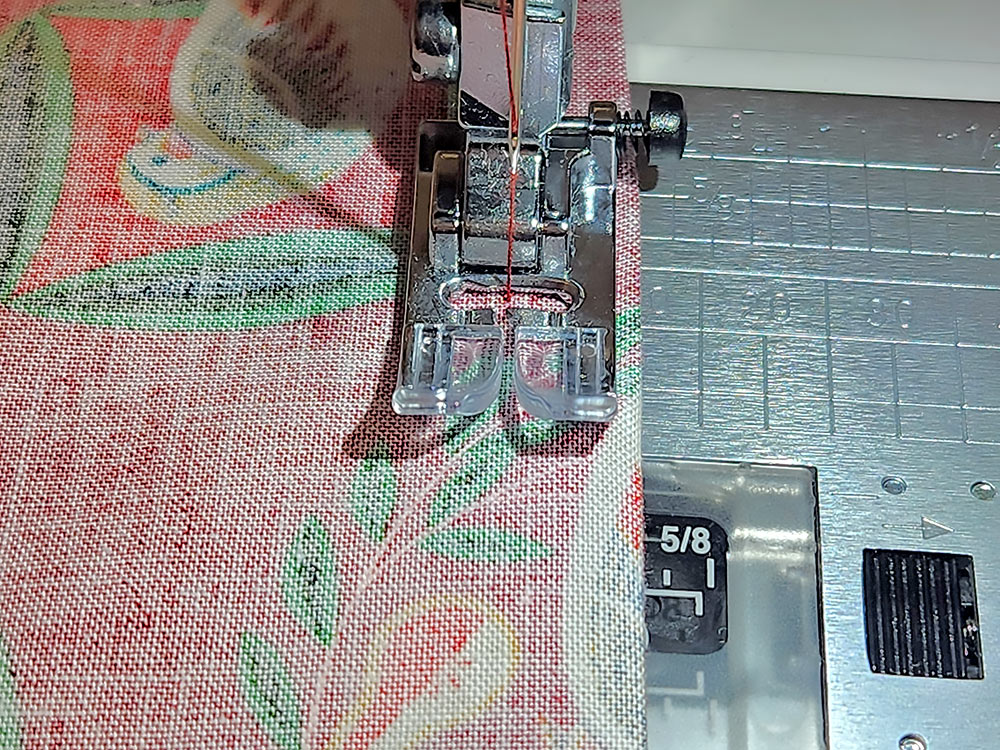
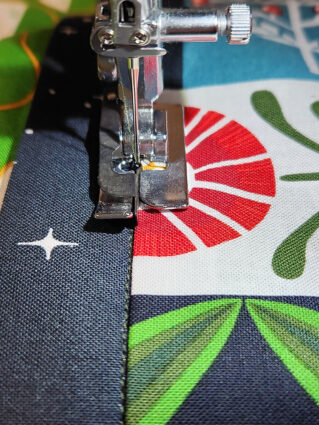
- Using an Overedge foot and an overcasting stitch setting is a fast and easy way to sew and finish your seam allowance in one step, giving you a sewing machine finish similar to a serger finish. You do use a narrower seam allowance of ¼”. To get to our 20” finished height, this meant we started with a main body cut at 40½” rather than 41”.
- Using a ¼” seam allowance, stitch the side and across the bottom, pivoting at the corner.

Stitching and finishing the pillowcase body with a French Seam
- For this option, start with your main body piece WRONG sides together. The seams will be done in two steps, first the long side seam, then the shorter bottom seam. This option requires a wider seam allowance for the two-step process. To get to our 20” finished height, this meant we started with a main body cut at 41½” rather than 41”.
- Thread the machine with thread to best match the body fabric in the top and bobbin.
- Pin along the long side.
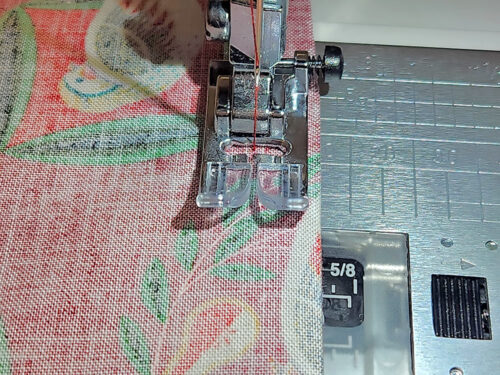
- Using a Quarter Inch Seam foot, stitch the length of the side.

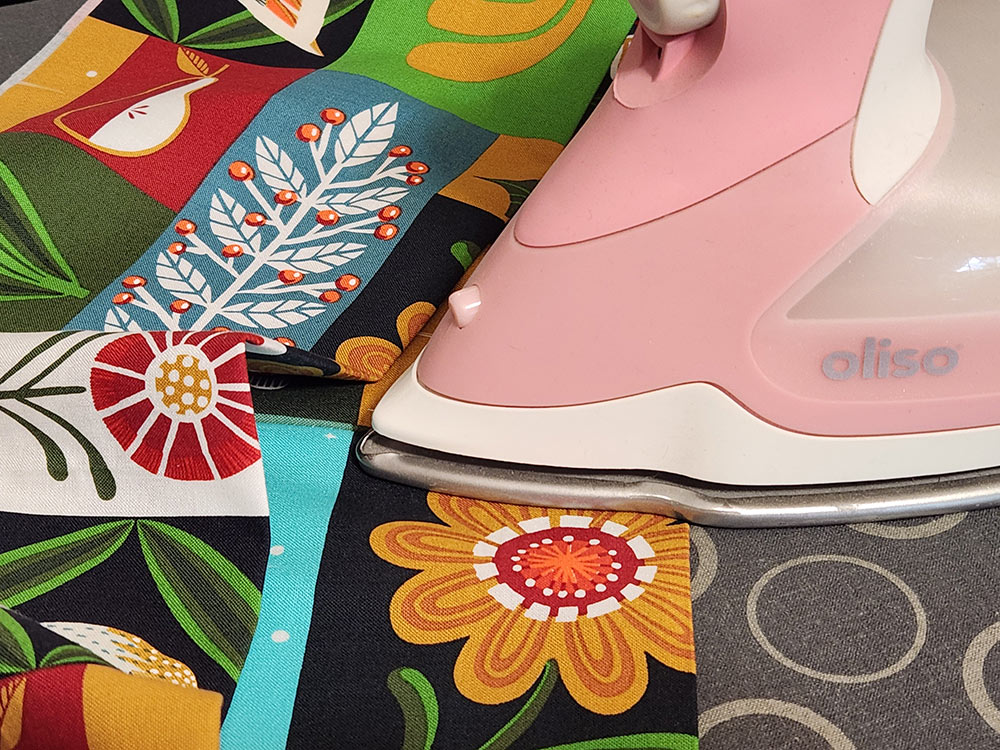
- Press to set seam allowance then turn wrong side out. Make sure the two layers are nice and flat, the top and bottom raw edges are flush, and the previous seam is running straight along the edge.

- Replace the Quarter Inch Seam foot with a Standard foot. Using a ½” seam allowance, stitch the length of the side once again, encasing the raw edges of the previous seam within this second seam.
- Turn right side out and press well.
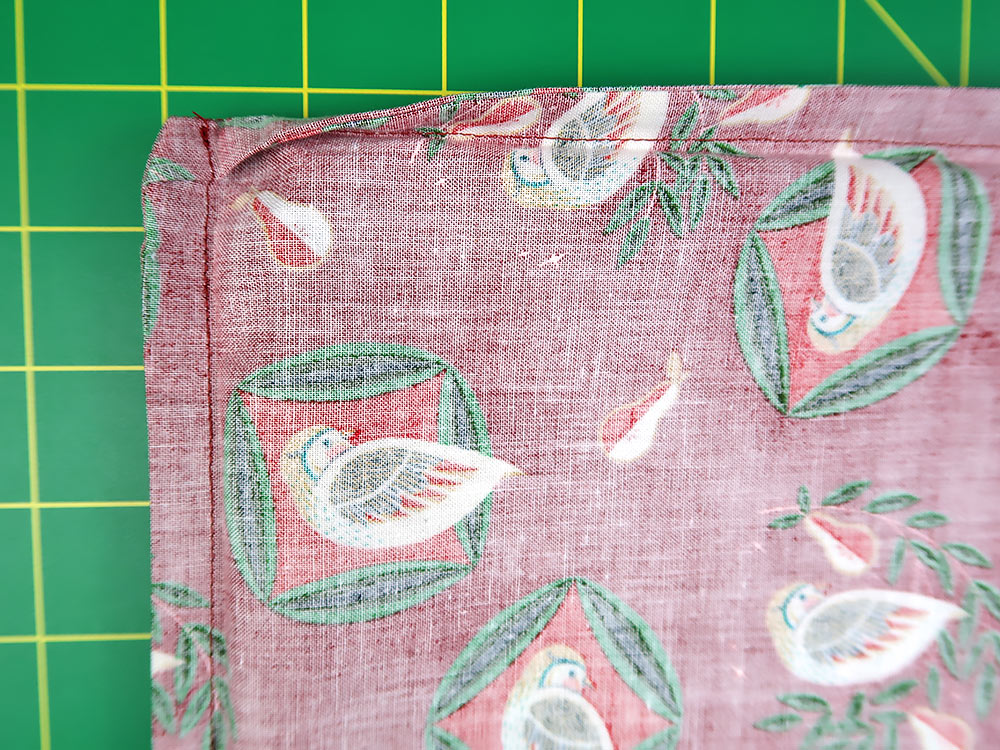
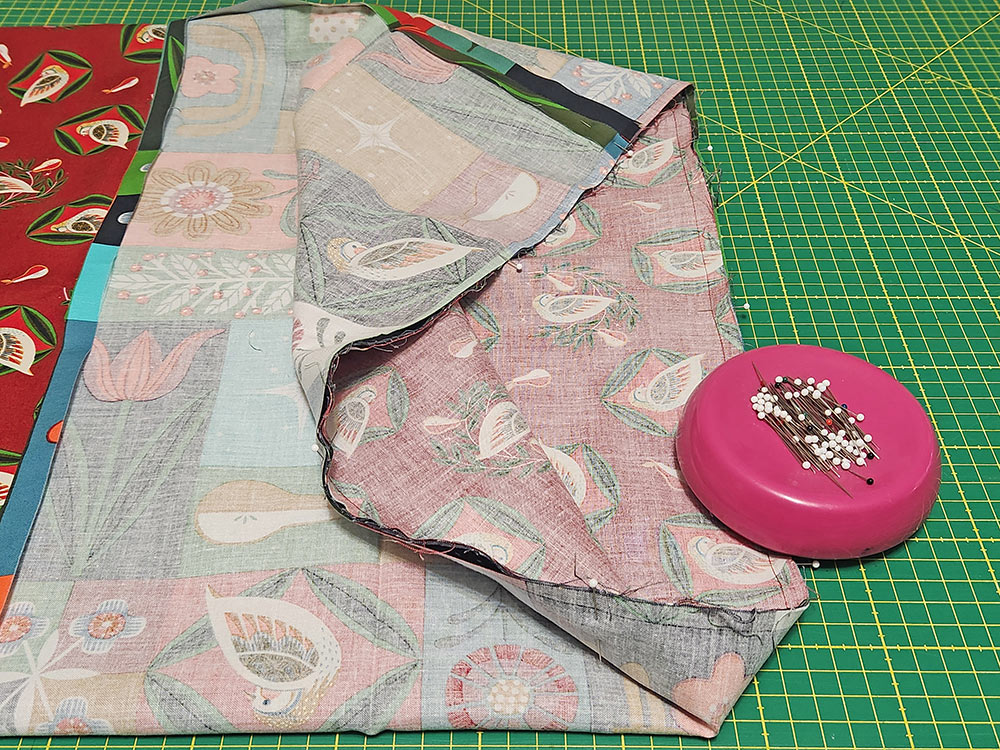
- Repeat the process to stitch the bottom seam. Why in two steps? Because you can’t really create a sharp corner using a pivot with a French seam, but by stitching the side and bottom seams separately, you can create a clean fold on the inside…

- … that produces a nice point on the outside.

- Turn the pillowcase right side out. Push out the trimmed corners from the inside to make nice, square corners on the outside. Use your finger or a blunt edge tool, like a large knitting needle, chopstick or point turner. Press flat.
- These are simply two seam finishing options. You can certainly make a standard side and bottom ½” seam, then finish the seam allowance with your favorite method. For more information on machine sewn seam finishing alternatives, see our four-part article series.

Create and attach the flange
- Thread the machine with thread to best match the flange fabric in the top and bobbin. Set for a standard straight stitch and attach a Standard presser foot.
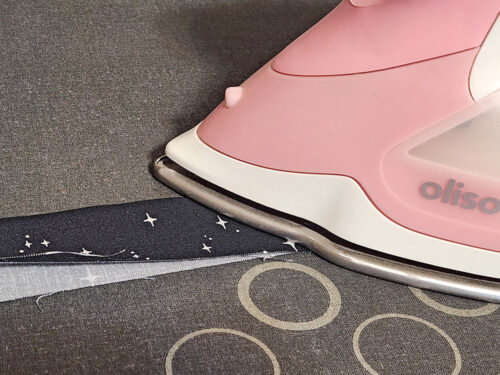
- Find the 3” flange strip.
- Align the ends, right sides together, to create a loop. Pin the ends in place securely at a ½” seam allowance, and test to see if this “flange loop” fits the pillowcase body by slipping it over the open end of the pillowcase. The open end of the pillowcase body and the flange loop need to be a perfect match. If the flange circle seems a bit too big or too small, adjust your seam allowance accordingly.
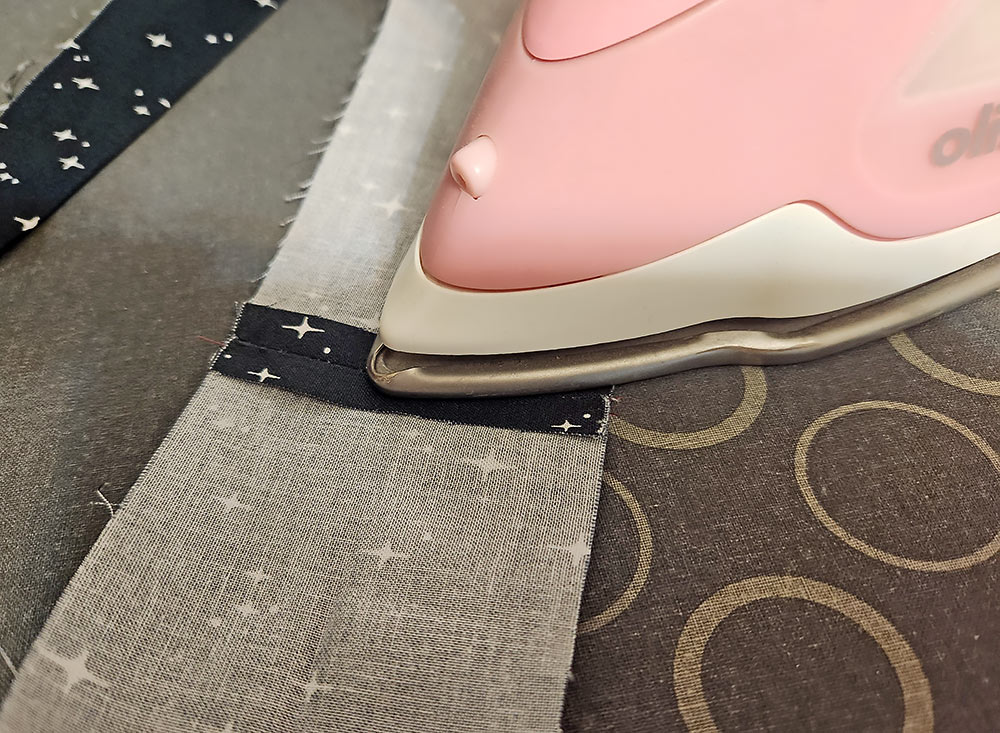
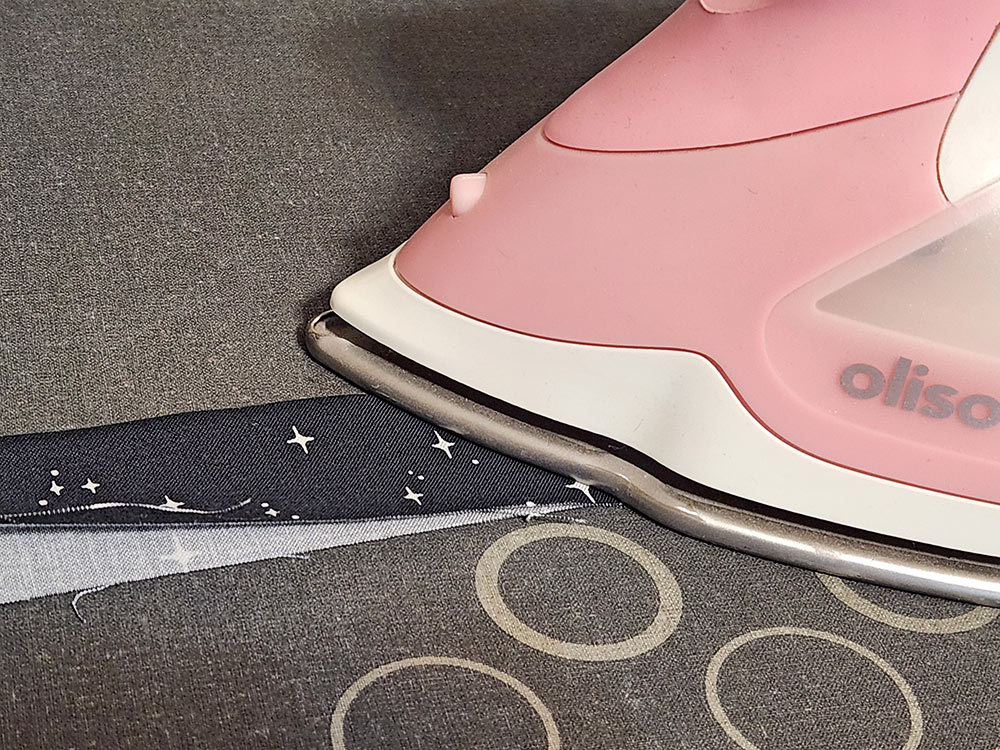
- Once confirmed, stitch the ends together. Press the seam allowance open and flat.

- Fold the flange in half so it is 1½”, wrong sides together, and press so it is nice and flat.
- Find the pillowcase body. It should be right side out, slip the sewn flange loop over the open end of your pillowcase body, matching raw edges of the folded flange with the raw edge of the top of the pillowcase body.

- Using a ¼” seam allowance, machine baste the flange in place. If your machine has a free arm, now is a good time to use it. As noted above, we are bouncing back and forth between the construction shots of both our samples.

NOTE: Using a ¼” seam allowance insures your basting stays within the final ½” seam allowance. You could certainly switch back to your Quarter Inch Seam foot to keep a precise line of basting all around.

Create and attach the cuff
- Thread the machine with thread to best match the cuff fabric in the top and bobbin. Keep the settings as-is for a standard straight stitch and keep the Standard presser foot in place.
- Find the 13″ x 41″ cuff.
- Press in half, wrong sides together, so it is now 6½” x 41″.
- As you did above with the flange circle, pin the ends together to form a loop, pinning securely at the ½” seam allowance line. Then test to see if this cuff loop fits around the pillowcase body and lays flat. Make a note of any adjustments needed (if any) to the standard ½” seam allowance.
- Unpin and unfold the cuff so it is once again have a 13″ x 41”. Place the 13″ ends right sides together. Pin in place.
- Sew together, using a ½” seam allowance – or adjusting the seam allowance smaller or larger based on your test above.
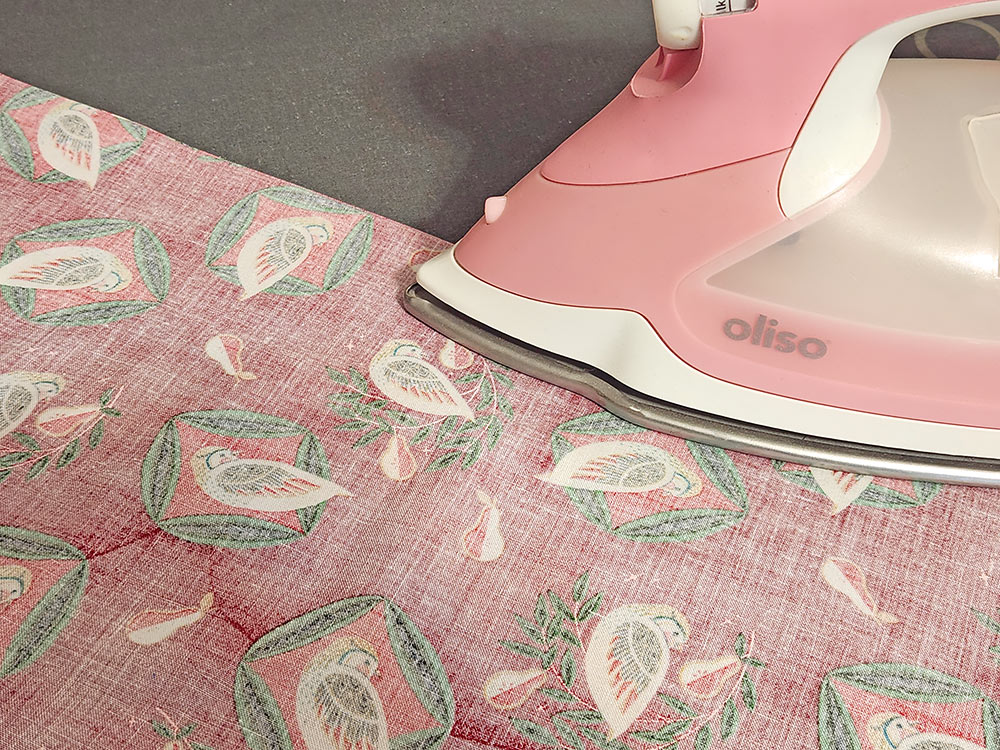
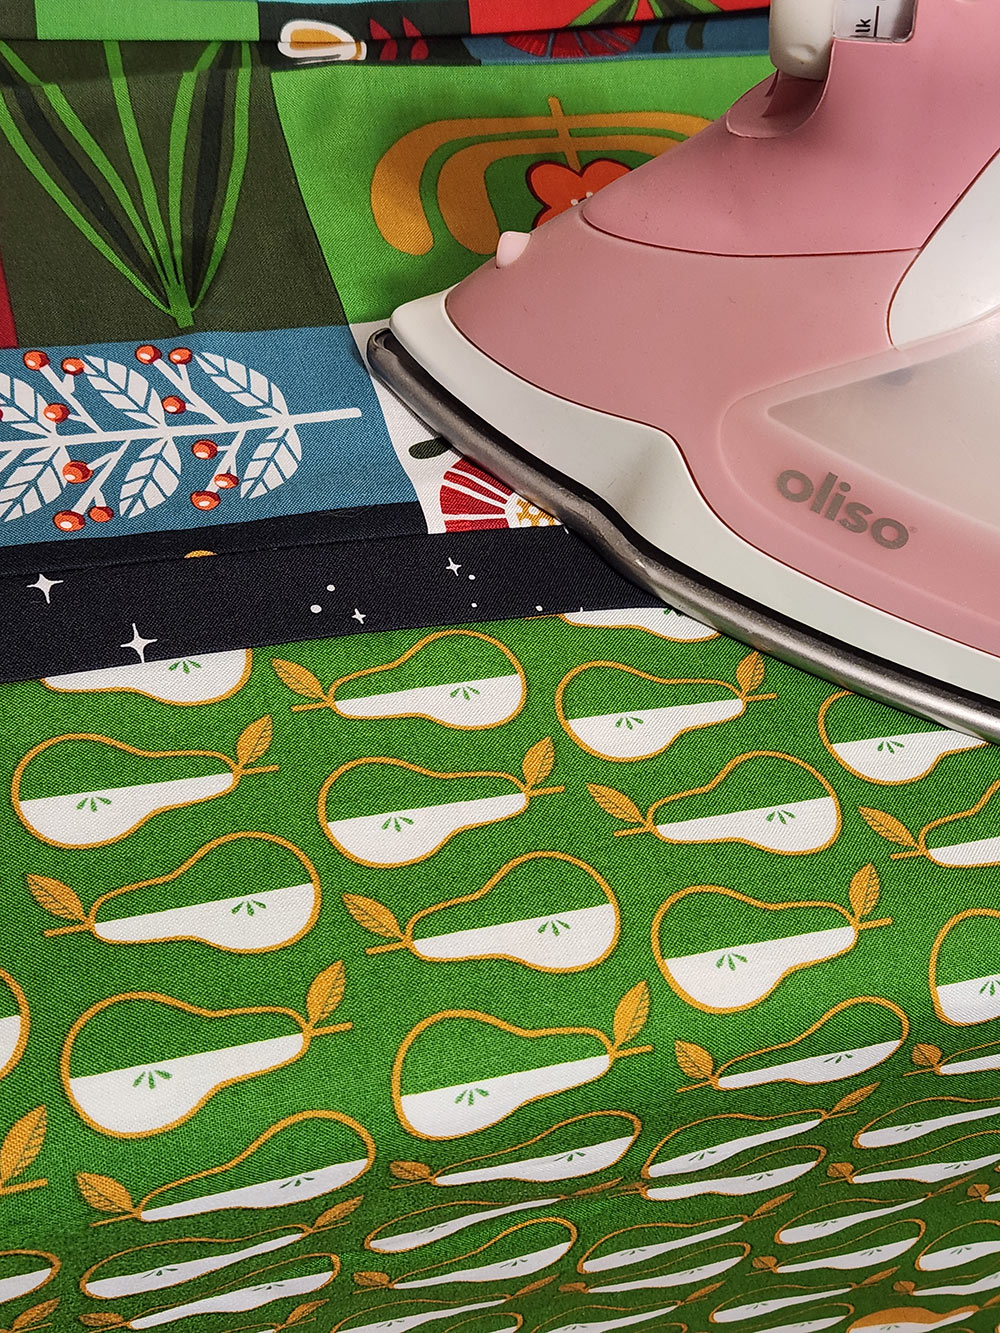
- Press the seam allowance open.
- Re-fold the loop in half, wrong sides together, making sure the raw edges are flush all around. Press well.
- Fold up ½” along one raw edge of the loop.
NOTE: This ½” fold will be on the inside of the pillowcase, so if you have a particular fussy cut you want to reveal on the front of the pillowcase, make sure this fold is along the half of the cuff that you’ve planned for the inside of the case.

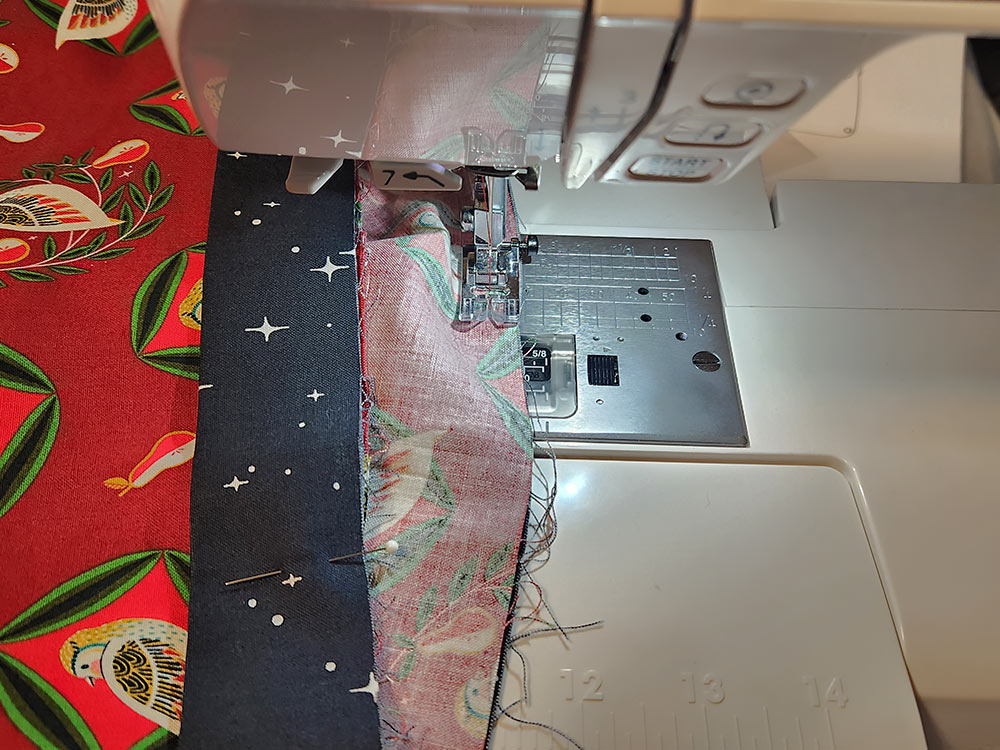
- Open up the cuff loop once again and slip it over the open end of your pillowcase body, right sides together, sandwiching the flange between the body of the pillowcase cuff. The raw edges of all the layers should be flush – the folded edge of the cuff is hanging down towards the body of the pillowcase. Align the cuff’s seam with one of the pillowcase body’s side seams. Pin all around.

- Using a ½” seam allowance, stitch all around the pillowcase opening. Again, this is a great time to use your machine’s free arm if possible.
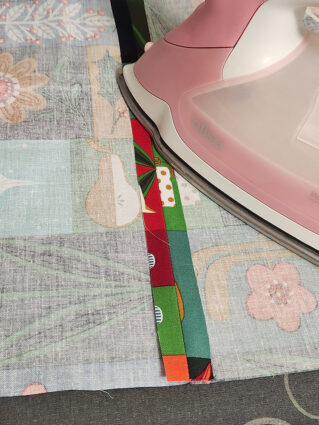
- Press the seam allowance up towards the pillowcase cuff.
- Re-fold the cuff along the original center crease line. This will bring the folded edge of the cuff around to the inside of the pillowcase. The folded edge of the cuff should neatly overlap the inside pillowcase/cuff seam. Adjust the fold as necessary to insure a clean overlap of the seam allowance all around.
- Pin in place. We pinned first from the inside to insure a good overlap of the seam allowance. Then we checked from the right side to make sure everything was straight and the flange was evenly exposed, and finally, we carefully moved the pins from back to front.
- For the final topstitching, we switched to a Janome Blind Hem foot. This foot has a center flange you can run right on top of the seam line.
- Re-thread the machine with thread to best match the flange fabric in the top and the cuff fabric in the bobbin. If you don’t have a Blind Hem foot, you can use your Standard foot, just keep your stitching as close as possible to the previous seam and stay within the flange.
- Topstitch all around to secure the cuff’s hem in place. Press well.
- Sweet dreams.


Project Design: Anne Adams
Sample Creation: Kathy Andrews, What Sew Ever