
Our first goal when approaching a new project is to brainstorm on the easiest way to tackle construction. This is closely followed by picking the best fabric options. The cherry on top: a unique embellishment that adds just the right bit of fun and flair.
We’ve detailed all the steps as well as any specialty feet or features we used. This is a great opportunity to use your Even Feed or Walking foot or engage your model’s built-in fabric feeding system, like the Janome AcuFeed™ Flex system. When working with thick layers, being able to control your feeding from above and below makes all the difference. Your machine’s free arm is also a good way to complete the Kitty Sack’s upper seam and the final topstitching.
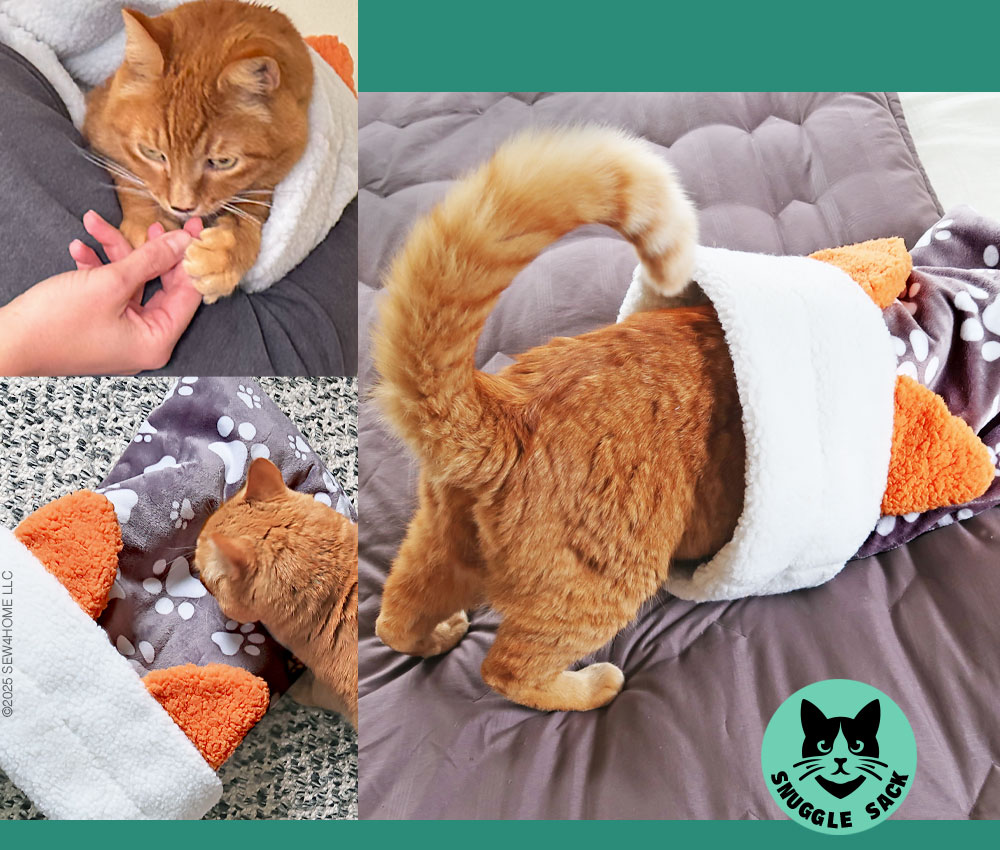
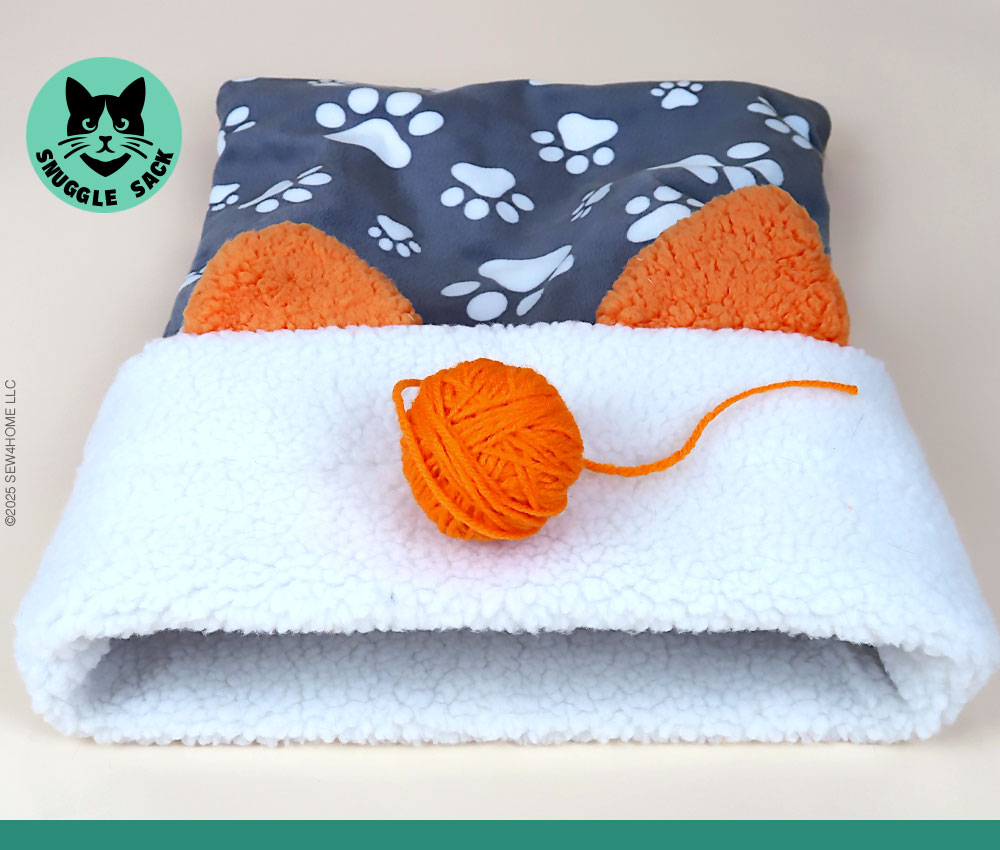
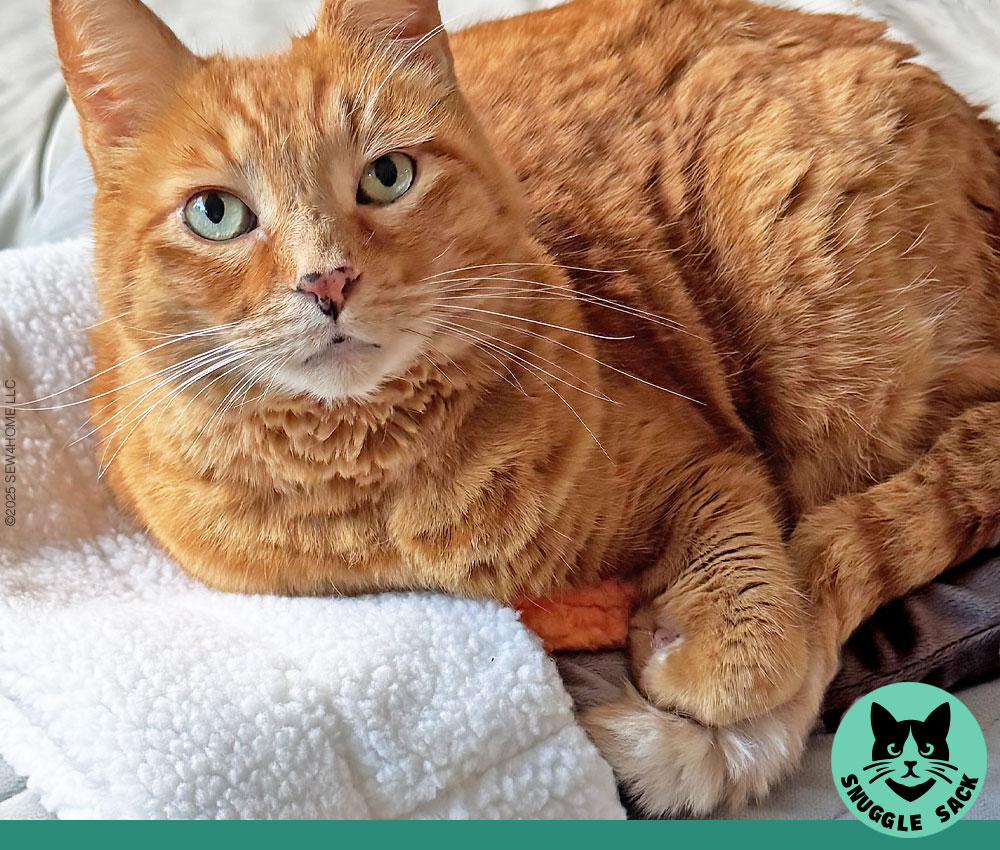
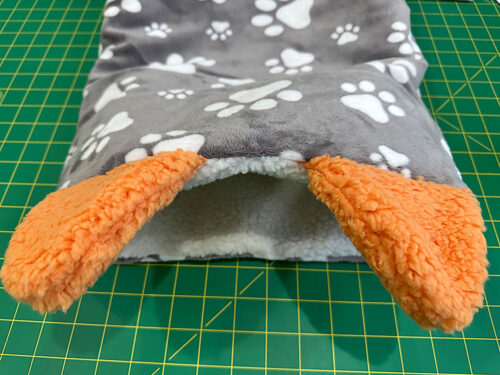
Goal No. 3: Cute Kitty Ears! There’s a free pattern to download so you can add kitty ears to the top of your Snuggle Sack. We did ours in an orange faux Sherpa fleece for a fun pop of color against the more neutral tones of the exterior and lining. And, just perhaps… the ears will convince your kitty to accept the Sack as one of its own. There’s also a handy template to download you can use for rounding the bottom corners.
Sewing Tools You Need

- Sewing Machine and standard presser foot
- Even Feed/Walking foot or engage your machine’s built-in feeding system; we used the Janome AcuFeed™ Flex built-in fabric feeding system throughout much of the construction
- Quilting Guide Bar; optional for the final topstitching
Fabric and Other Supplies
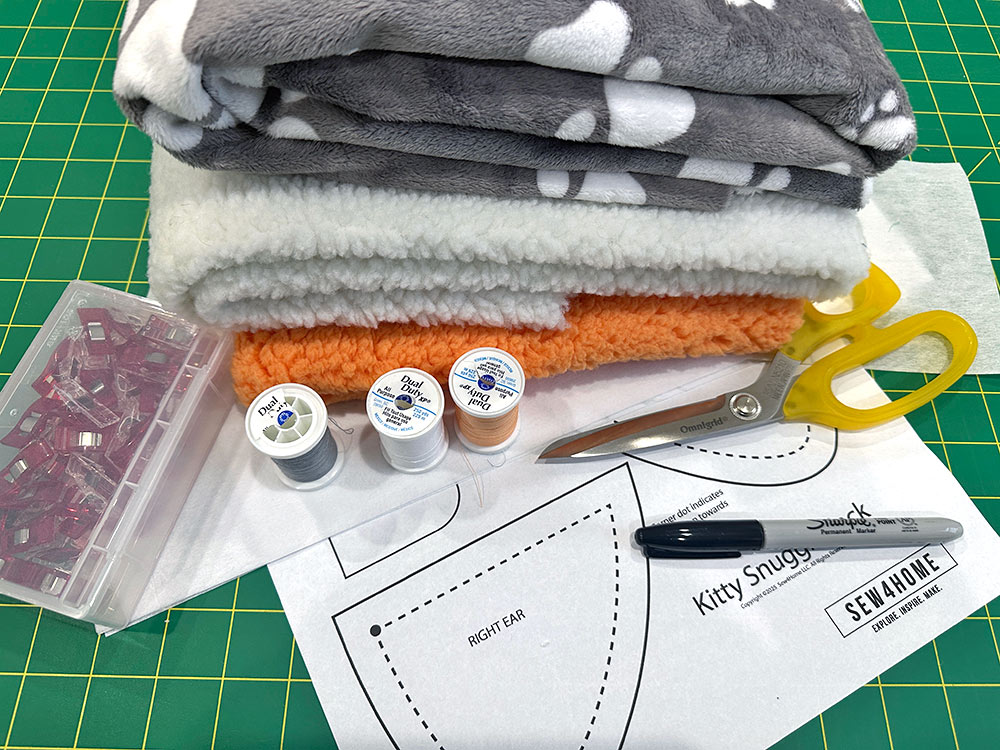
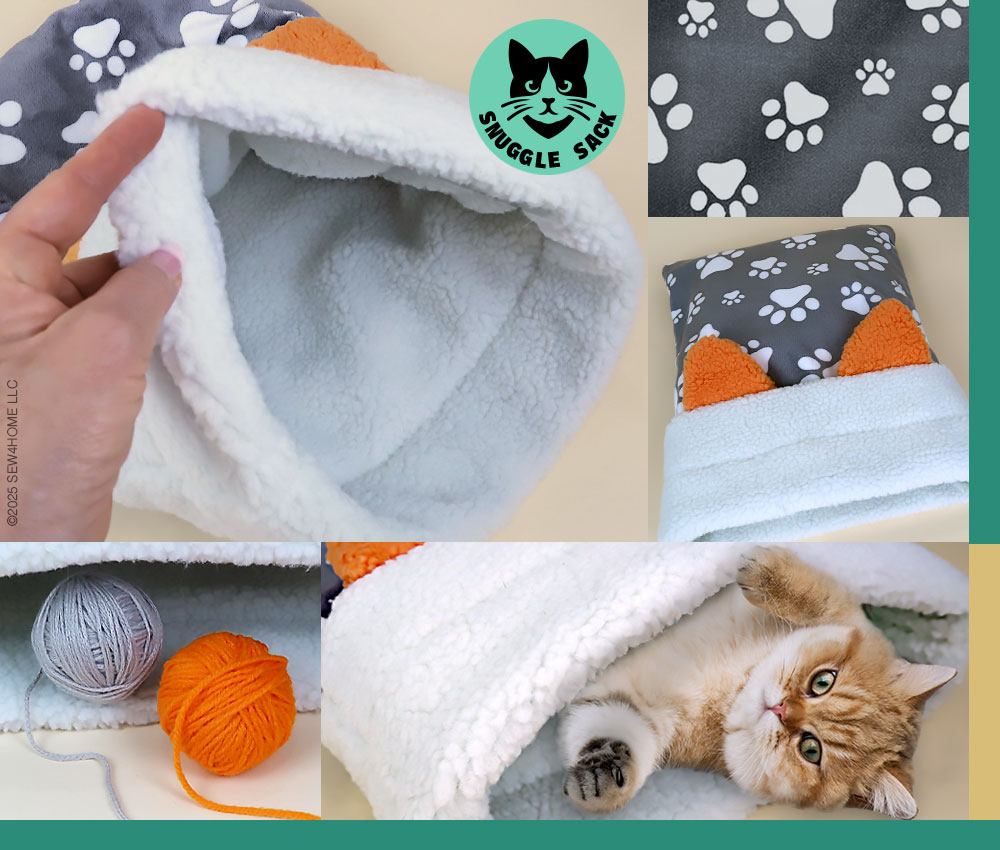
NOTE: Fleece fabrics are usually sold in 58-60” widths. Our cuts are based on this assumption. You can always refer to the Getting Started section below to see the exact cutting sizes should you wish to use a narrower fabric or even a scrap panel from your stash. We pulled both of our sample fabrics from our S4H stash. The paw prints fleece is a popular print that is still available from both retail outlets as well as online from Etsy and others. An internet search in your local area using the key words: paw, prints, Shannon should yield a number of results. The faux Sherpa fleece is also readily available from retail and online outlets in both the white and orange.
- ½ – ⅞ yard of 58”+ wide soft patterned fleece for the exterior; we used Paws Cuddle in Gray and White by Shannon Fabrics
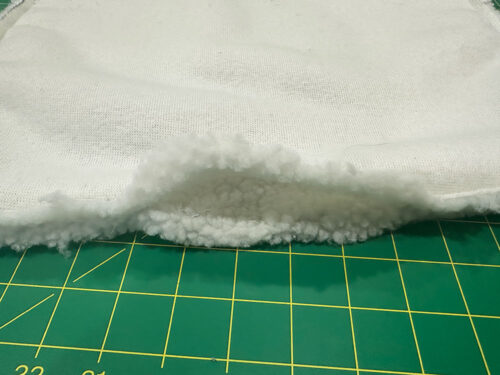
NOTE: Look at the cuts below in the Getting Started section: a ½ yard is sufficient for the Small/Medium size if your motif is random or horizontal – jump to ¾ yard for a strong vertical motif – for the Medium/Large size, ⅝ yard is just enough when the panels are cut side by side WOF – jump to ⅞ yard for a strong vertical print. - ½ – ⅝ yard of 58”+ wide faux traditional Sherpa fleece for the interior; we used a traditional faux Sherpa in a slightly off-white – pick a solid that coordinates well with your exterior fabric – and select a Sherpa fleece that is thick and dense – this is important to the overall structure of the Sack – if the Sherpa fleece is quite soft (such as what we used for the kitty ears) the sack could turn out too slouchy.
NOTE: As above, ½ yard works for the Small/Medium cuts; ⅝ yard is needed for the Medium/Large cuts, but do be aware that a full 58” width is required to cut the two 29” panels side by side. - Scarp or ⅛ yard of 58”+ wide soft faux Sherpa fleece for the optional kitty ears; we used a soft faux Sherpa in a pale orange
- ½ yard of 45”+ wide mid-weight fusible interfacing; we used Pellon Décor Bond
NOTE: The stiffness of the interfacing is important to allow the opening to stay open; we do not recommend opting for anything lighter. - All-purpose thread to match both the exterior and interior fabrics
- See-through ruler
- Fabric pen or pencil
- Iron and ironing board
- Scissors with long, sharp tips
- Rotary cutter and mat
- Seam gauge
- Seam ripper
- Straight pins
- Sharpie® type dark, permanent marker
- Hand sewing needle
Getting Started and Pattern Download
- Download and print the pattern pieces for this project: LEFT EAR, RIGHT EAR, and CORNER TEMPLATE.

NOTE: This download consists of ONE 8½” x 11″sheet. You must print the PDF file at 100%. DO NOT SCALE to fit the page. There is a guide rule on the sheet to confirm your printout is to scale. Print horizontally (landscape). - Cut out each pattern piece along its solid outer line.
NOTE: We outline and show our marking and cutting techniques below, but if you are brand new to working with fleece fabric, we have two full tutorials you can review prior to starting: one on standard fleece tips, and a second on working with the denser faux furs, like our faux Sherpa fleece. - From the faux Sherpa fleece, cut the following:
Small/Medium: TWO 16” x 26” panels
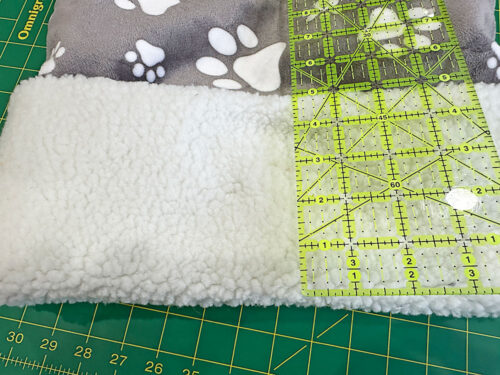
Medium/Large: TWO 19” x 29” panels - Use your Sharpie® and ruler to draw in your two rectangular panel shapes on the wrong side of the fabric.
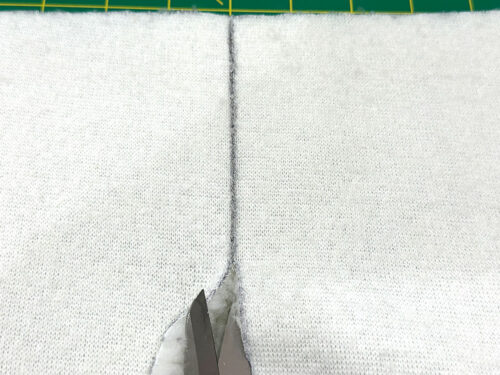
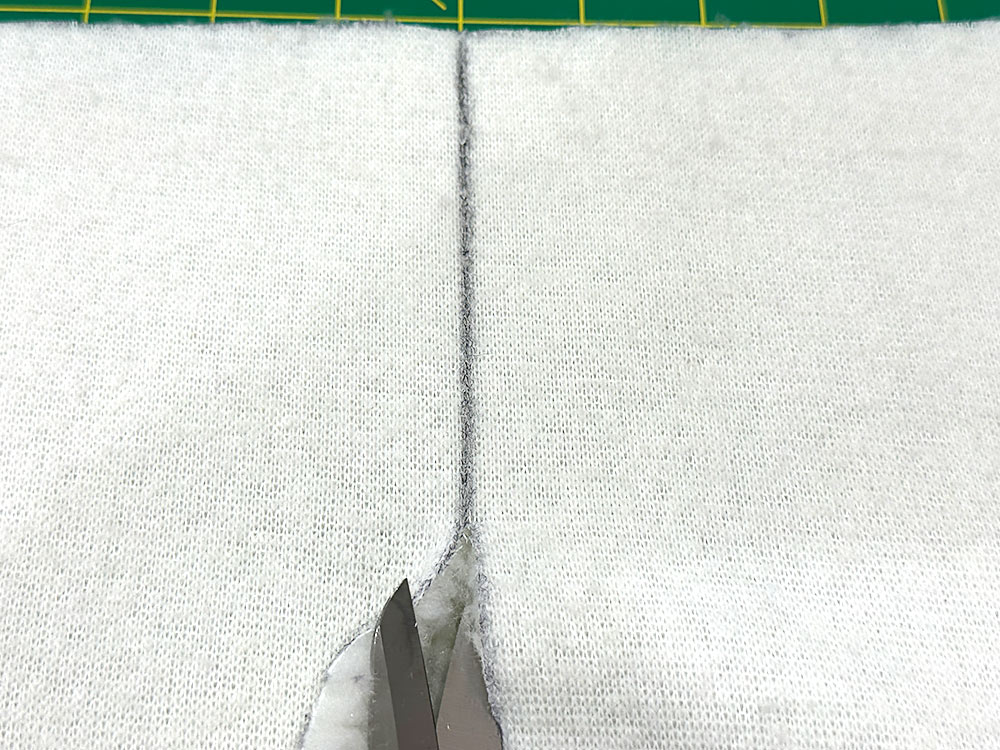
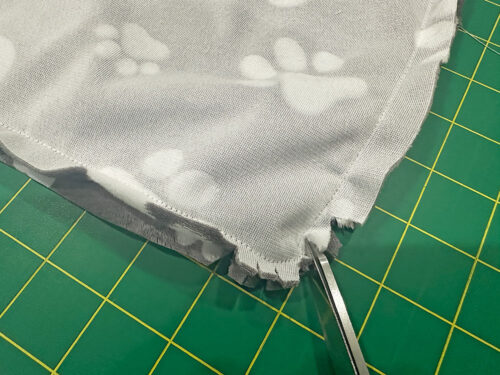
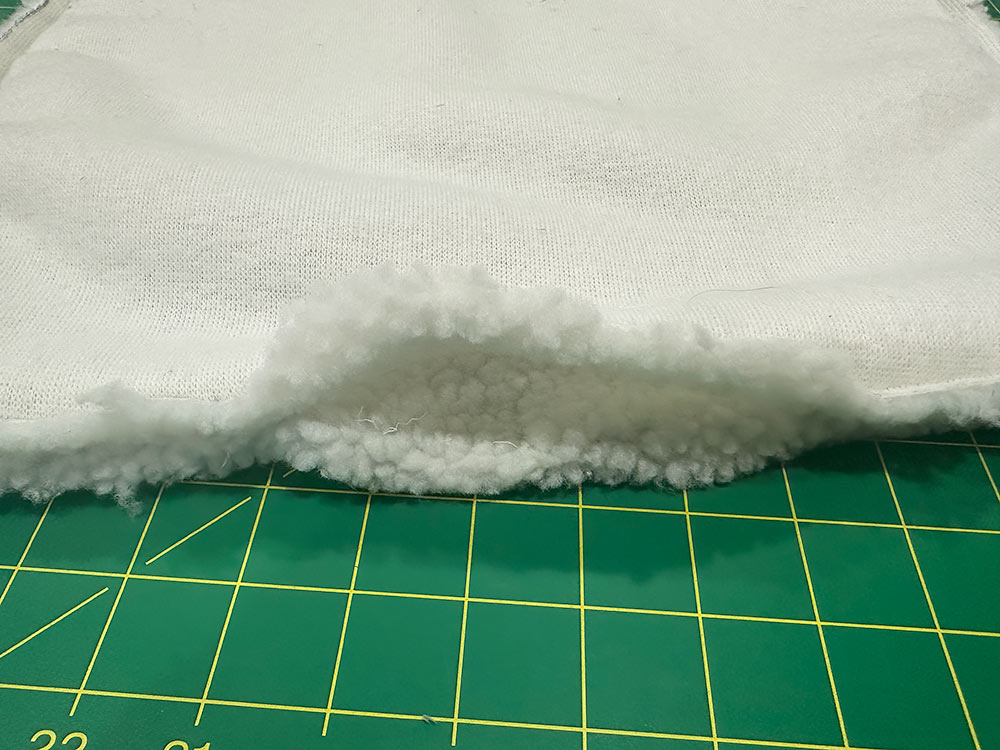
- Using your scissors, insert the tip of the blade under just the backing.
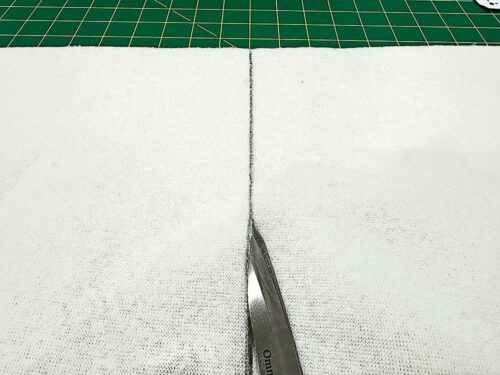
- Then carefully snip along the drawn line, cutting only the backing not the nap of the fleece. This is important to create a clean edge. Again, if this is new substrate for you, check out our full tutorial.
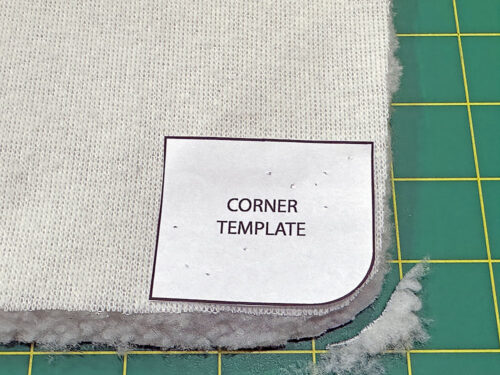
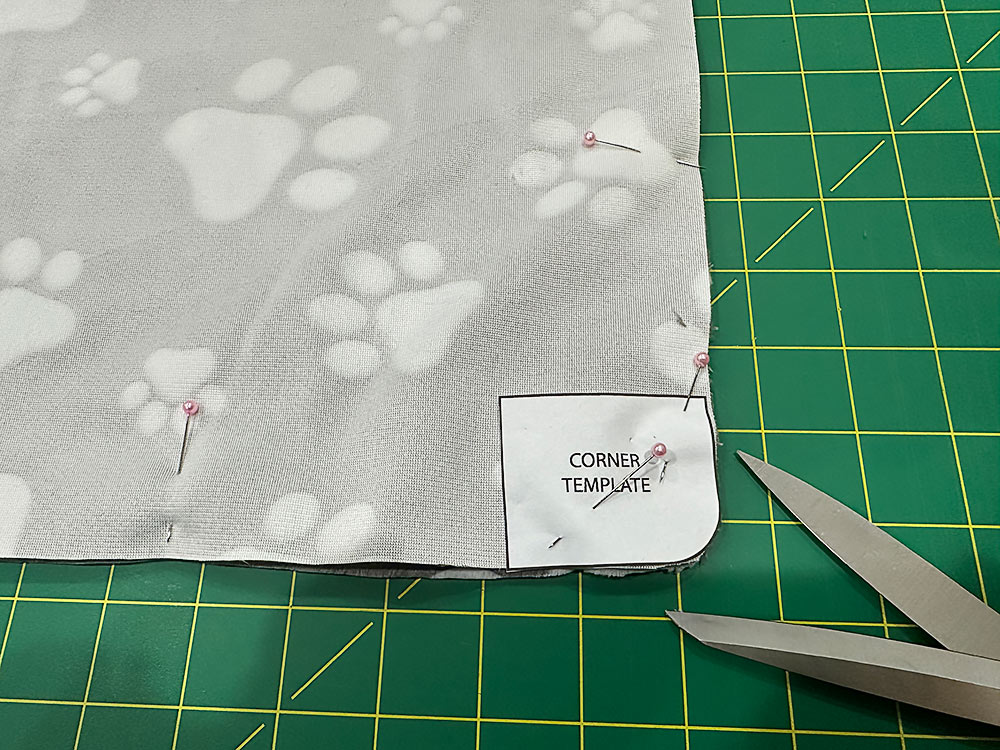
- Once both panels are cut, find the Template and pin or tape it in place in each bottom corner. You are still working on the wrong side of the fabric. Using the template, round each bottom corner. Remember, you have a left and right corner on each panel, so one corner will be trimmed with the Template facing right side up and the opposite corner will be trimmed with the Template facing right side down.
- From the exterior fleece, cut the following:
Small/Medium: TWO 16” x 26” panels
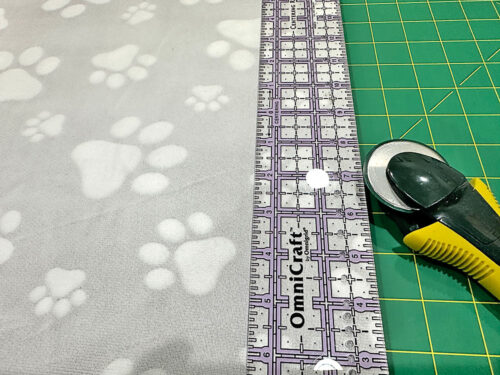
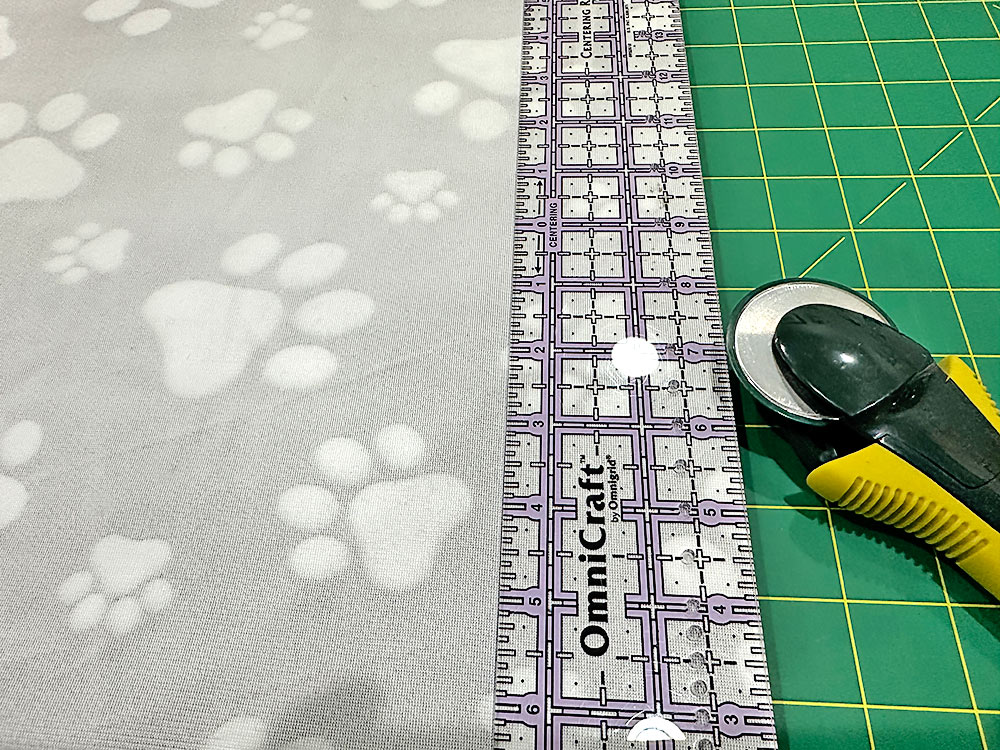
Medium/Large: TWO 19” x 29” panels - The nap on this standard style of fleece is much less dense and so can be cut using a ruler and rotary cutter.
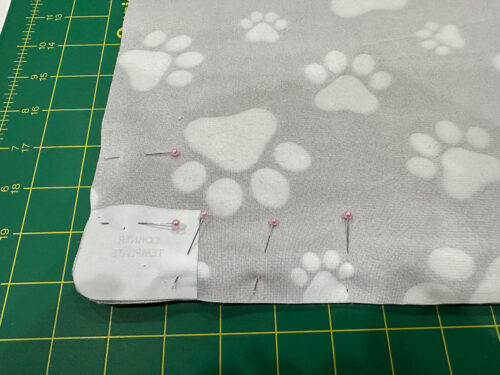
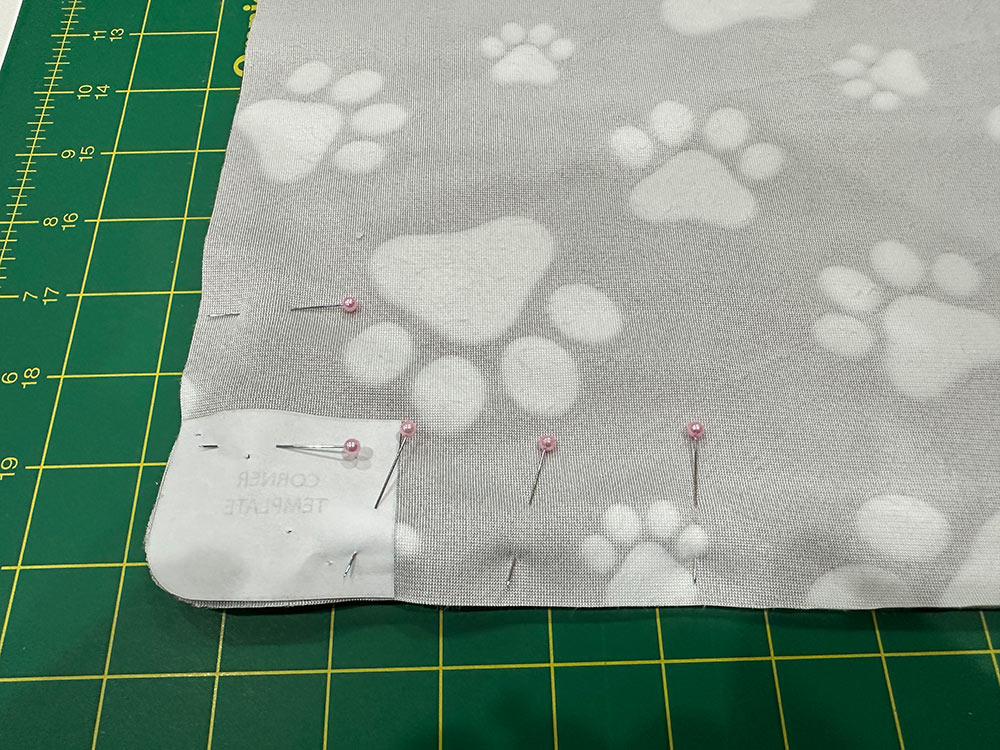
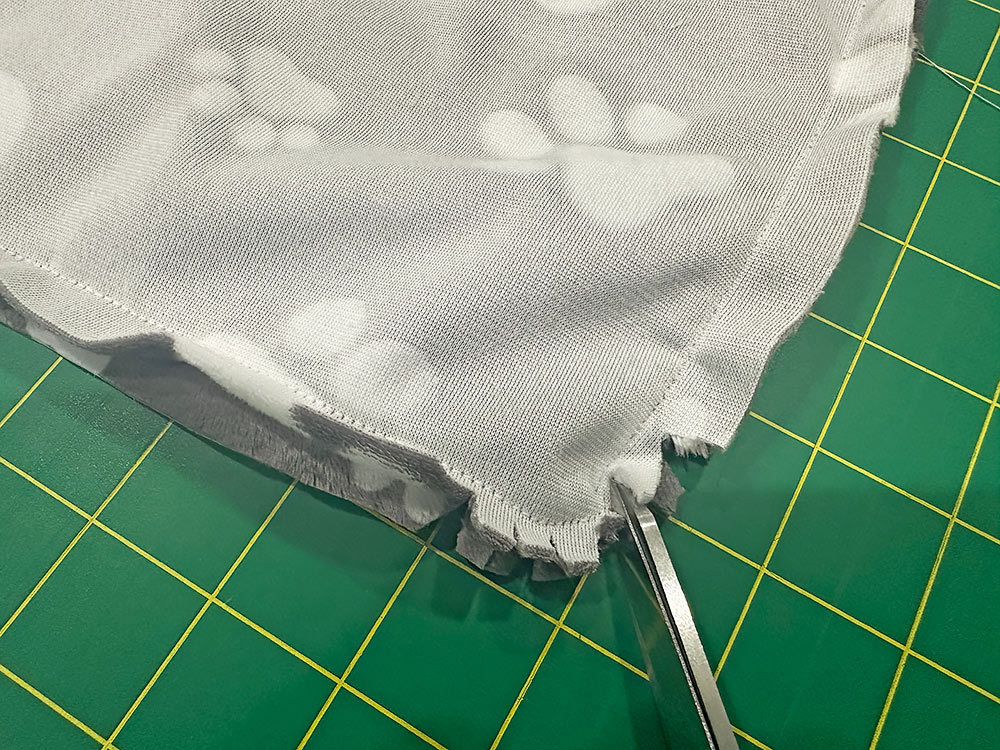
- Once both panels are cut, find the Template and pin it in place in each bottom corner. You are still working on the wrong side of the fabric. Using the template, round each bottom corner.
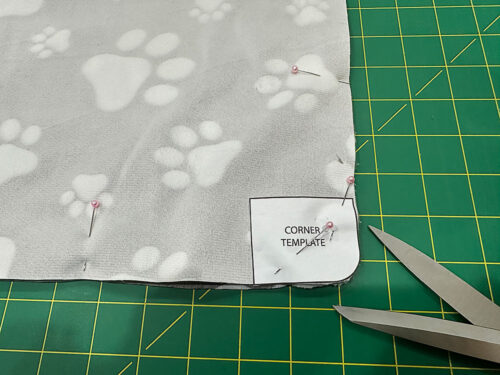
- As mentioned above, don’t forget the Template will be facing right side down in one corner.
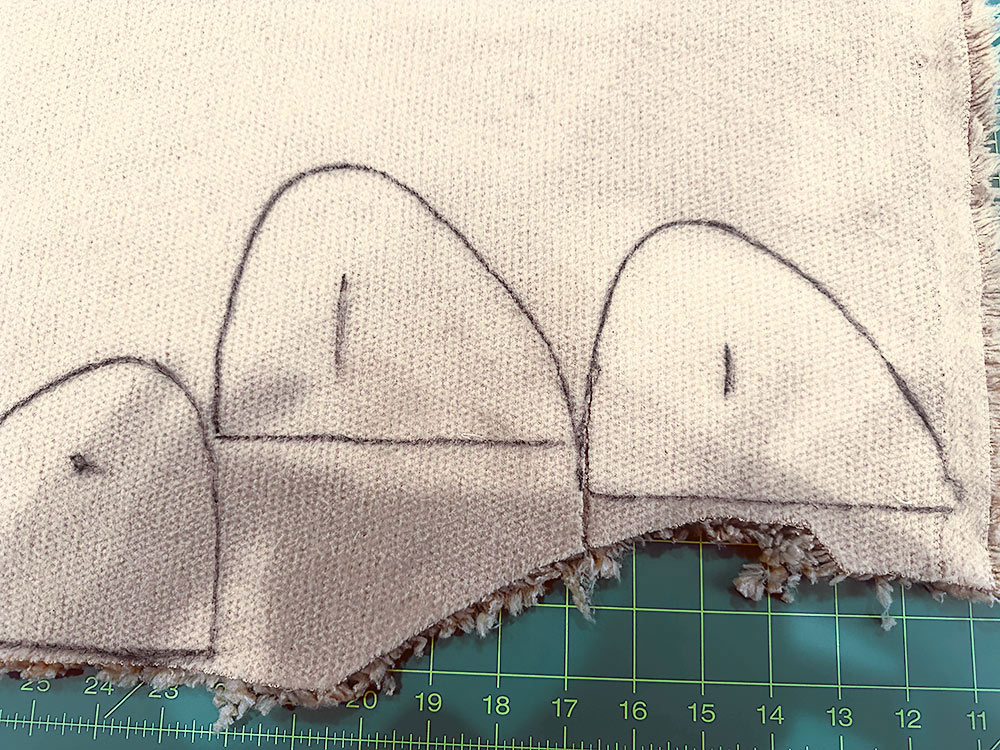
- From the softer faux Sherpa fleece for the ears, use the patterns to first draw in TWO left ears and TWO right ears on the wrong side of the fabric, just as you did above for the main faux Sherpa fleece panels. For each ear, trace one with the pattern facing right side up and the second with the pattern facing right side down. This is important so the front and back of each ear match up.
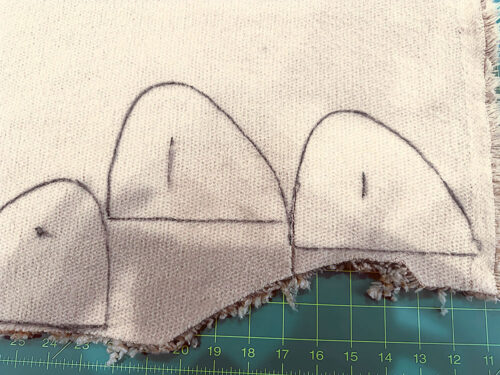
- Also as you did above, cut out each just along the backing, leaving the dense nap intact.
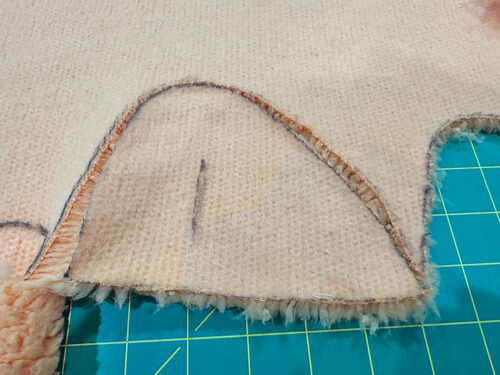
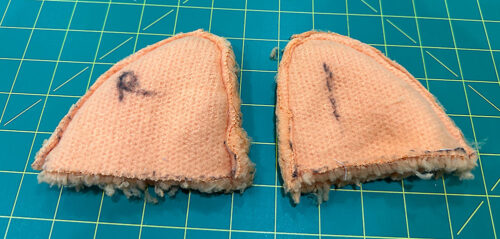
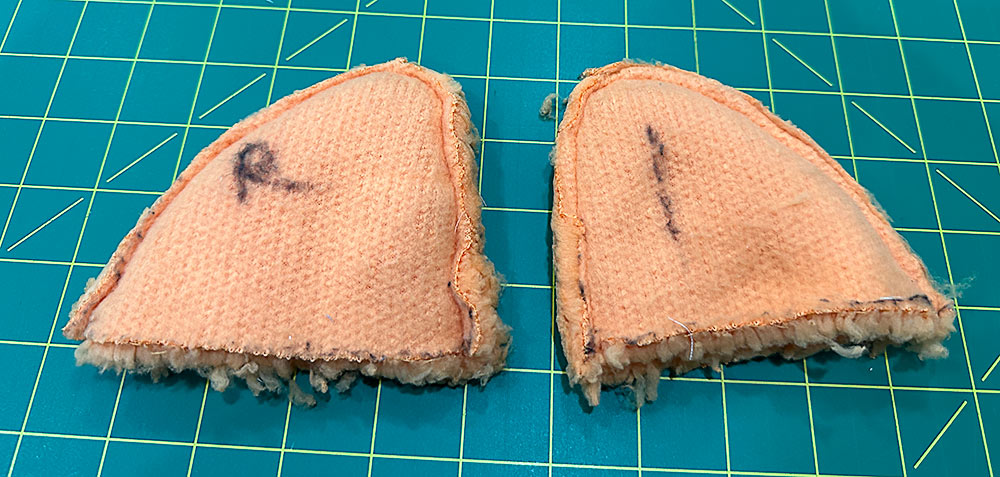
NOTE: There is indeed a right ear and a left ear and it’s important to keep them straight. Mark with a line and a dot or an L and an R, whatever will help you keep track. This insures you’ll place them correctly when layering the ears with the main exterior and lining panels. As you can see in the beauty images above, the ears tilt out to each side… just like real kitty ears. - From the mid-weight interfacing, cut the following:
Small/Medium: FOUR 16” x 5” panels
Medium/Large: FOUR 19” x 5” panels


At Your Sewing Machine & Ironing Board
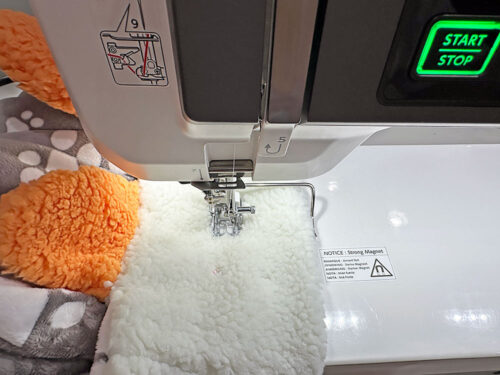
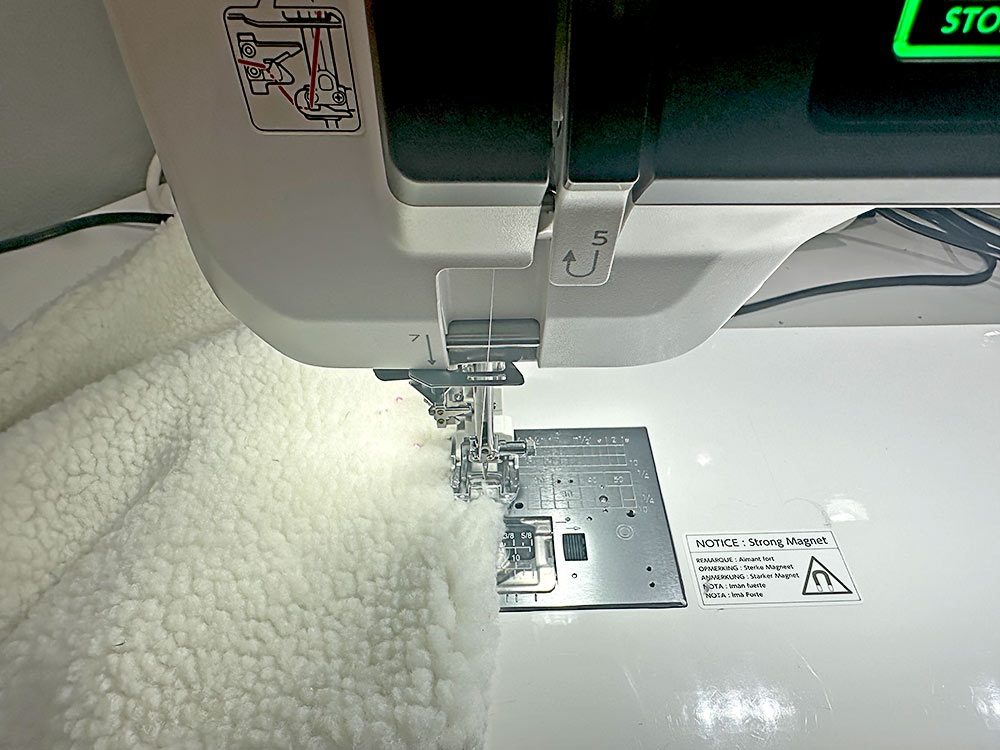
NOTE: We set up our Janome AcuFeed™ Flex built-in fabric feeding system and continued to use it throughout the constructions steps. We recommend you do the same with your machine or at least attach an Even Feed/Walking foot. This dual-feeding is crucial to keep the thicker fabrics moving smoothly.
Complete the optional ears
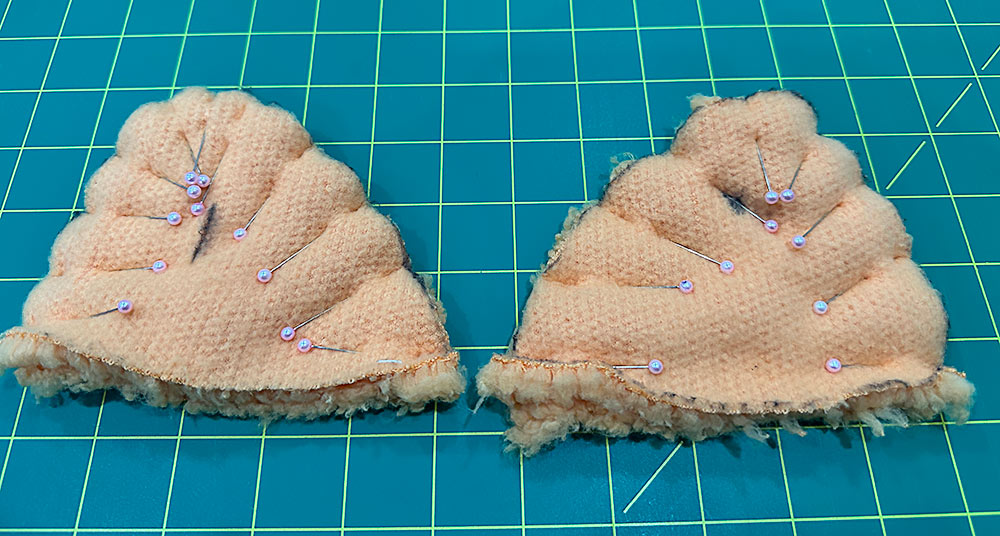
- Place the left ear pieces right sides together and the right ear pieces right sides together. Pin around the outer curved edges, leaving the bottom straight edge un-pinned.
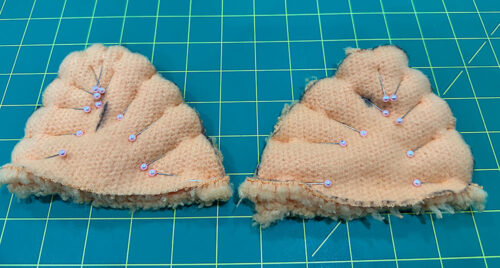
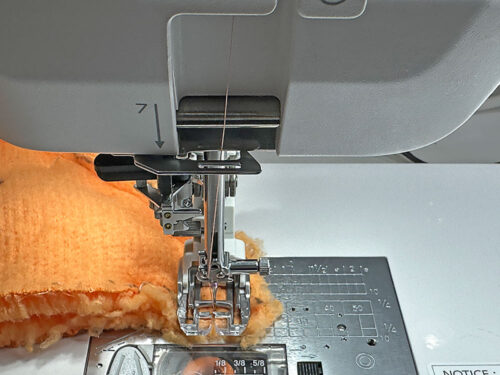
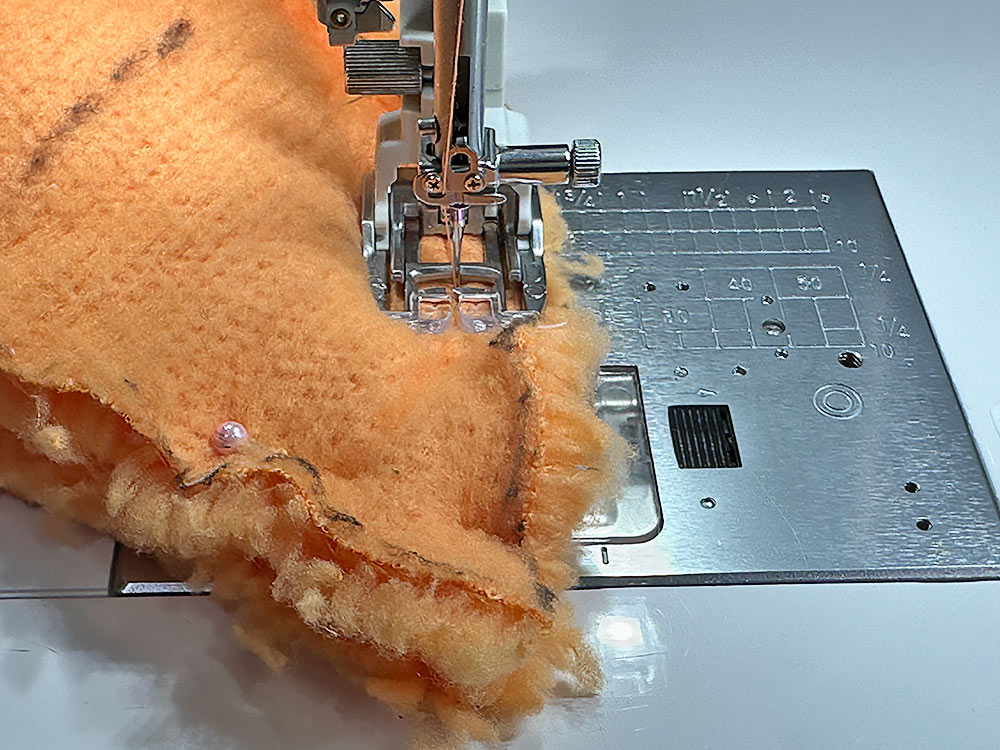
- Using a ½” seam allowance, stitch around the outer curved edge, leaving the bottom straight edge un-sewn.

- On each ear, start/stop and lock your seam at either side of the bottom straight edge.
- Trim back the seam allowance close to your stitching.
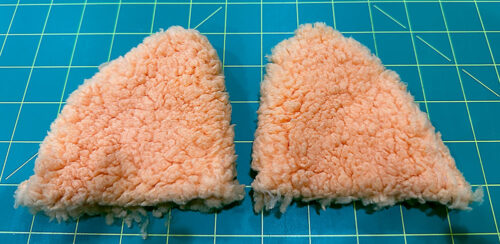
- Turn right side out and set the ears aside.


Add the interfacing to the exterior and interior
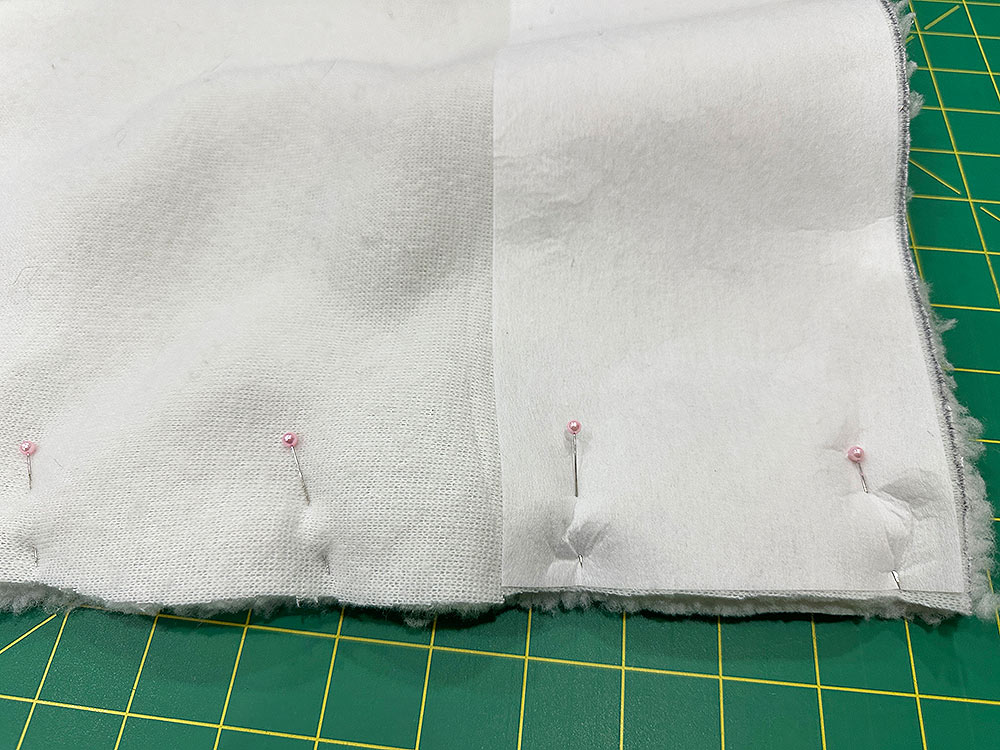
- Find the two main interior panels and the two main exterior panels along with the four interfacing strips.
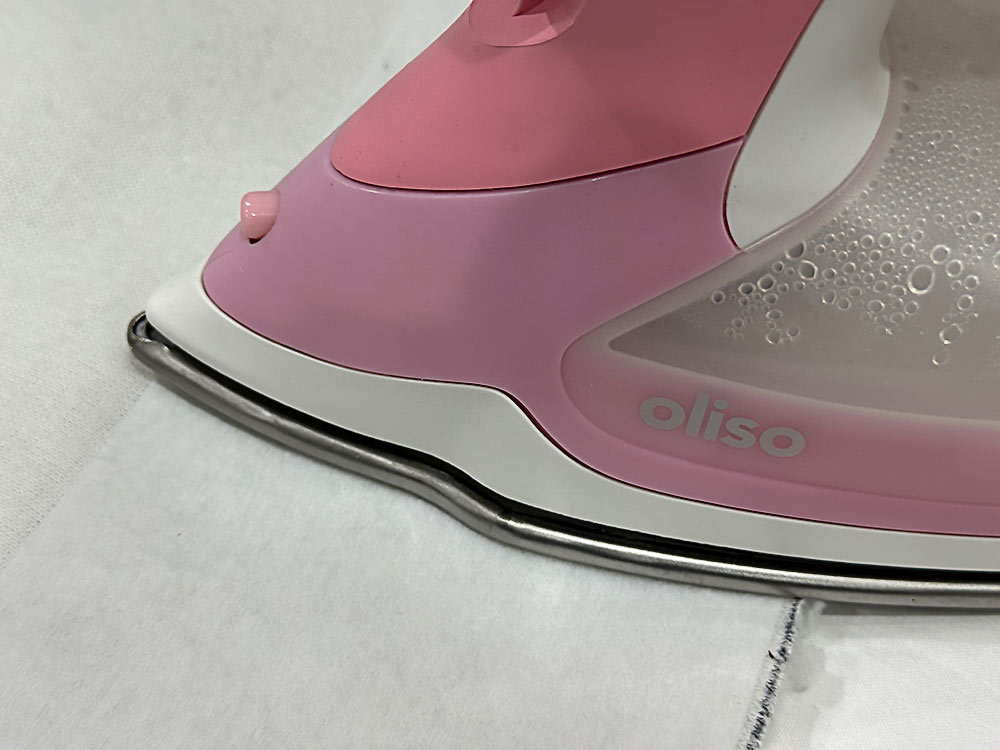
- Place an interfacing strip along the top edge on the wrong side of each panel. Following manufacturer’s instructions, fuse in place.
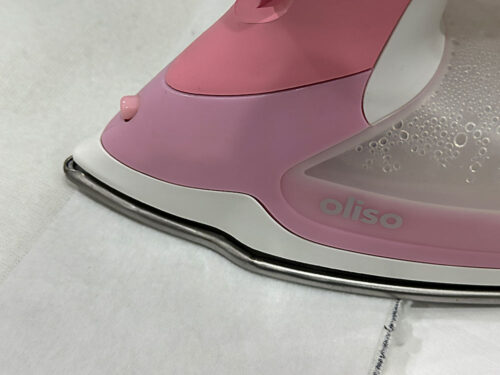
NOTE: In general, fleece fabrics are not big fans of ironing, but for this step you are working on the wrong side so some heat is okay. That said, don’t crank up to the cotton/linen setting on your iron; keep it on a synthetic setting. This may mean it will take a bit longer for the fusing to activate, just keep your iron moving.
Stitch together the exterior and interior panels
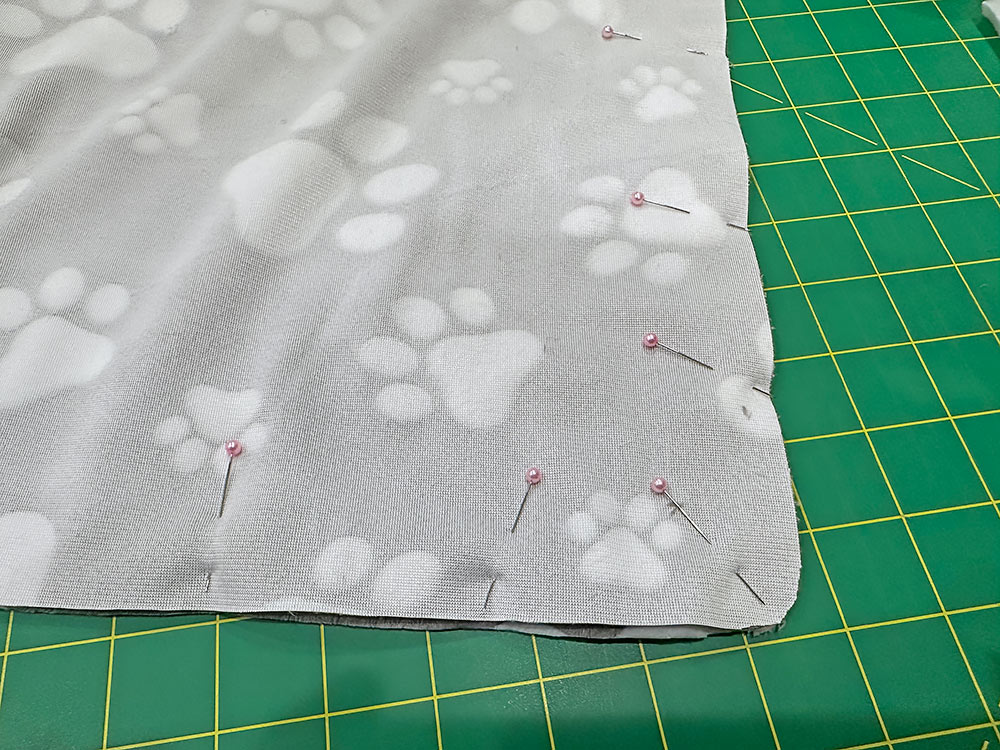
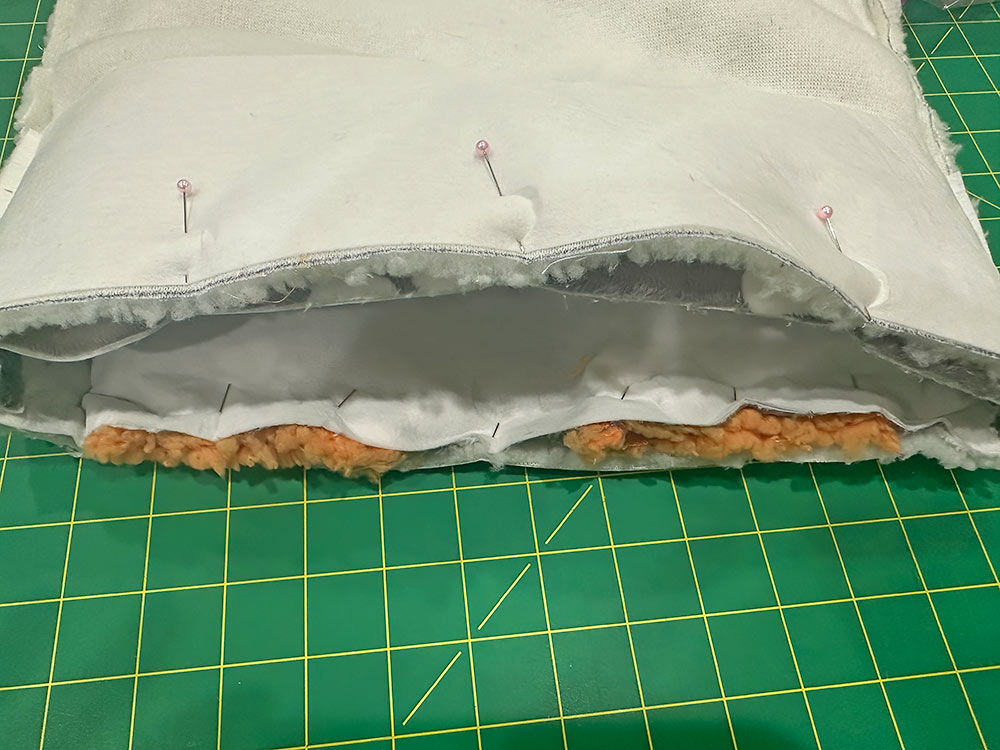
- With the interfacing fused in place, place the two main exterior panels right sides together and the two main interior panels right sides together.
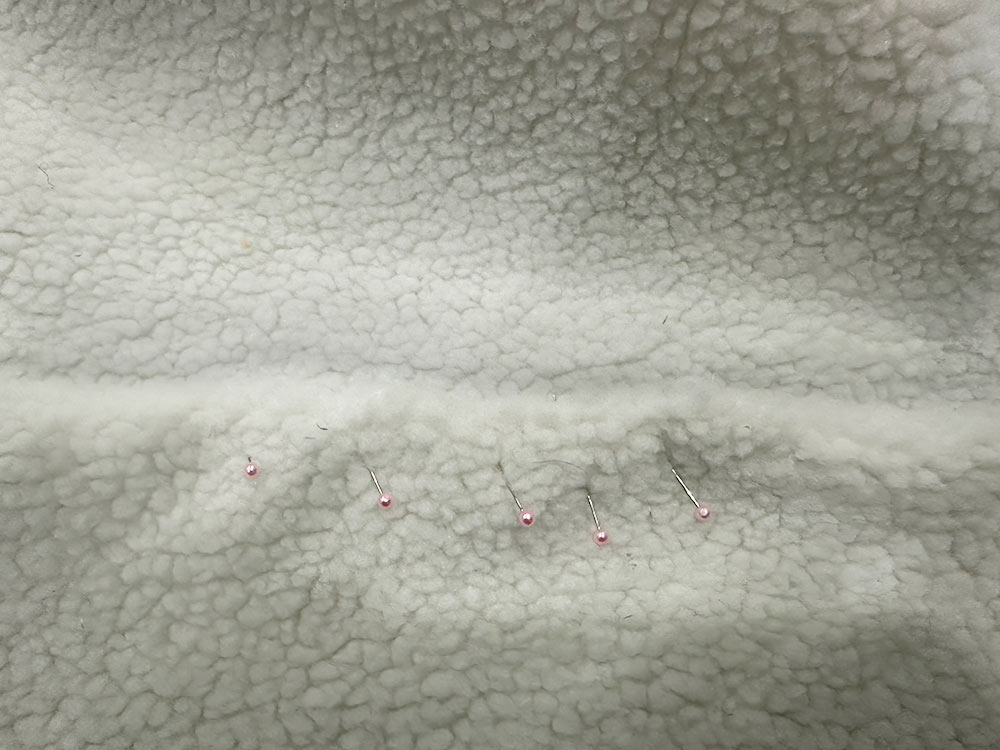
- On the exterior panels (the patterned fleece), pin along both sides, along the rounded corners, and across the bottom.
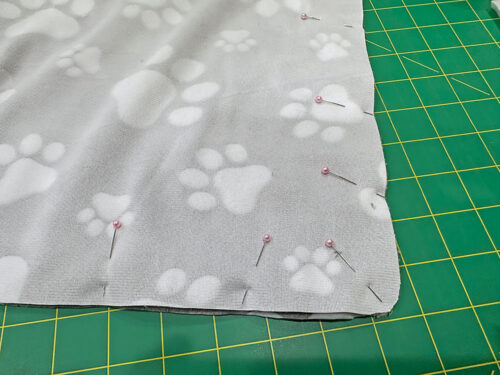
- Repeat on the interior panels (the faux Sherpa fleece), but leave an approximate 3” opening at the center of the bottom un-pinned.

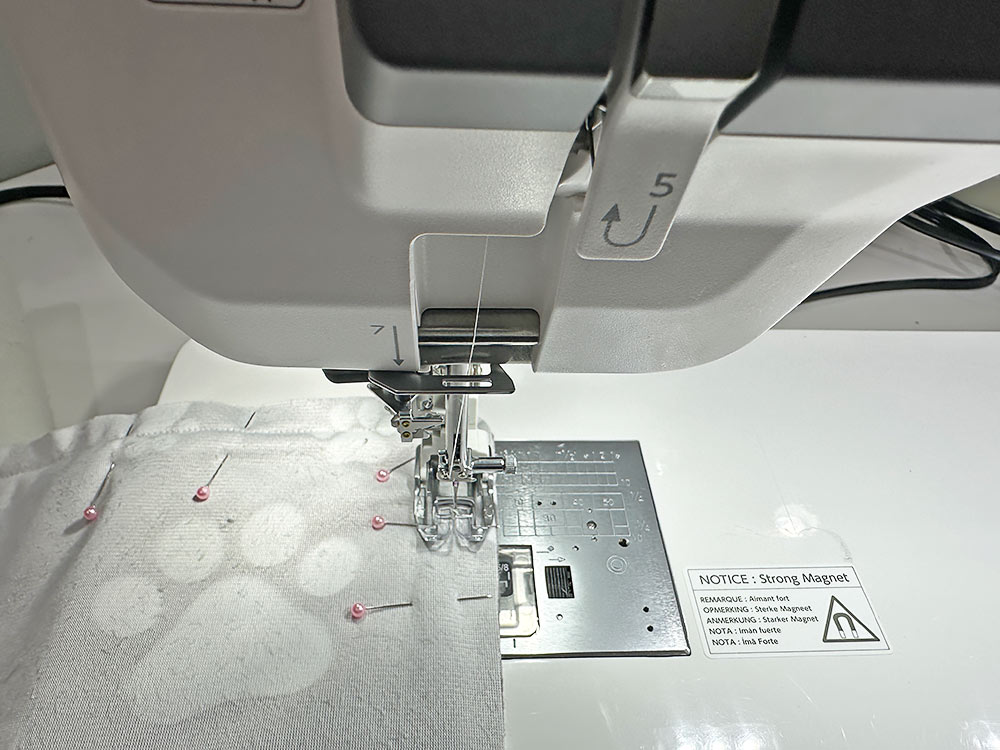
- Using a ½” seam allowance, stitch along both sides, along the rounded corners, and across the bottom of the exterior layers.
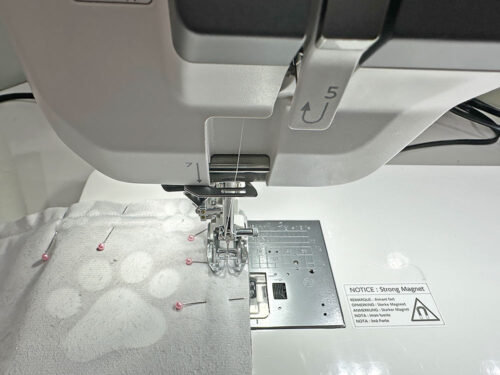
- Using a ½” seam allowance, stitch along both sides, along the rounded corners, and across the bottom of the interior layers, but… don’t forget to lock your seam at either side of that 3” opening at the center of the bottom edge.
- You will use this opening later to turn the sewn Sack right side out.
- Trim and clip the corner curves to reduce bulk on both sewn panel sets.

Place the optional kitty ears
- Turn the sewn exterior Sack right sides out, and fold down the top. The exact amount of the fold doesn’t matter; you are just marking at this point.
- Measure 2” in from each side seam and mark with a pin.
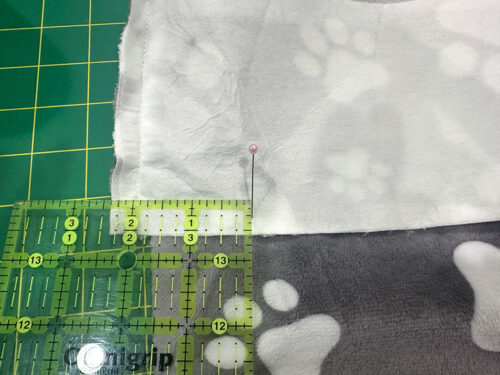
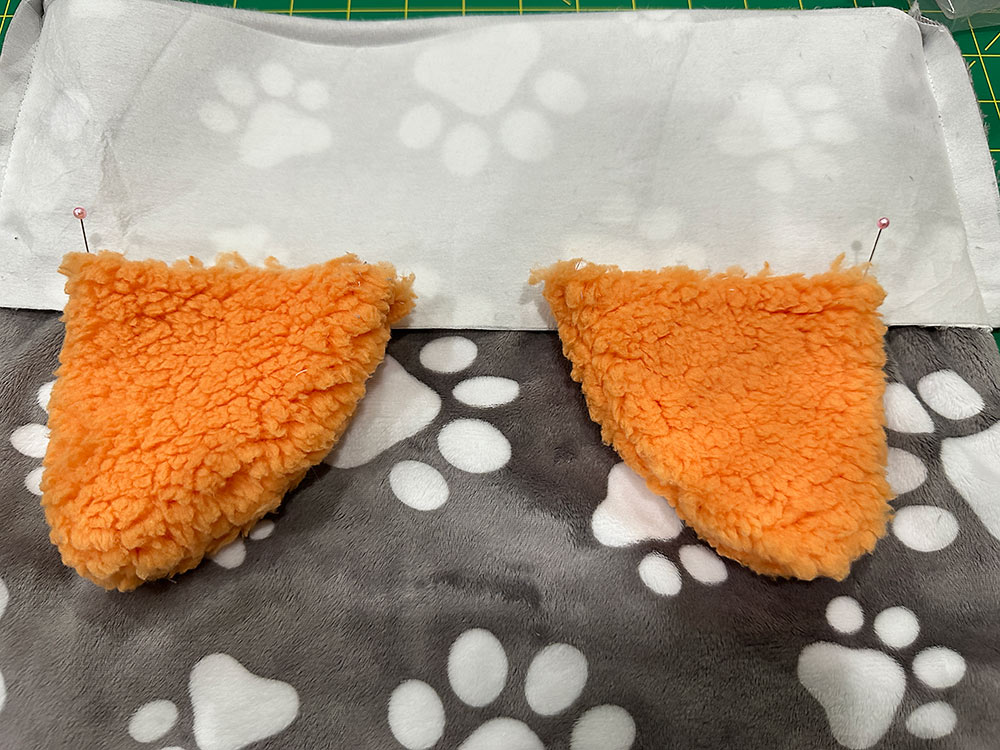
- Lay the kitty ears on top, confirming the position of the left ear and the right ear; the curved side of the ears should face the center of the Sack.

- Remove the ears and unfold the top.
- Once again place the ears in your pre-determined position against the right side of the exterior Sack. The open raw edge of each ear should be flush with the top raw edge of the Sack. You could simply pin the ears in place, but we suggest a quick hand-baste to secure them

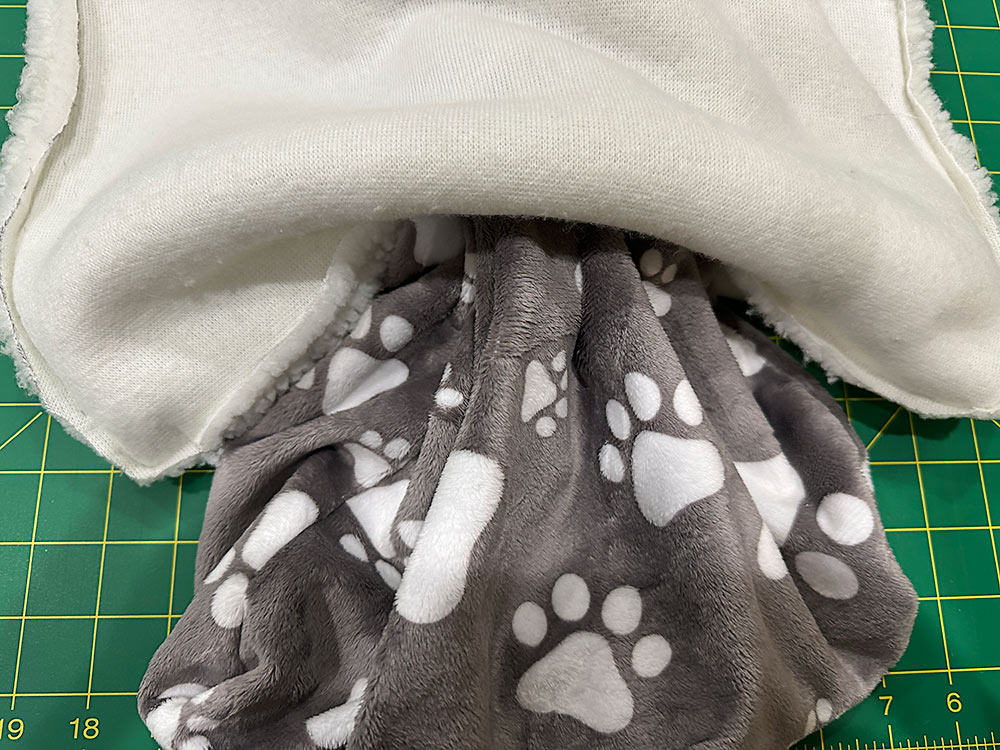
- Find the interior Sack, which should still be wrong side out. Slip the exterior Sack inside the interior so the two Sacks are now right sides together with the ears sandwiched between the layers. Make sure the side seams and bottom seams of both layers are flush. Pin through all the layers all around the top.


Stitch, turn, fold, and tack
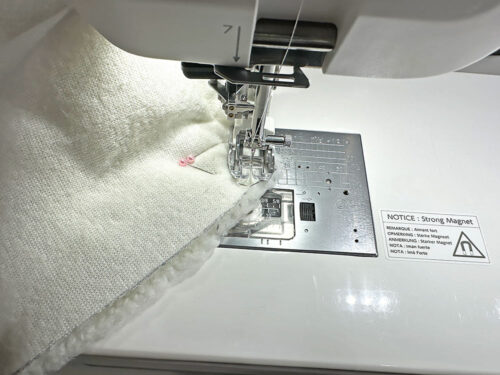
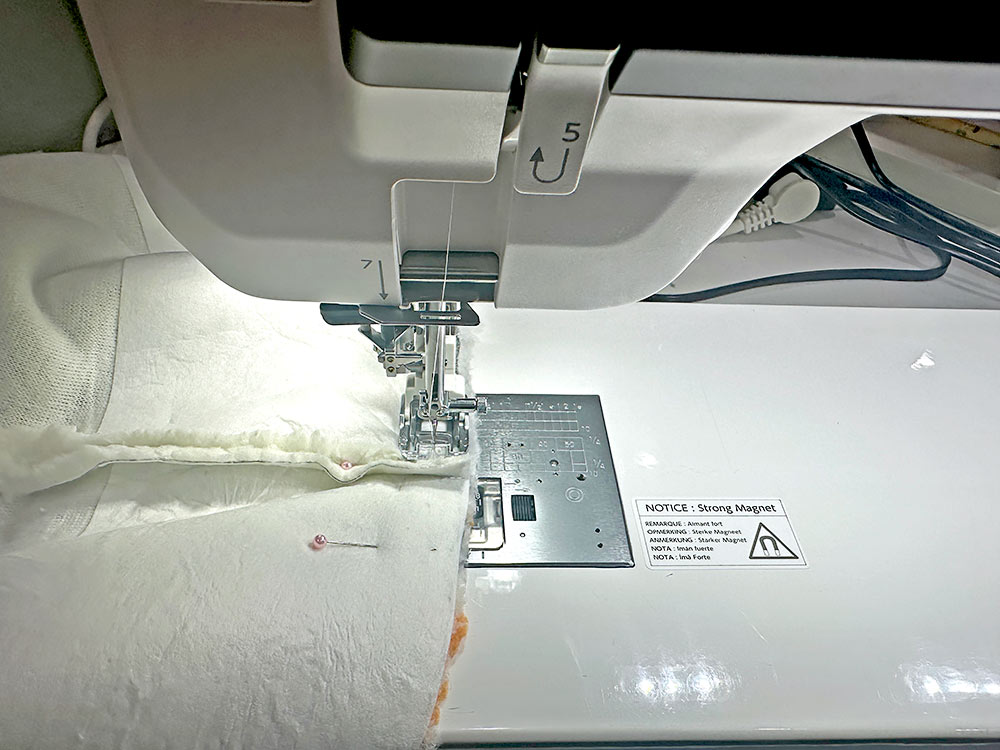
- Using a ½” seam allowance, stitch around the top of the Sack through all the layers. Go slowly, keeping your seam allowance consistent all the way around. If your machine has a free arm, this is a good time to use it.
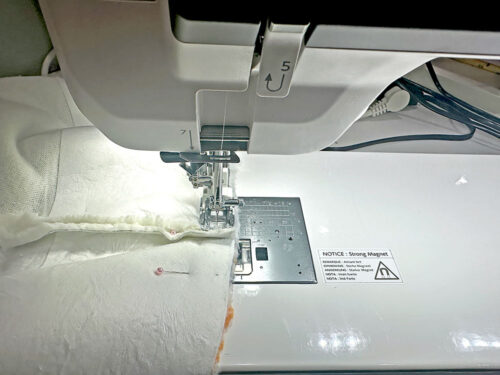
- Turn the Sack right side out through the opening in the bottom seam of the interior.

- Pull the ears out into position.
- Reach in and pull out the interior so you have access to the opening in the seam. Pin it closed.
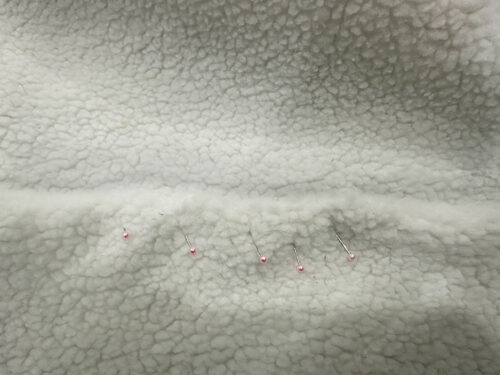
- Stitch it closed. Then push it back down into position inside the Sack.

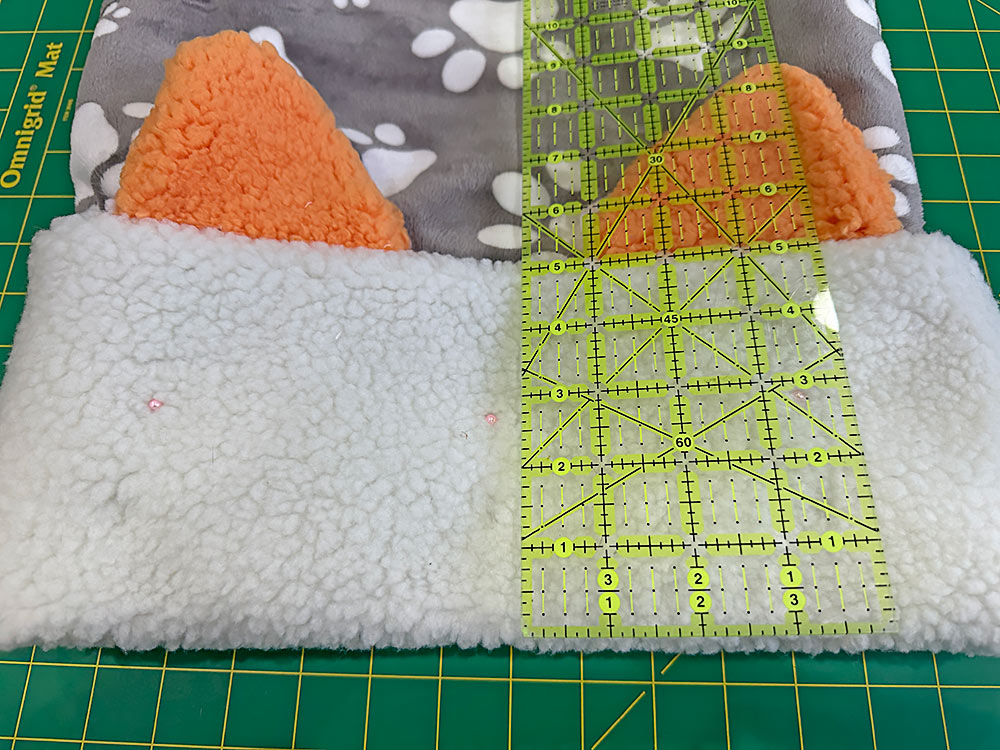
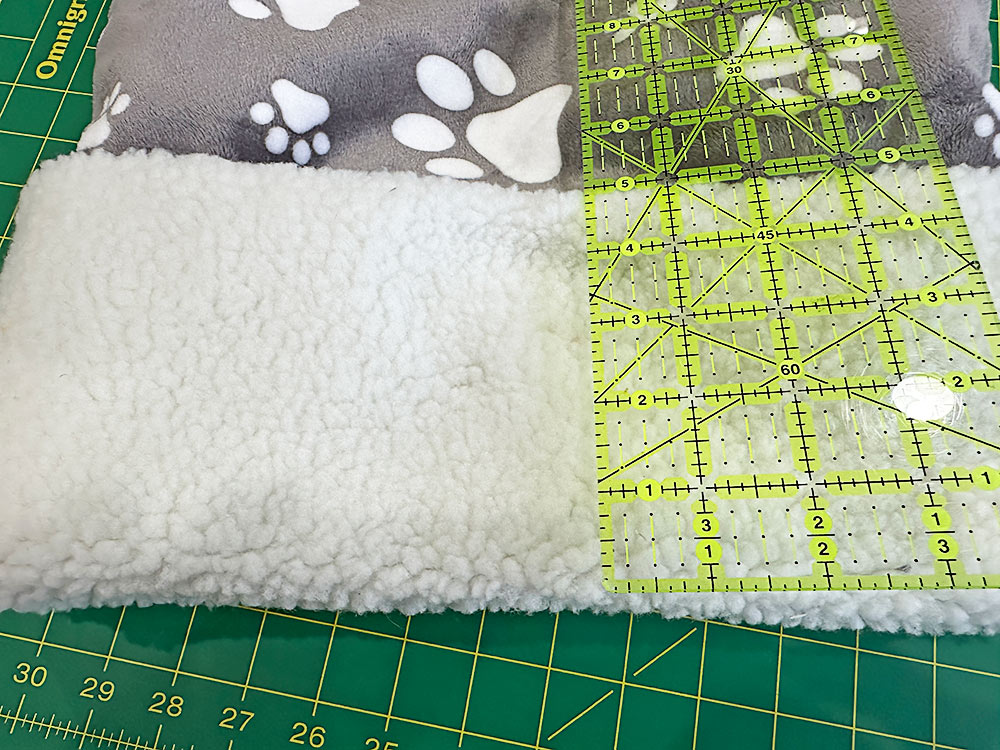
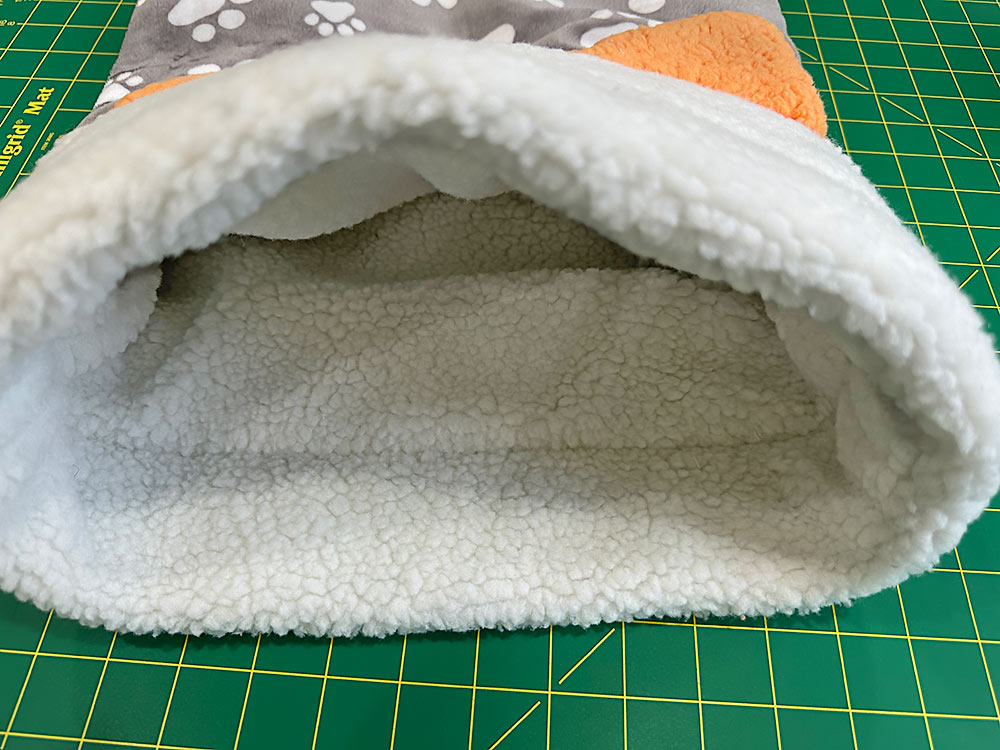
- Fold down the top 5” to form the cuff.

- Check the measurement at the back as well to insure the cuff is even all the way around. This double-check is especially important when working with such thick layers. Pin the cuff in place all around.
- If possible, insert a Quilting Guide Bar into your foot and set it for a distance of 2½” from the top folded edge. If you do not have a Guide Bar, you could add a line of pins (don’t forget to remove them as you sew) or use a piece of low-tack painter’s tape as a guide line.
NOTE: We don’t recommend using a fabric pen to draw in a line because with the thick nap of the faux Sherpa fleece, it would not only be hard to see, it could be harder to remove. - Make sure the machine is threaded with thread to best match the interior (the faux Sherpa fleece) in both the top and bobbin.Topstitch all the way around, 2½” from the top fold, through all the layers. In addition to using a Guide Bar, this is another good opportunity to use your machine’s free arm.
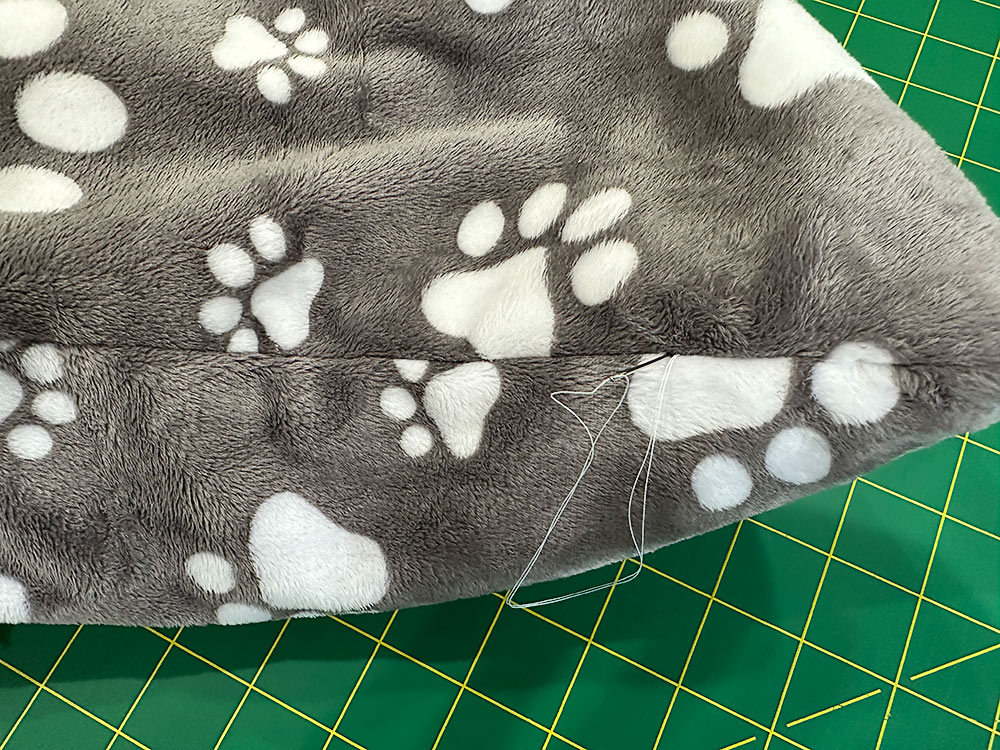
- With the topstitching complete, reach into the Sack and smooth the layers against one another.

- Thread the hand sewing needle with thread to best match the exterior and tack the layers together at each corner and in the center of the bottom seam. Thanks to the nap of the fleece, it’s easy to hide your hand-tacking within the seam line.

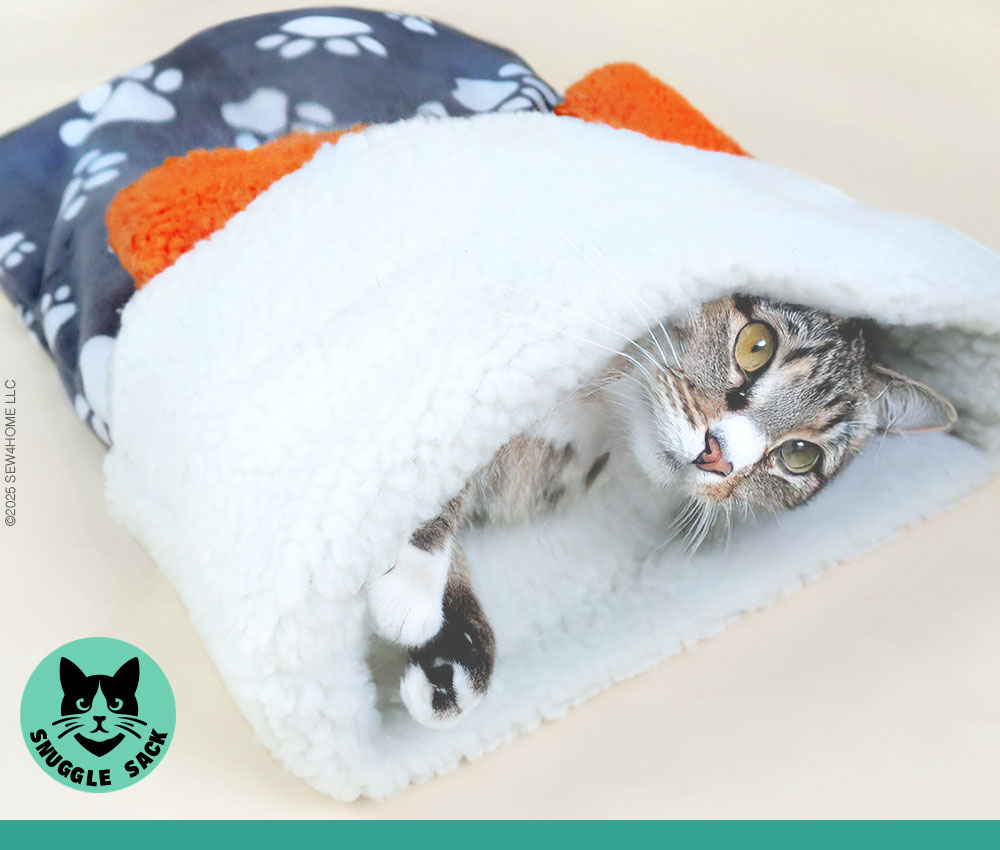
- Invite your favorite kitty inside.


Project Design: Anne Adams
Sample Creation: Debbie Guild
What a fun project. It’s purrfect for cats to feel safe and warm!
Thanks, Tammy — and it’s a super fast and easy make!