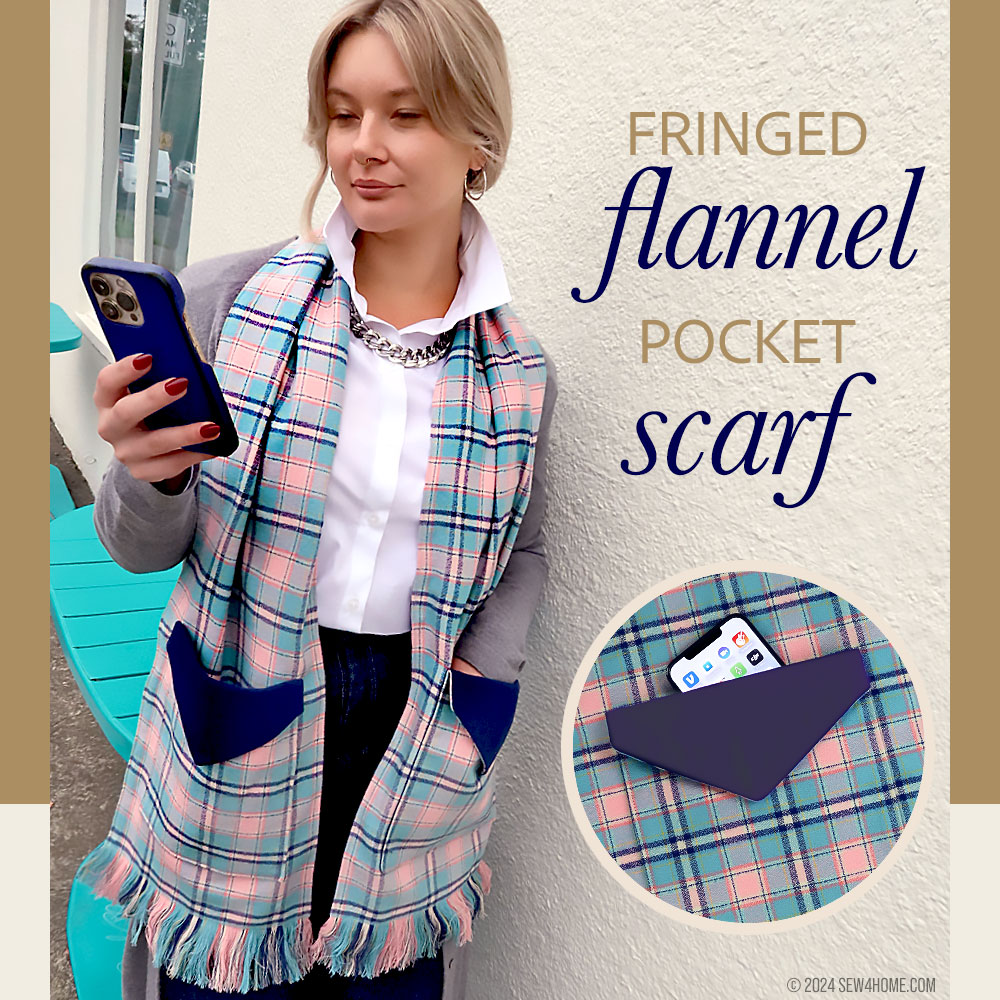
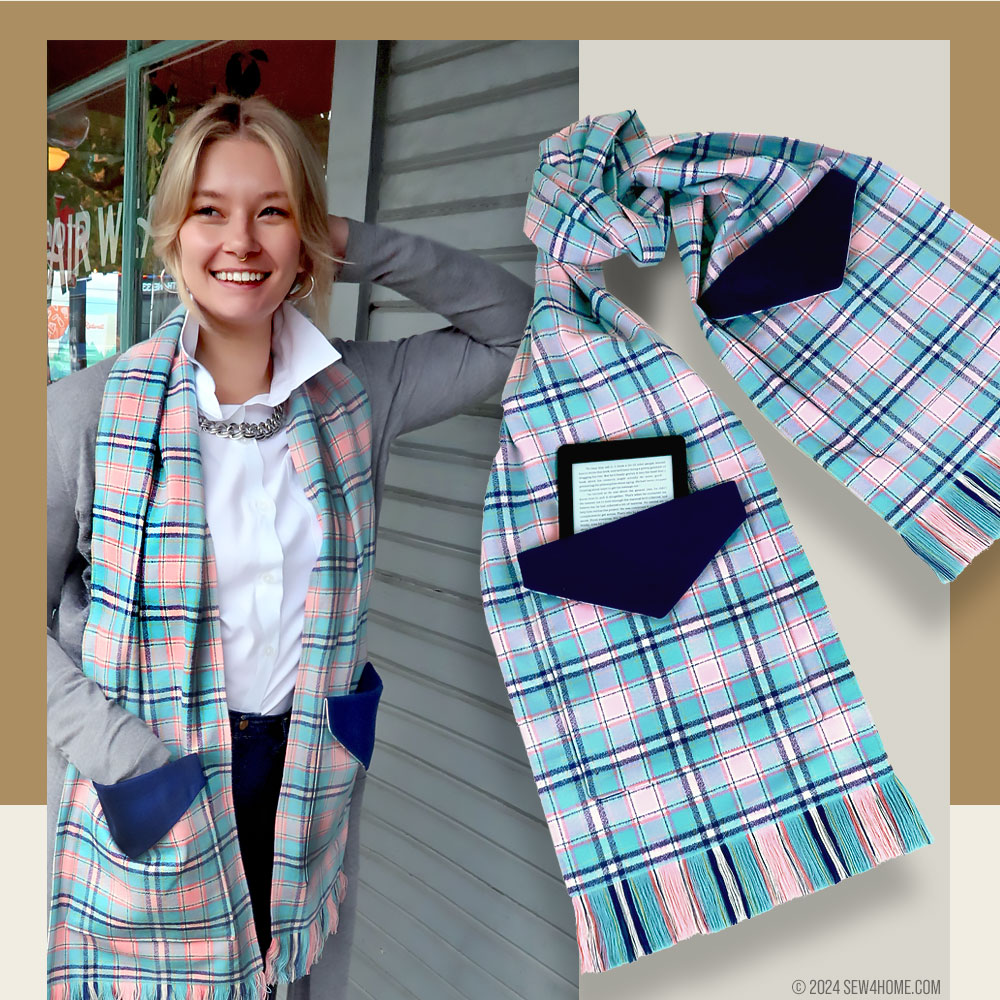
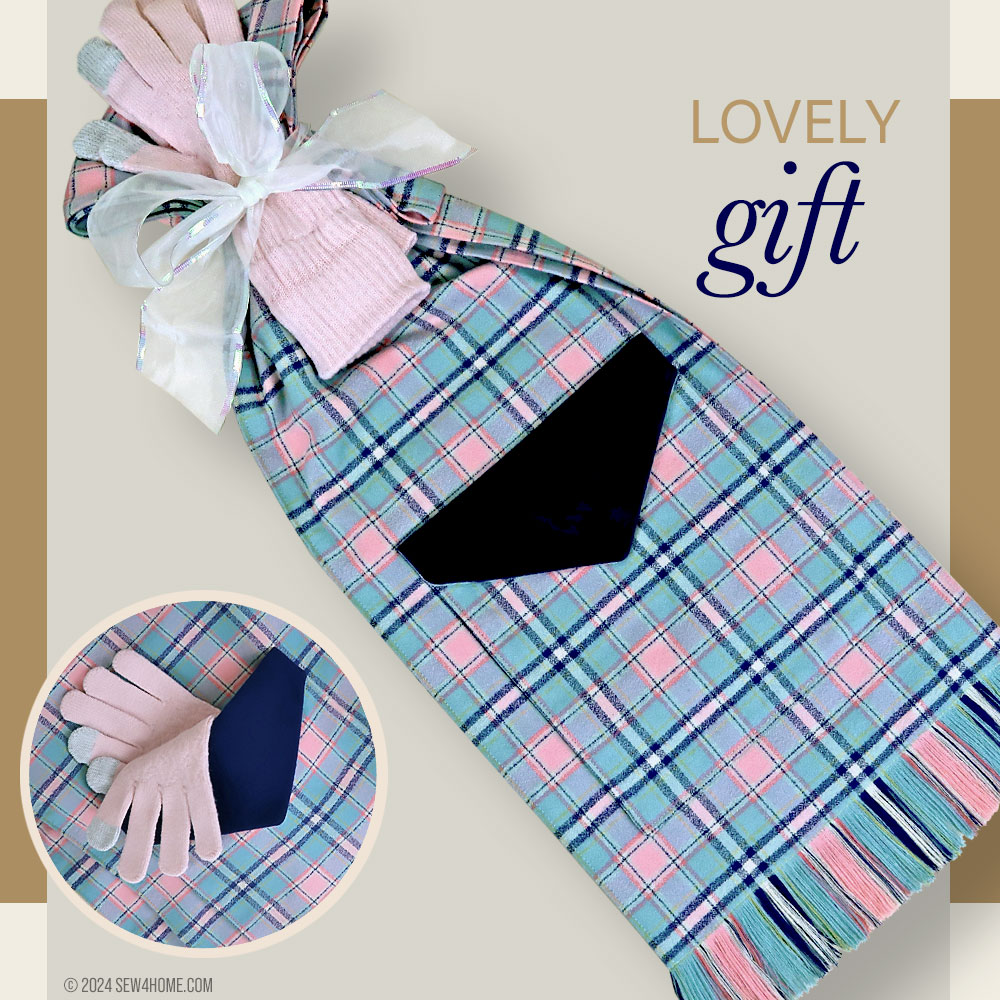
Get two winter warm-ups in one easy project: a soft, fringed flannel scarf with built-in pockets at each end to keep your hands toasty. We worked with our friends at Janome America to develop a project that is perfect for anyone just starting out on their sewing journey. If you’re already a pro, it’s a fast and easy wearable for yourself or as a gift, and a wonderful option if you’re teaching someone to sew.
Even with a basic project, we always make sure to add in helpful techniques everyone can use. Learn our tips for fussy cutting plaid, perfectly matching a pocket to a background panel, and how to create the fabulous fringe along the ends. One of the keys to a pro finish, especially when working with plaids, is your feeding system.
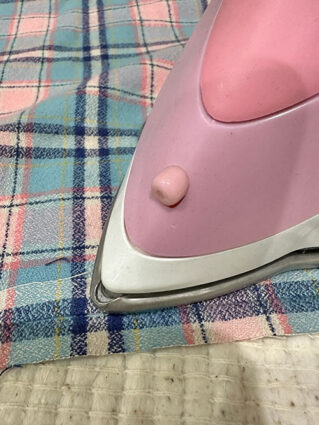
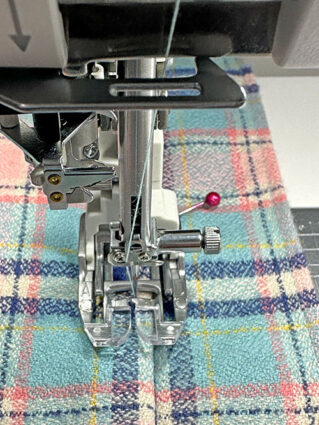
If you’re new, and still learning the ins-and-outs of your machine, the “feeding system” is comprised of all the precision parts working together to move your fabric across the needle plate as you stitch. If you look directly underneath your presser foot (even easier if you pop off the foot) you’ll see a couple rows of what looks like metal teeth. These are the “feed dogs.” They rise and fall in time with your stitching, essentially grabbing and sliding the fabric forward. That sounds rather aggressive; in reality this movement is happening so smoothly you barely notice.
However, sometimes the layers and/or type of fabric with which you’re working is too tricky for just those lower feed dogs to handle all on their own. That’s where an Even Feed/Walking foot or a built-in fabric feeding system comes into play. It adds a set of upper feed dogs that move in unison with the lower feed dogs to increase control. Janome machines are known for their ultimate precision, so this upper/lower combination is flawless and can turn tricky into terrific. That’s your sewing machine lesson for today, feel free to impress your non-sewing friends with this feed dog commentary at your next gathering.
We selected our fabric from the 100% cotton Mammoth Flannel collection by Robert Kaufman. This is traditionally our go-to choice when we want a plaid flannel because it is a woven product rather than printed. This results in a more substantial fabric that becomes softer with use and laundering. Although the final fabric choice is always up to you, we do suggest a quality flannel like Mammoth in order to insure the best drape of the finished scarf and to help facilitate the fringing along the bottom edges.
Speaking of laundering, preparing your fabric prior to starting is a good idea for any project, but with flannel, it is even more important. Flannel loves to shrink, so we strongly recommend pre-washing it in cold water with a fabric softener. Tumble dry on medium heat then press the flannel completely flat prior to cutting. Our yardage recommendation below takes this shrinkage into account.
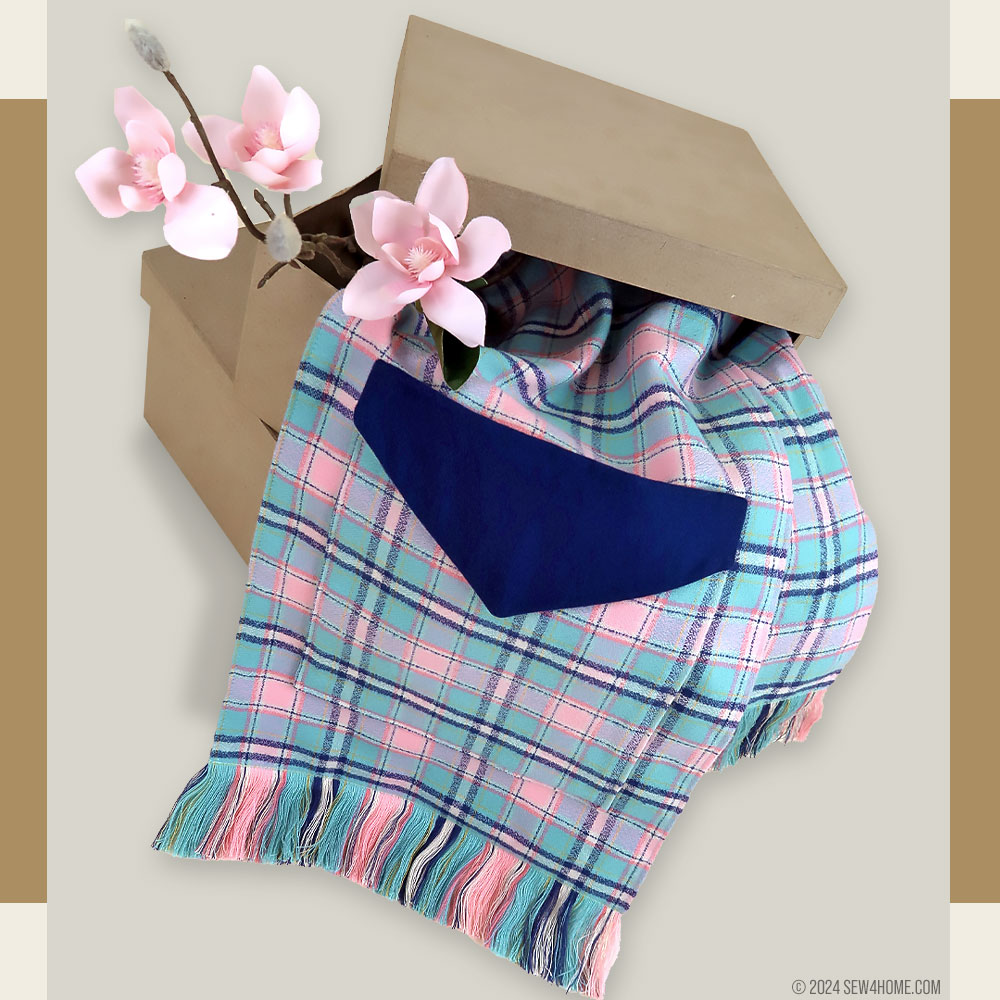
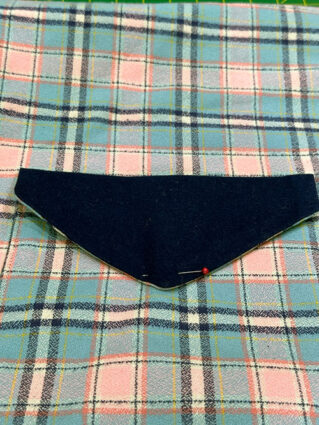
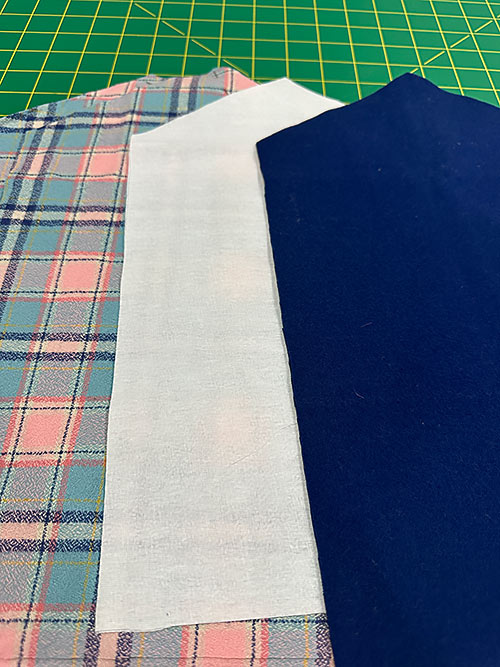
There is a downloadable pattern for the patch pockets with their pretty pointed flaps. To make the most of the contrasting pocket fold over, look for one of the darker colors within your fabric to use as an accent. We pulled out the navy from within our plaid.
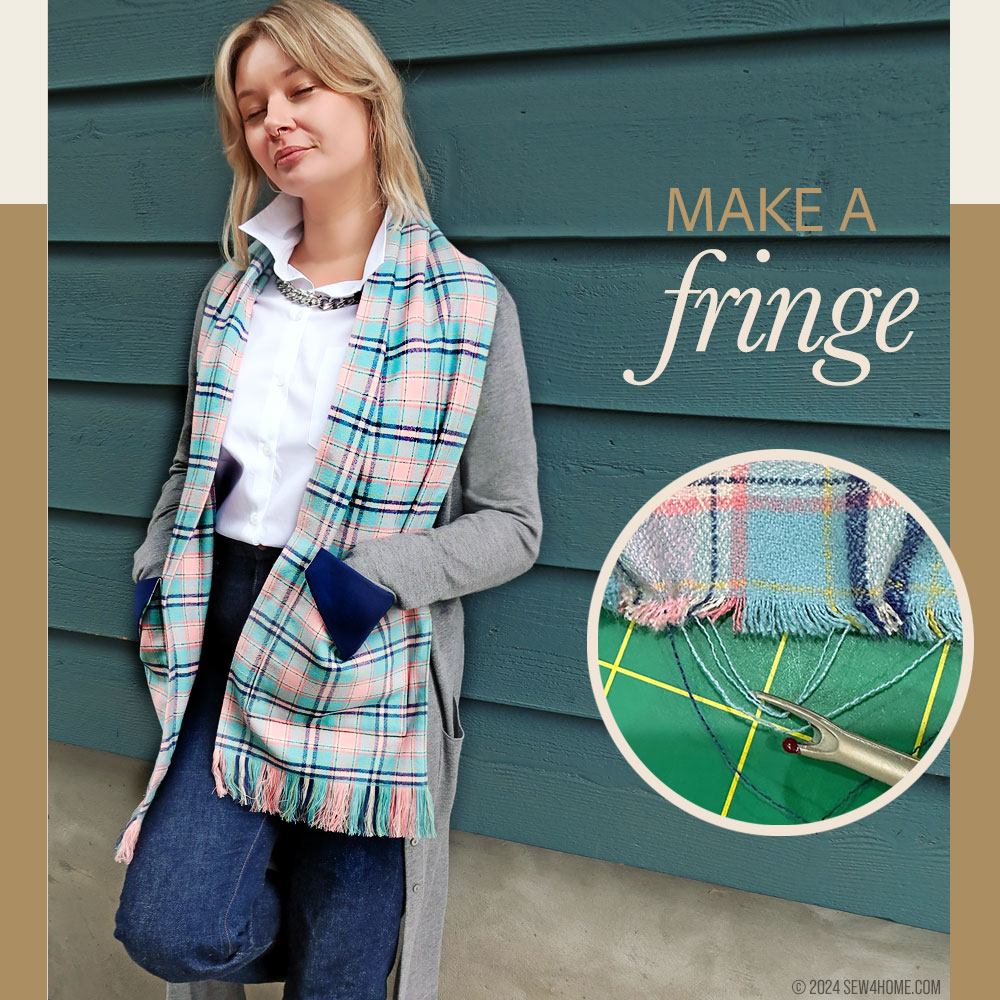
Steps are shown for how to create the fringing along the bottom of the scarf. Full disclosure: this technique is handwork and a bit time consuming, but it’s actually easy and oh so worth it. We created a deep 2½” fringe for a super lush look. This is just the opportunity you’ve been looking for to binge watch your favorite TV series.
Our Fringed Flannel Pocket Scarf finishes at approximately 72” long fringe-to-fringe and 11” wide.
Our thanks again to Janome America for sponsoring the project. It is because of their support that we are able to continue to offer the majority of our projects free to you! Your sewing machine is the central tool in your sewing space. Why it matters if often not because of what it does but what it doesn’t do. You need a machine that performs reliably day in and day out, forming one perfect stitch after another without you even thinking about it. It’s the definition of “frustration free” sewing. When you are confident in your machine’s performance, worry disappears and all you need to concentrate on is creativity.
To understand why we are a Janome Exclusive Studio, we invite you to visit a local Janome dealer for an in-person test stitch on the machines we consider to be the best in the industry. To find out more before you go, visit the Janome website and follow them on social media.
Sewing Tools You Need

- Sewing Machine and standard presser foot
- Even Feed/Walking foot or engage your machine’s built-in feeding system; such as the Janome AcuFeed™ Flex built-in fabric feeding system, which is what we used. This is optional – you could use a standard presser foot and regular feed dogs, but when matching plaid, a dual feed set-up for your machine will help keep the pattern of the plaid aligned.
Fabric and Other Supplies
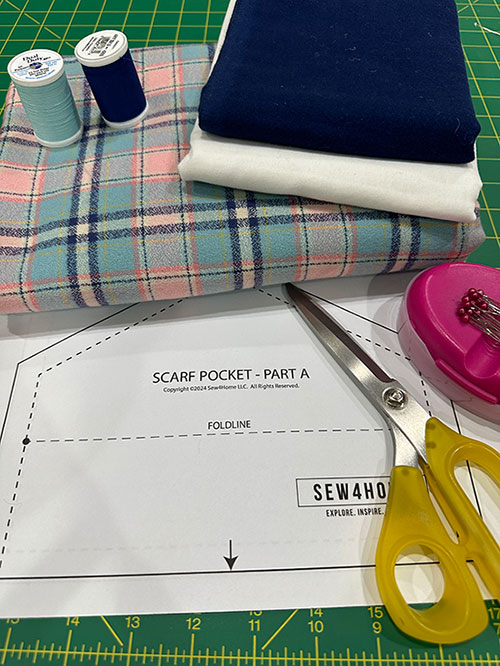
- 2⅛ – 2¼ yards of 44”+ wide plaid cotton flannel for the body of the scarf and the exterior of the pockets we originally used Summer Glen Plaid from the Mammoth Junior Flannel collection from Robert Kaufman Fabrics
NOTE: Our recommended yardage is shown as a range as it will be dependent on the size and complexity of your chosen plaid fabric. The exact length to cut is 72” (two yards); you need enough extra to account for shrinkage during the pre-washing as well as to have enough length in order to best fussy cut. This 72” length was figured based on scarves we found at retail. Our model is about 5’ 5” and the pocket position worked well. If you or the person you are making the scarf for is much taller or shorter, you can certainly adjust the length of the starting cut. - ⅓ yard of 44”+ wide solid cotton flannel for the pocket lining – pull a color to coordinate with your main plaid fabric; we used Comfy Cozy Flannel in Navy from Joann Fabric
- ½ yard of 20”+ lightweight fusible – we recommend a woven fusible; we used Pellon ShapeFlex
- All-purpose thread to match fabric for construction
- See-through ruler
- Fabric pen or pencil
- Iron and ironing board
- Scissors and/or rotary cutter and mat – we recommend cutting with scissors
- Seam gauge
- Seam ripper
- Straight pins
Getting Started, Pattern Download and Fussy Cutting Details
- As mentioned above, we recommend pre-washing your flannel then pressing it flat prior to cutting.
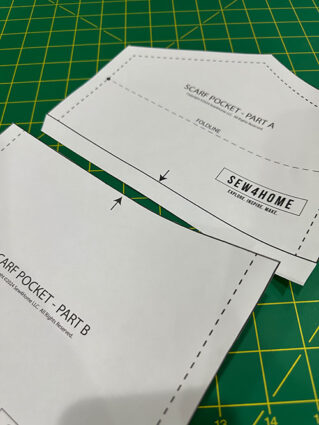
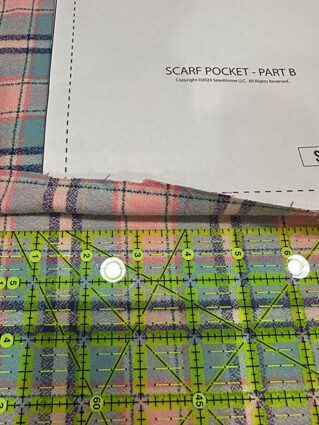
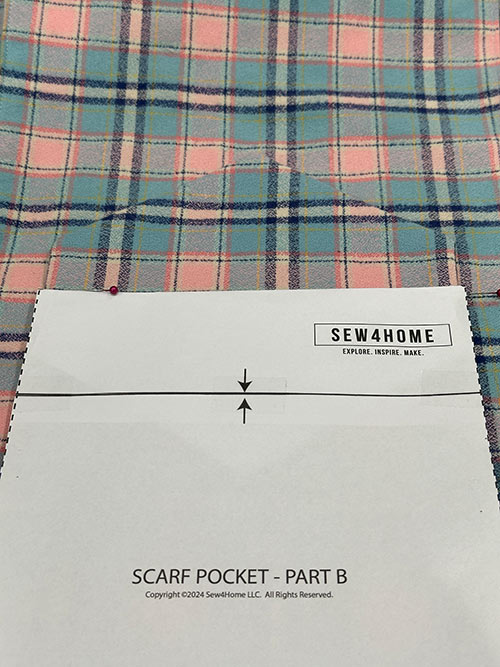
NOTE: Throughout these instructions, we are using a fringe depth of 2½” and this truly is a lush and lovely look. You can certainly adjust this depth although we wouldn’t suggest going much shorter… but you could certainly go longer. You would, however, need to adjust your cuts, seams and pocket position to match your new length. - Download and print the pattern pieces for this project: SCARF POCKET PART A and PART B.

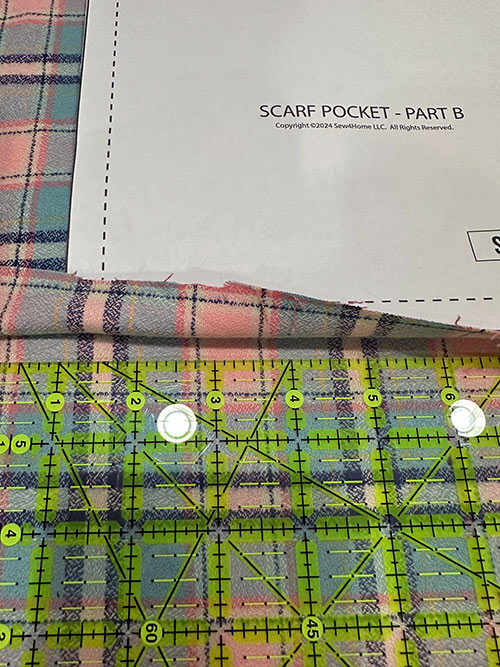
NOTE: This download consists of TWO 8½” x 11″sheets containing pieces for all the pattern. You must print the PDF file at 100%. DO NOT SCALE to fit the page. There is a guide rule on each sheet to confirm your printout is to scale. Print horizontally (landscape). - Cut out each pattern piece along its solid outer line.
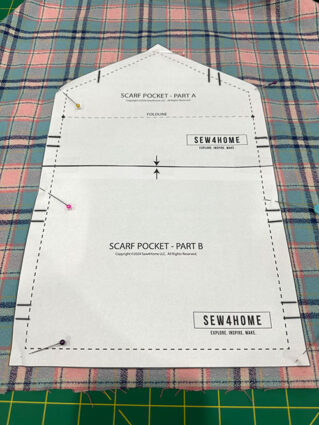
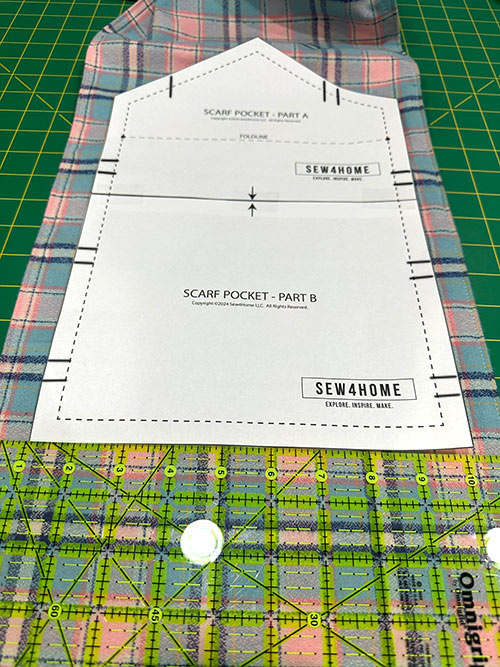
- Aligning the printed arrows, tape together Part A and Part B to form the complete Pocket pattern.

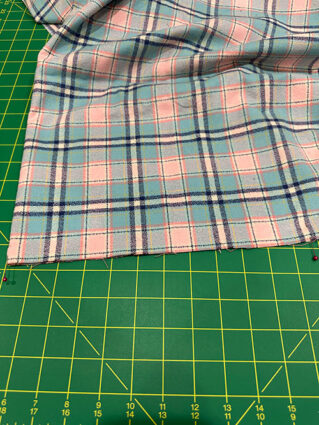
Fussy cutting the main panel
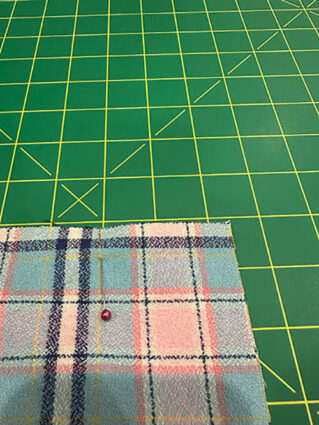
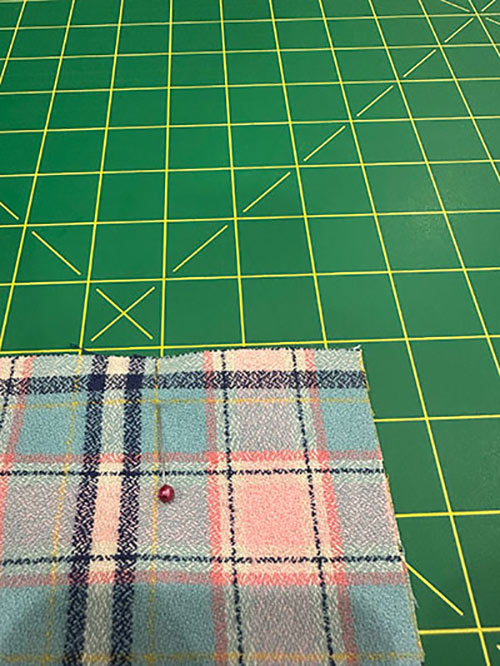
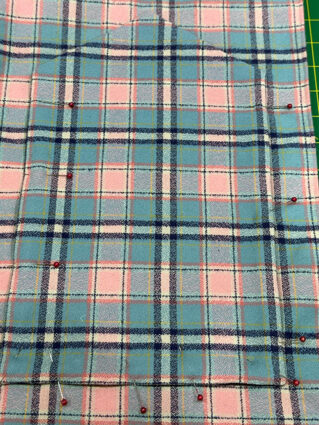
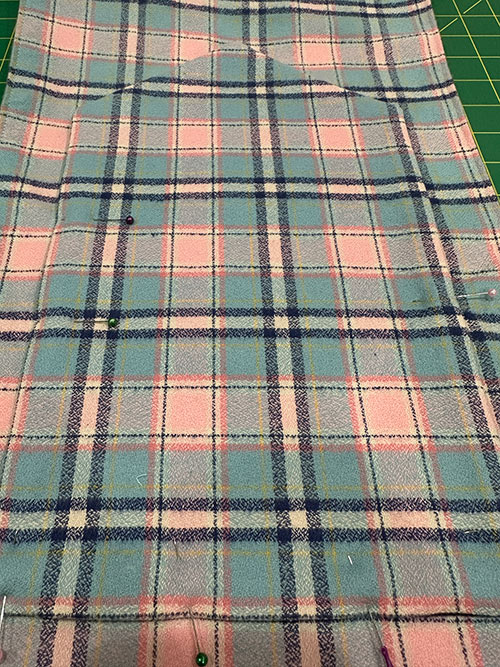
- Place your plaid fabric flat to determine your center point. In other words, the point where you will fold the main cut in half. Look for a good balance of the plaid’s motif side to side. We chose a pink vertical stripe that centered nicely between the more dominant narrow navy stripes. Place a pin at this center point.
NOTE: Remember, you do still need leftover fabric from this initial cut for the pocket panels, so don’t pick a point smack dab in the middle of the fabric; start to one side or the other.
- Fold the fabric along your chosen center point.
NOTE: You should be working with the entire length of the starting panel, which will be approximately 76½” – 81” depending on your initial yardage cut and any shrinking. Cut top to bottom … the entire length.
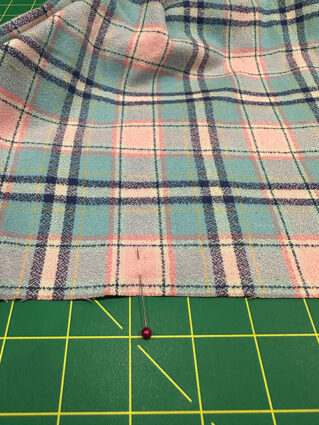
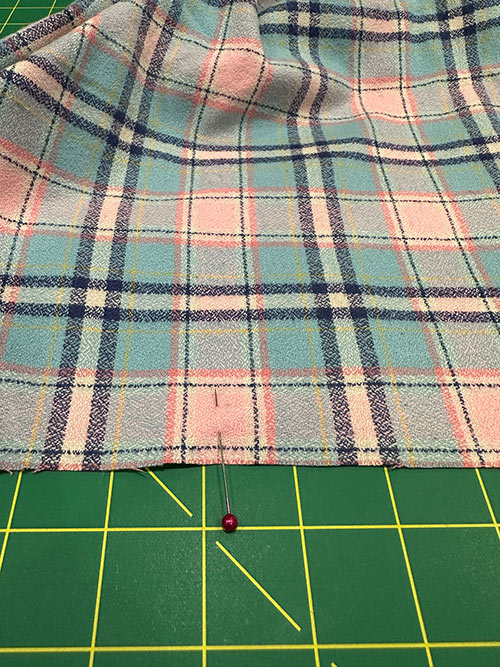
- The finished width of the cut should be 23”. Measure half that amount (11½” ) to the right from your center point pin. In a perfect world, this measurement will hit a stripe within the plaid. If it doesn’t, it’s okay to slightly cheat your measurement wider or narrower to best align with a stripe. We do mean slightly! Don’t shift by an inch or more, just a fraction of a difference to the stated measurement (11½”).
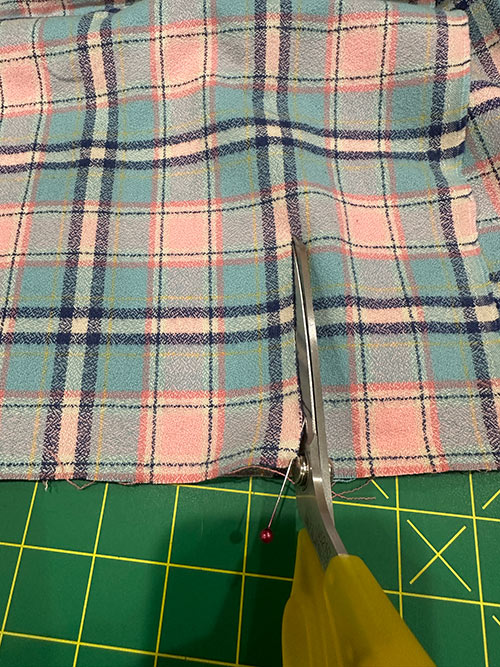
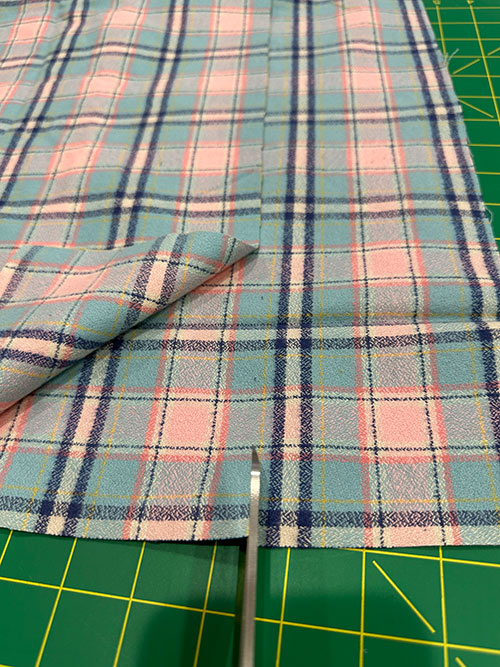
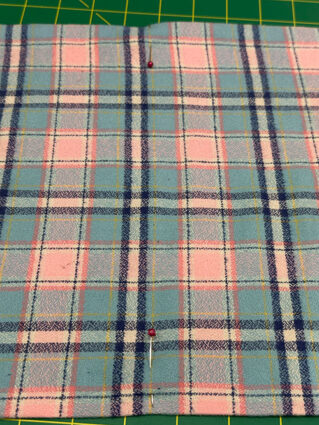
- Place a pin, unfold the panel, and begin cutting along your stripe. As you can see in the photo below, we cut along a navy stripe. You are only cutting through a single layer.

- Yes, cutting with scissors is recommended. With plaids, it’s so important to keep everything in line with the woven motif. A rotary cutter, even in experienced hands, can wiggle and wobble a bit over long cuts. We don’t want that!

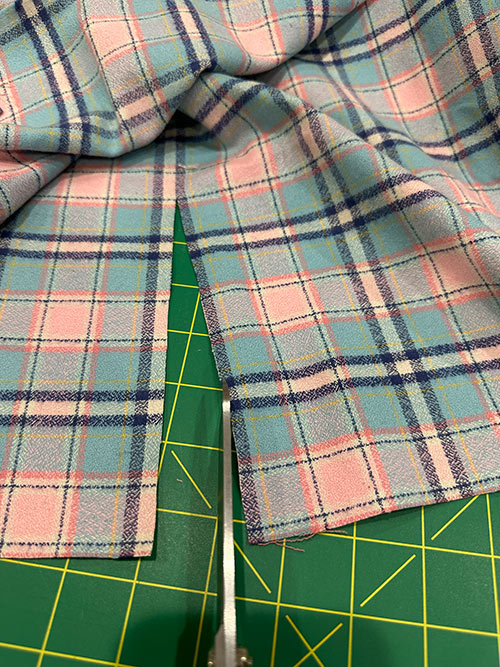
- Re-fold along your center point, flipping the fabric panel so your newly fussy cut side is laying on top of the remaining fabric for more plaid matching magic.
- Make sure the horizontal lines of both layers are aligned. Measure from that center fold out 11½”. Once again, find the vertical stripe in the plaid’s motif that is closest to this measurement. It may not be exactly the same as the previous vertical stripe. Our “new stripe” was a thin yellow line. In the photo below we have folded back and slid over our top layer to best show this new line. Once, again, cut along your chosen stripe. Remember, you are cutting the full length of your fabric panel.

- The final main panel step, now that you have the correct width, is to trim down the length to 72”. You want both ends of the scarf to look the same, so adjust your top and bottom cuts as needed to achieve that plaid match.

Additional cuts
- Set aside the remaining plaid fabric, you’ll use later to fussy cut the pocket exterior.
- From the solid flannel fabric, use the assembled pocket pattern to cut TWO.
- From the lightweight fusible interfacing, use the assembled pocket pattern, but cut along the dotted seam allowance line to yield TWO panels.
At Your Sewing Machine & Ironing Board
Stitching and edgestitching
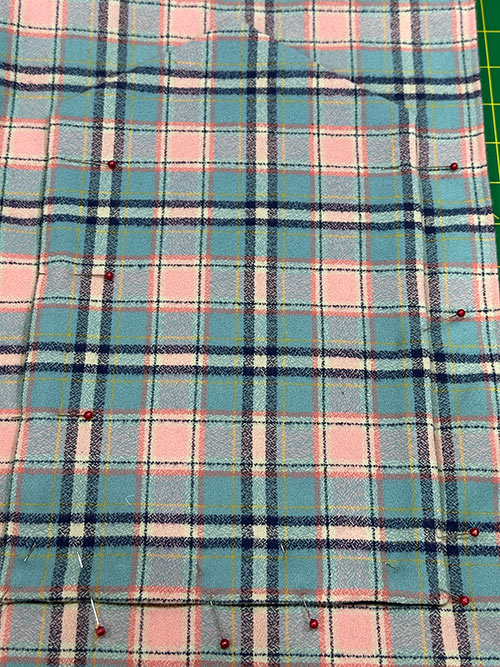
- Fold your main panel right sides together. The raw edges should be flush on all three sides and your fold line should be super straight.
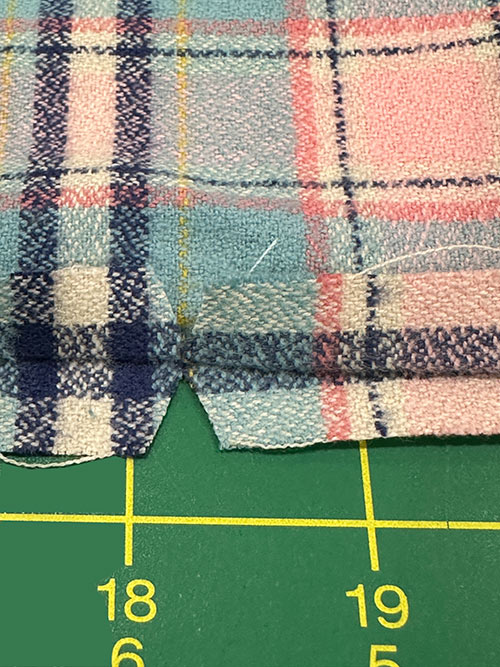
- At both the top and bottom, measure in 2½” from the raw edge and place a pin. This will be your seam’s starting and ending point. Those bottom inches must be left out of the seam so they can be fringed.
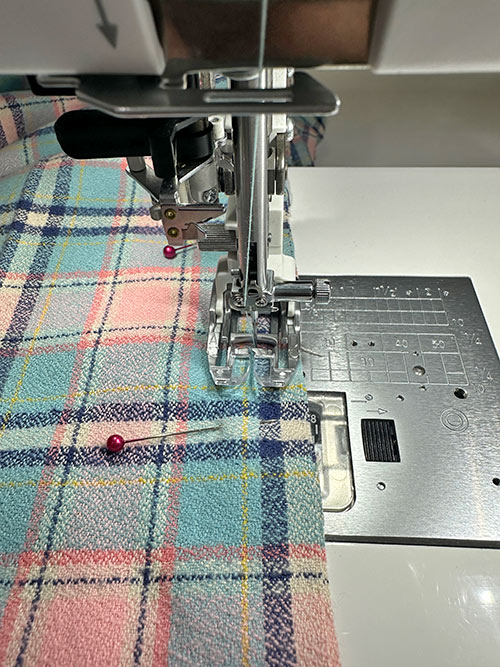
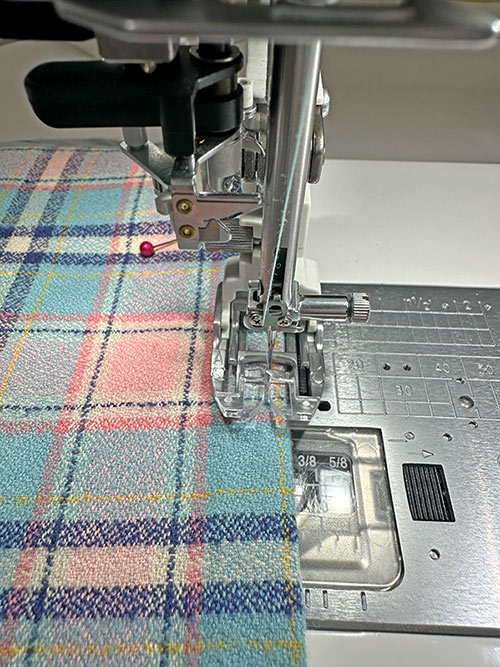
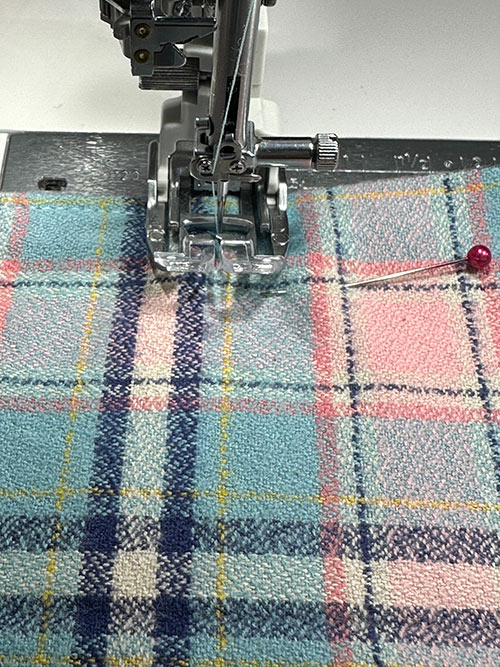
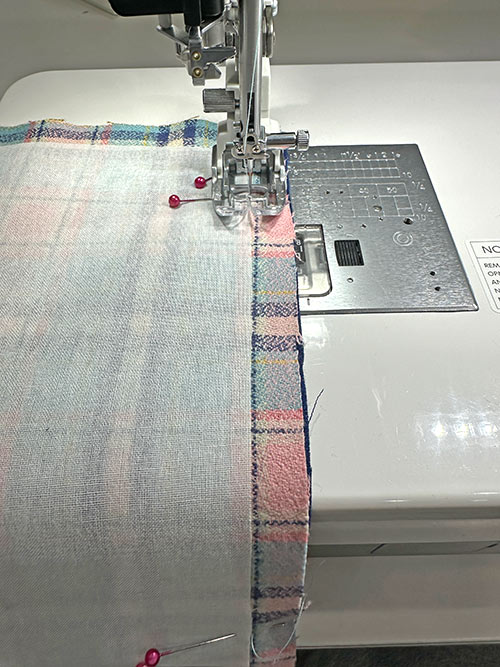
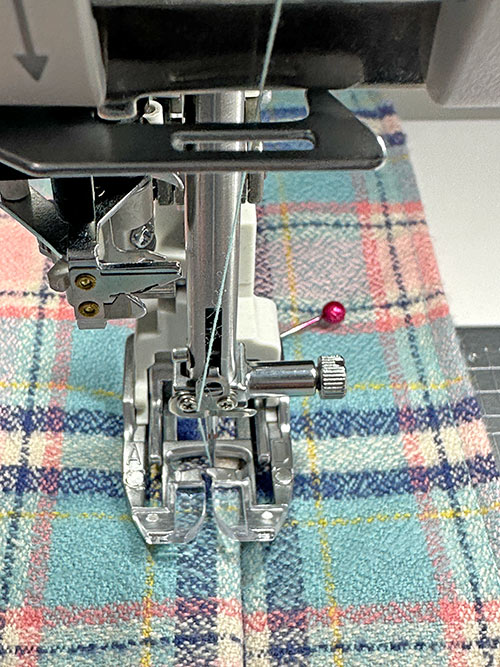
- Attach an Even Feed/Walking foot or engage your machine’s built-in feeding system; such as the Janome AcuFeed™ Flex built-in system, which is what we used. As mentioned above, this is optional – you could use a standard presser foot and regular feed dogs, but when matching plaid, a dual feed set-up for your machine will help keep the pattern of the plaid aligned.
- Using a ½” seam allowance, stitch the long side of the panel, starting and stopping at your marked points 2½” from each end.

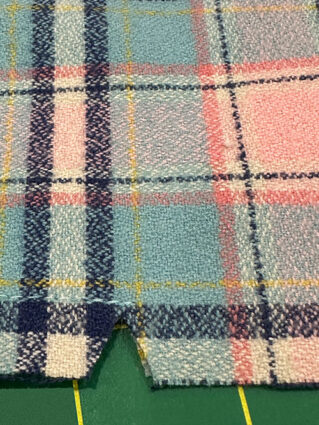
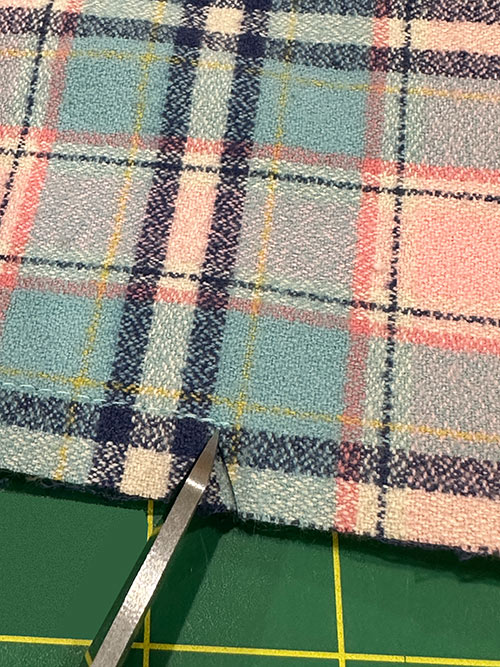
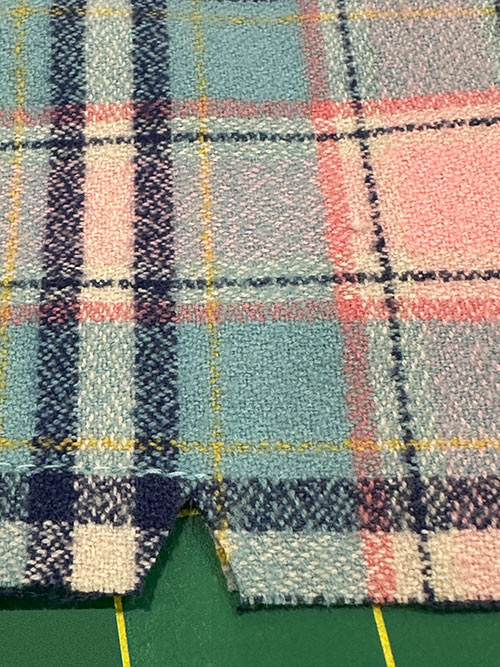
- At the starting and stopping points, clip in at a diagonal.
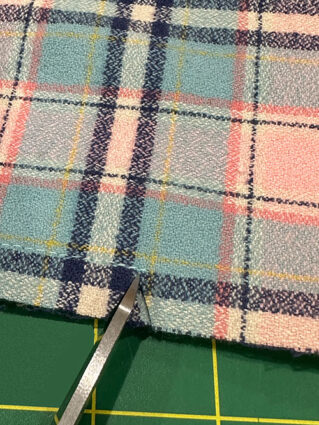
- This small notch should be cut through both layers of the seam allowance.
- Press open the seam allowance from the top…
- … to the bottom

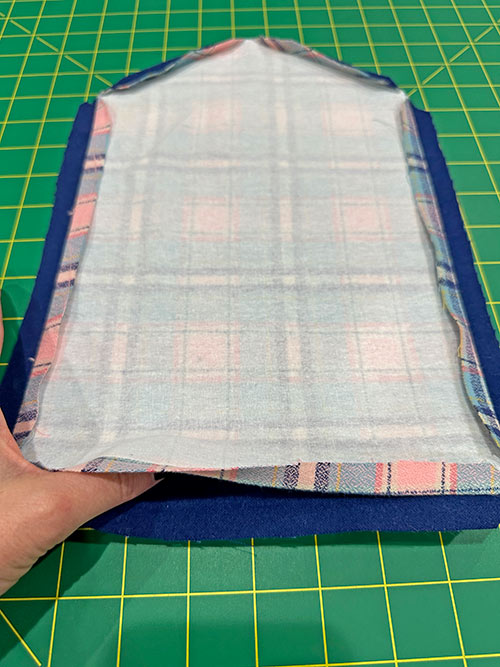
- Turn the panel right side out through the open ends and press super flat, making sure the seam runs along the exact edge on one side and the folded side is still centered and straight. Place a few pins along both sides to keep the layers flat. Make sure you can still clearly see you starting and stopping points – perhaps adding double pins or drawing in a small dot with your fabric marking tool.
- If necessary, re-thread the machine with thread to best match the plaid flannel in the top and bobbin. We continued to use a light blue thread.
- We also recommend continuing to use an Even Feed/Walking foot or engage your machine’s built-in feeding system.
- Slightly lengthen your stitch, always our recommendation with topstitching and edgestitching.
- Edgestitch along the seamed edge, starting at your top 2½” point and going straight down the side.

- At the bottom 2½” point, pivot sharply and stitch horizontally across the panel to the opposite side.

- Pivot again when you reach this folded side, edgestitch all the way up to the top 2½” point, pivot, and stitch straight across, locking your seam at your original starting point.


Cut the exterior pocket panels
- Place the scarf panel flat on your work surface.
- Find the assembled paper pattern.
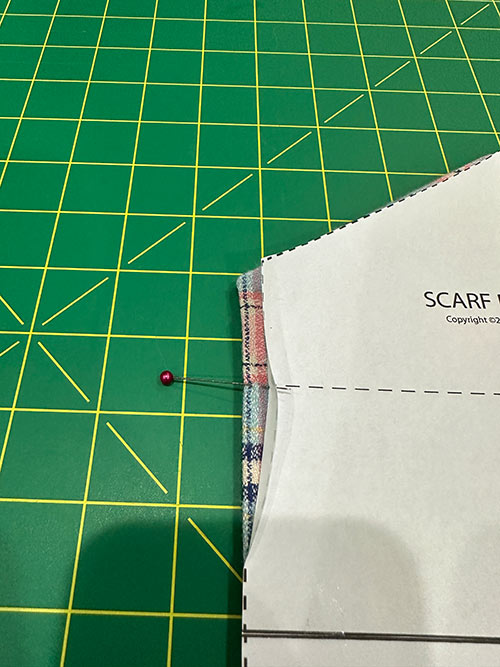
- Place the pattern on the scarf panel so it is centered side to side and so the bottom seam line of the panel is 5” up from the raw bottom of the of the scarf panel.
- If it is confusing to think about the seam line, you can work with the true bottom of the pattern being 4½” up from the raw bottom of the scarf panel.
- With the paper pattern centered and pinned in place, make a few marks along the outer edges that coincide with the stripes of the plaid.

- Remove the paper pattern from the scarf panel and bring it over to the remaining plaid fabric. Move the pattern around on the remaining fabric until your marked points line up to match the scarf panel. Pin the pattern in place on the remaining fabric.
- Using your scissors, cut out the pocket panel.
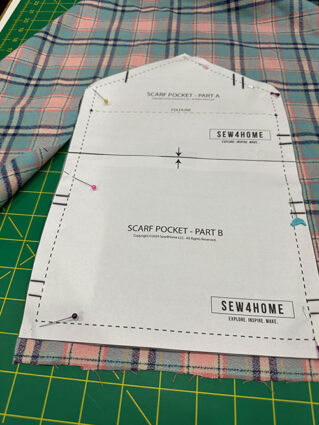
- Repeat on the opposite end of the scarf panel to create the second exterior pocket panel.
NOTE: If you are brand new to fussy cutting and pattern matching, take a look at our fussy cutting tutorial as well as our tutorial on matching a pocket to a background panel.


Make and place the pockets
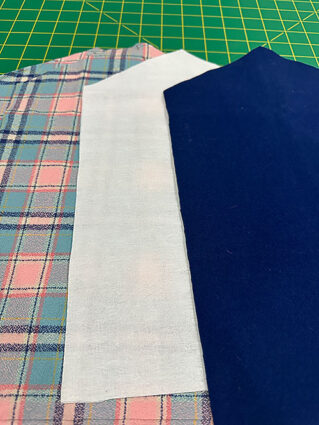
- Find all the elements for the pockets: exterior panels, lining panels, and interfacing panels.
- Adhere an interfacing panel to the wrong side of each exterior pocket panel. Center the interfacing so there is ½” of fabric extending beyond it on all sides. Following manufacturer’s instructions, fuse in position.
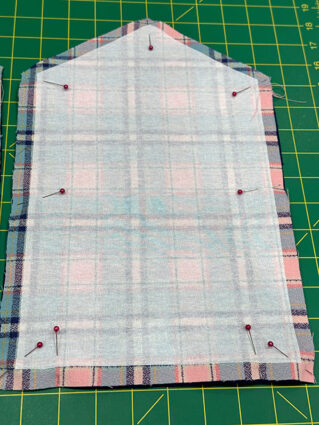
- Place each exterior pocket panel right sides together with a lining pocket panel. Pin around all sides, leaving a 2-3” opening along the bottom straight edge for turning.
- Re-set for a standard stitch length.
- Using a ½” seam allowance, stitch the layers together, stitching right along the edge of the fused interfacing. Remember to sharply pivot at the bottom corners and to go slowly and evenly around the point and corners of the flap. Also remember to lock your seam at either side of the opening left for turning.

- Clip the corners and press open the seam allowance.
- Turn each pocket right side out through the bottom opening.

- Using a long bunt tool, such as a knitting needle, chopstick or point turner, gently push out the corners and the point of the flat. Press flat, pressing in the raw edges along the opening so they are flush with the sewn seam.
- Find the original paper pattern and lay it on top of each finished pocket. Mark the outer edges of the indicated flap fold line with a pin or your fabric marking tool. This is the point where your seam attaching the pocket will start and stop.

- Press down the flap along the fold line to set an additional guide line.

- Find the scarf panel. Unfold the flap of the finished pocket. Because you did such a lovely job of pattern matching and fussy cutting, you can easily place each pocket into position on either end of the scarf panel.

- Use the paper pattern to double check the fold line, adding additional pin points to mark the start and end of your seam.

- Finish pinning each pocket in place, once again taking special note to mark your fold line starting and stopping points. Remember, the pocket flap should be open and flat against the scarf panel for this step.
- Slightly lengthen your stitch once again and edgestitch each pocket in place. Start at the fold point on one side, stitch down to the corner, sharply pivot, stitch across the bottom, pivot again, and stitch up the opposite side, ending at the marked fold line. This seam closes the opening used for turning.
- If it is an option on your machine, use a lock stitch to start and end your seam for the neatest finish. If not an option, leave your thread tails long at each start and end point. When done, thread the tails through to the back with a hand sewing needle, hand knot the tails to secure, and trim the excess close to the knots.
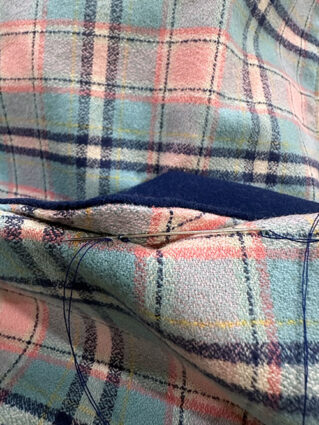
- Fold the pocket flap down into position and press well. Pin the point of the pocket flap in place.
- Thread a hand sewing needle with thread to best match the pocket lining fabric, and make a small hand tack through the inside of the pocket, catch the point of the flap through just the back layer of the point (the plaid layer). This tack is optional, but with a pocket that is specifically designed for reaching your hands in and out to help keep them warm, it helps insure the fold of the flap stays flat.


Fringing the bottom of the scarf
- We love the high-fashion style of individual threaded fringe. It looks great and wears well, but it does take awhile. Pull up in front of your favorite TV series and be prepared to spend several hours fringing.

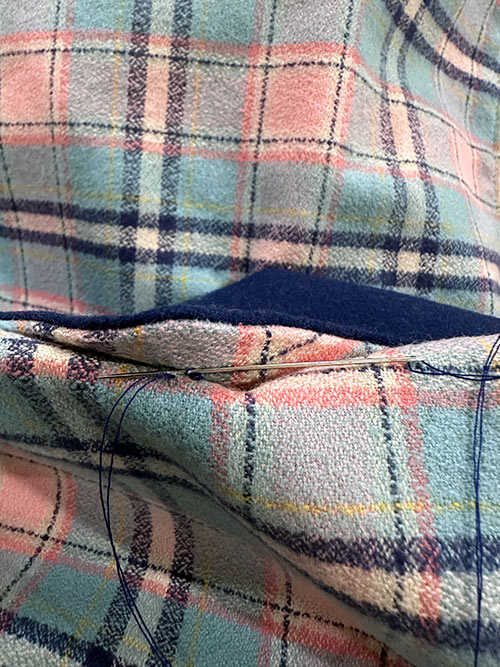
- Separate the layers at each end. It’s best to fringe one layer at a time.
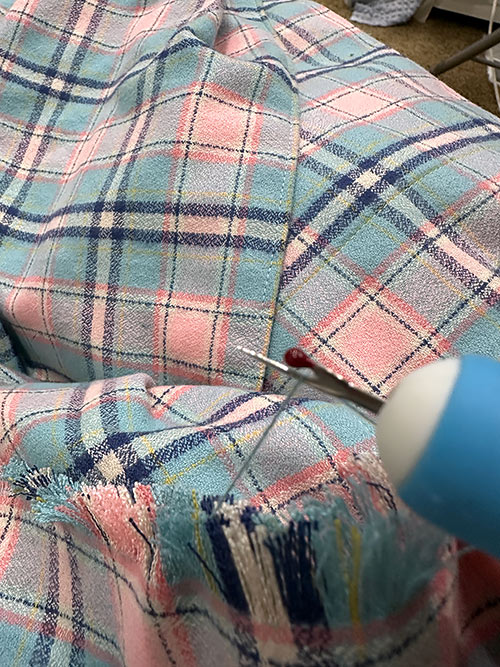
- Using a seam ripper, pick out the individual horizontal threads.
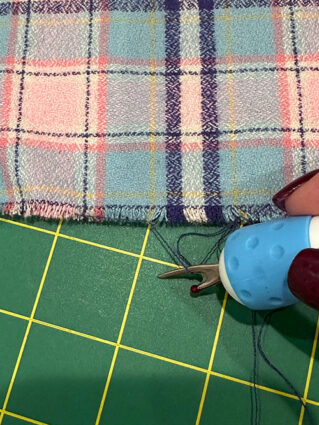
- Pull each thread down and out. You can start the pick with the seam ripper and then switch to gently pulling with your fingers.
- It really is best to do just one or two threads at a time, otherwise the thread will break and you’ll have to pick it out again with the seam ripper.
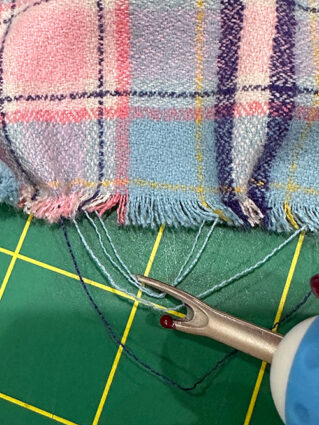
- Once you have the top layer done, flip over the scarf and do the bottom layer. Then repeat on the opposite end. Fringe up to your original horizontal seam line.
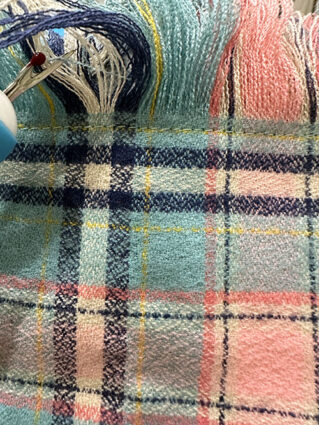
- When done, shake out the stray threads and press flat. You can then fluff and straighten the fringe with your fingernails or a fine comb.


Project Design: Anne Adams
Sample Creation: Debbie Guild
I’ve seen scarves made with pockets that didn’t seem realistically functional to me (like bulky smartphones stuck inside an infinity scarf), but hand warmer pockets are just the thing! I may have to steal this idea at some point.
Just the thing 🙂 ! And, no need to steal, just use the free instructions. Here’s to toasty hands.