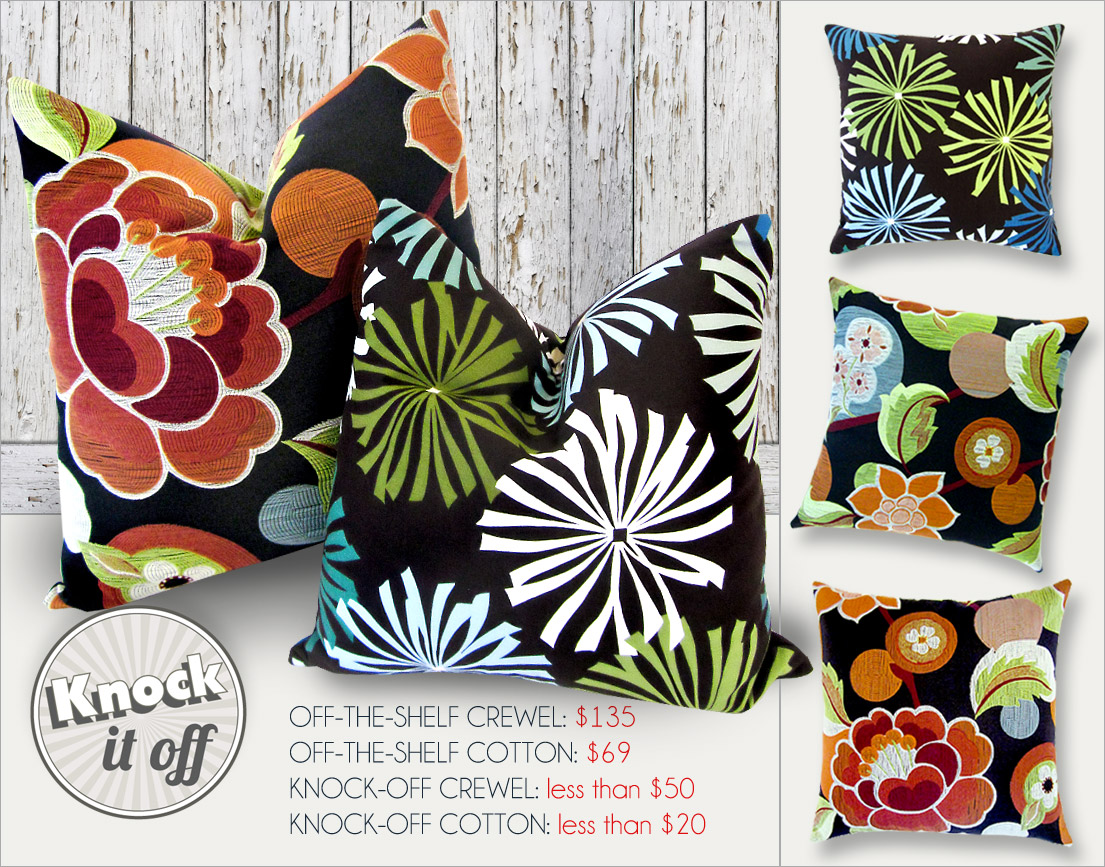
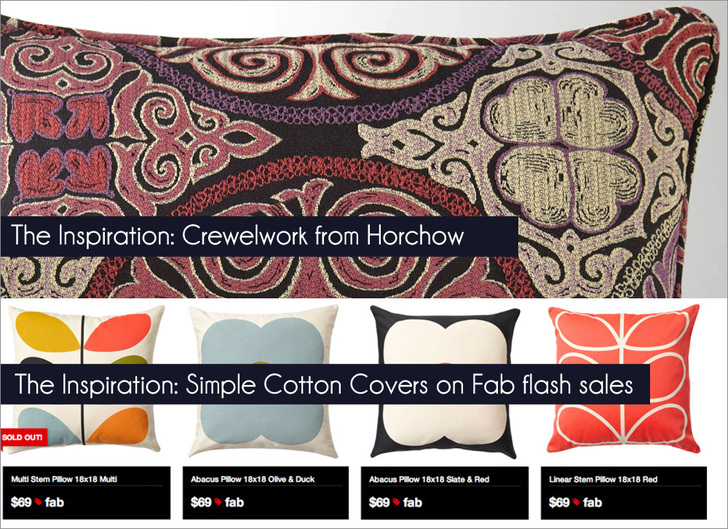
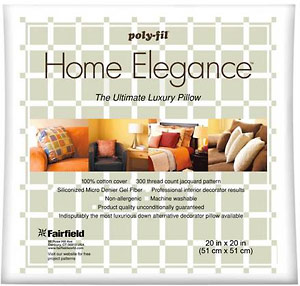
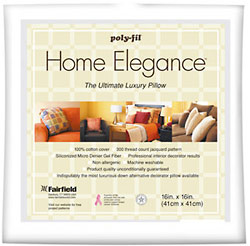
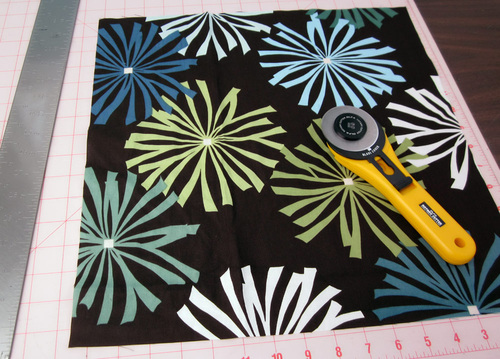
In our pillow perusal over the past weeks, the style we came across most often by far was the simple, square pillow. It’s a style so easy to make, you could almost do it with your eyes closed… if it weren’t for the stitching-over-your-finger part. The main challenges are finding a great fabric, then fussy-cutting that fabric to best showcase one or more dramatic motifs. However, neither of those things is really that much of a challenge. We located one of today’s fabrics at a local chain retailer and the other at a small independent shop. The only difficulty: picking just two favorites from their large selections. Fussy-cutting isn’t hard either; it simply takes a little patience and precision. We have an easy step-by-step tutorial. When a pillow is as basic as these, the insert is more important than ever. The Fairfield Home Elegance™ pillow inserts are our choice for the entire week, and we couldn’t be happier about that. They have a 100% cotton, 300-thread count jacquard cover filled with a special 100% polyester gel fiber. The result is an exceptionally plush textured pillow with a high-end designer look and feel. These are the most elite and luxurious down-alternative pillows available. And, thanks to their super cushy inside, you can get that high-end, karate-choppable look. We used the best quality, brand new components (no stash stealing) and came in under $50 for the large pillow, under $20 for the smaller pillow; pretty slick savings over retail. See our pillow inspiration after the jump.
How you prepare your fabric also makes a great deal of difference in a simple square pillow. For today’s samples, we used two very distinct fabrics: one a heavy-weight home décor fabric in a crewel style, the other a standard quilting weight cotton. With heavier fabrics, if you use a premium pillow form, little else needs to be done besides correctly sizing and cutting. If you’re using a lighter weight fabric, consider doing what we often do: add a later of batting (as we are doing today) and/or fusible interfacing (as we did with yesterday’s Grommet pillow) to give your fabric more stability and to create a super smooth exterior. If your fabric is especially lightweight or a specialty fabric, you can even add a third lining layer for a super professional finish.
Another great thing about pillow projects is they don’t use much fabric. So even if you choose a brand name home décor fabric, which can often run from $30 to $50 and up per yard, you usually need much less than a yard. And with the super wide widths most home décor fabrics come in (usually 53-60″), you’ll likely come away with enough to make more than one pillow or with a generous remnant to use for another fun project, like a cute bag.
Our 20″ x 20″ pillow sample is made from a 54″ home décor cut that ran $45 per yard (although we had several in-store coupons that saved us a substantial percentage), but little else had to be done besides to create a stunning fussy cut for each side.
For our 16″ x 16″ quilting weight cotton sample, as suggested above, we included a layer of batting for a smooth finish.
And remember, for the best plump and taut finish, cut your pillow to the same dimension as your pillow form or even a tiny bit smaller.
Our thanks to Fairfield for providing the amazingly soft and plush Home Elegance™ pillow forms for all our projects. These inserts are widely available at in-store and online retailers everywhere; we provide several link-to-buy options below.
In addition, we’re excited to share the special 25% discount off Home Elegance™ pillow forms created just for Sew4Home visitors at the Fairfield World Factory Store. Use the coupon code S4H25HE at checkout through August 16, 2013 to get your 25% discount on Home Elegance™.
Sewing Tools You Need
Any sewing machine (we recommend the Janome Magnolia 7325)
Fabric and Other Supplies

- ¾ – 1 yard of 45″+ fabric for the 20″ x 20″; we used a 54″ home décor fabric with a crewel-look purchased locally
- ½ – ¾ yard of 45″+ fabric for the 16″ x 16″; we used a 45″ designer cotton fabric purchased locally
NOTE: In both cases above there is a fabric cut range listed. The amount depends on the size of the motif in the fabric you select. If your fabric has a large motif, get a bit more than you really need in order to allow a wonderful fussy cut. - Optional (but recommended) for 16″ x 16″ cotton pillow: 1 yard of 20″ + lightweight fusible interfacing; we used Pellon Shir-Tailor®
- Optional (but recommended) for 16″ x 16″ cotton pillow: 1 yard of 20″ + lightweight, low loft batting
- One 20″ x 20″ Fairfield Home Elegance™ pillow form, available at the Fairfield World Factory Store, as well as Amazon
- One 16″ x 16″ Fairfield Home Elegance™ pillow form, available at the Fairfield World Factory Store, as well as Jo-Ann.com
- All-purpose thread to match fabric
- See-through ruler
- Fabric pen or pencil
- Iron and ironing board
- Scissors or rotary cutter and mat
- Seam gauge
- Seam ripper
- Straight pins
- Hand sewing needle
- Tissue or pattern paper (optional for fussy cutting)
Getting Started
- For pillows where it’s ALL about the fabric (there are no additional embellishments), it’s also all about how the design is presented. From the fabric, fussy cut TWO 20″ x 20″ squares for the 20″ pillow and two 16″ x 16″ squares for the 16″ pillow.
- You can eyeball your motif and cut.
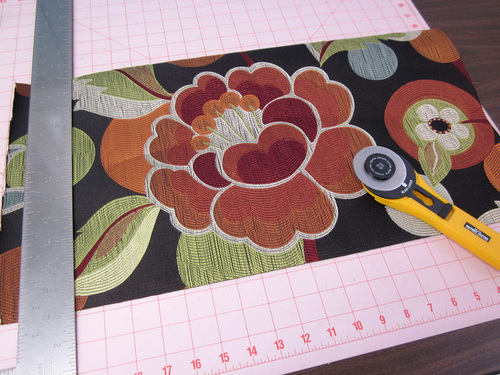
- Or, we often like to cut a pattern from tissue paper or other semi-transparent paper in order to really be able to see the motif within a “frame” and get the very best cuts possible. When you have your perfect position, lay a see-through ruler along the edge of the paper and cut with a rotary cutter.

- Whatever your choice, take your time and buy enough fabric to be able to center things just the way you want them.
At Your Sewing Machine & Ironing Board
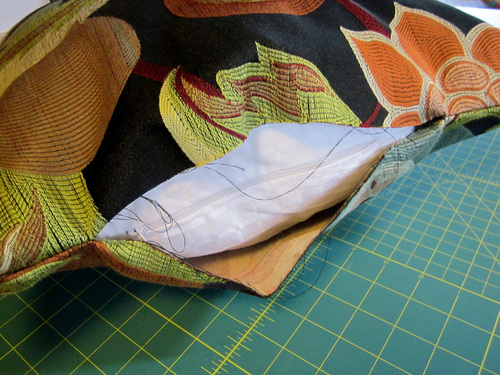
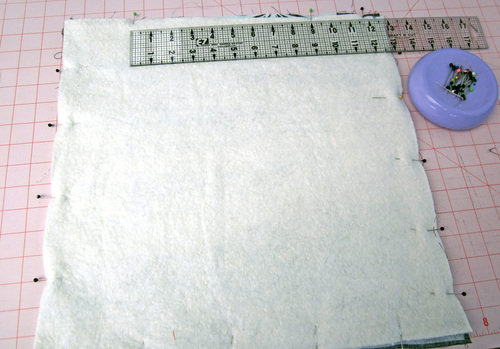
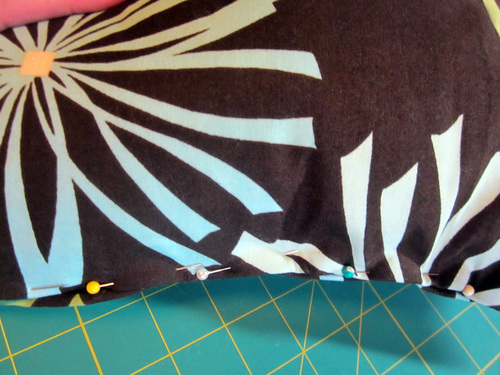
- Place the front and back pillow squares right sides together, aligning all four raw edges. Pin in place all around, leaving an approximate 9″ – 14″ opening along the bottom edge.
NOTE: Your opening should be generous enough to easily stuff in the pillow form, but remember, you will have to hand stitch that opening. Luckily, the Home Elegance™ pillow forms are super soft and easy to compress to fit through a smaller opening. - If you have a directional fabric, make sure both sides are facing the proper direction when you place them right sides together.
- Using a ½” seam allowance, sew around all four sides. Remember to pivot at the corners and to lock your seam at both sides of the bottom opening left for turning.
- Trim all four corners at a diagonal. For more about corner-cutting, see our tutorial.
- Turn the cover right side out through the opening and press flat.
- Insert the Home Elegance™ 20″ x 20″ pillow form.
- Gently fluff it into each corner, working from the farthest side toward the opening.
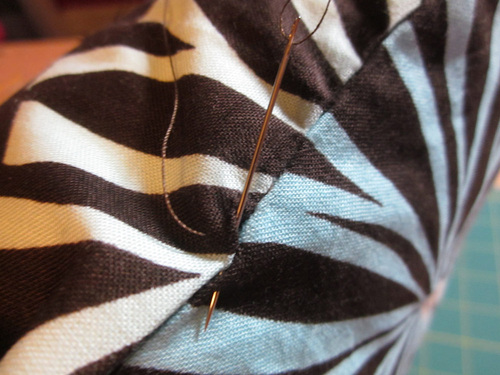
- Turn under the raw edges of the opening used for turning so they are flush with the sewn seam. Pin closed.
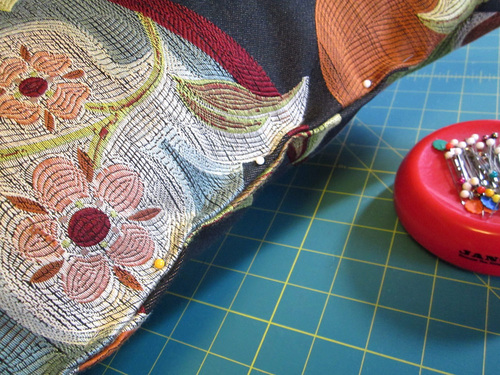
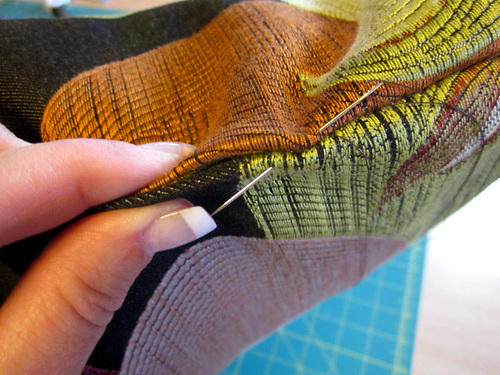
- Thread a hand-sewing needle with matching thread and slip stitch/ladder stitch the opening closed. Use small stitches to keep your work as unnoticeable as possible.
Optional layering for quilt weight fabric
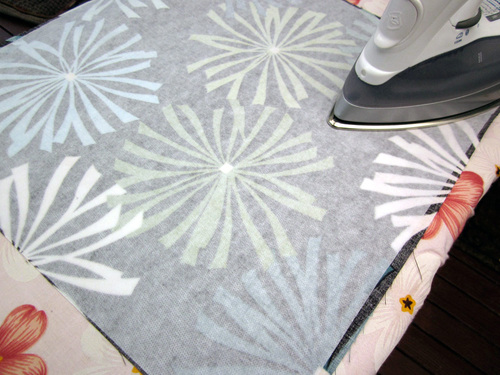
- Our 16″ pillow fabric is a standard quilting weight cotton. For the smoothest, best finish, as we mentioned above, we recommend adding a layer of fusible interfacing and/or batting. We used both for our sample pillow.
- Following manufacturer’s instructions, fuse the interfacing to the wrong side of both the front and back cotton pieces.
- Place the fused front and back pieces right sides together.
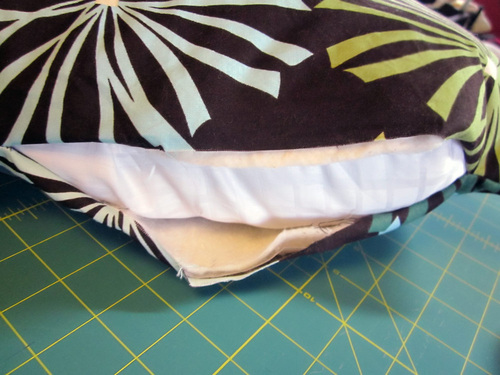
- Make a sandwich with the batting, layering a piece on either side of the fabric pieces. Make sure all the edges of all the layers are flush. Pin in place.
NOTE: As an added help against shifting, you could hand or machine baste the batting to the front and to the back and then place the fabric right sides together. - As above, stitch all four sides, turn right side out, and insert the 16″ x 16″ Home Elegance™ pillow form.
- Pin the opening closed.
- Slip/Ladder stitch closed.
Project Design: Alicia Thommas
Sample Creation and Instructional Outline: Aimee McGaffey